TL;DR
- Water elevators provide rapid vertical transport using bubble column mechanics with soul sand for ascent
- Critical materials include glass blocks, kelp, water buckets, and specific blocks for directional control
- Proper kelp placement creates source blocks while signs prevent water spillage
- Dual elevator systems require both soul sand and magma blocks for bidirectional travel
- Advanced techniques include hidden designs, redstone integration, and multi-level access points
GameSpot may receive revenue from affiliate and advertising partnerships for sharing this content and from purchases through links.
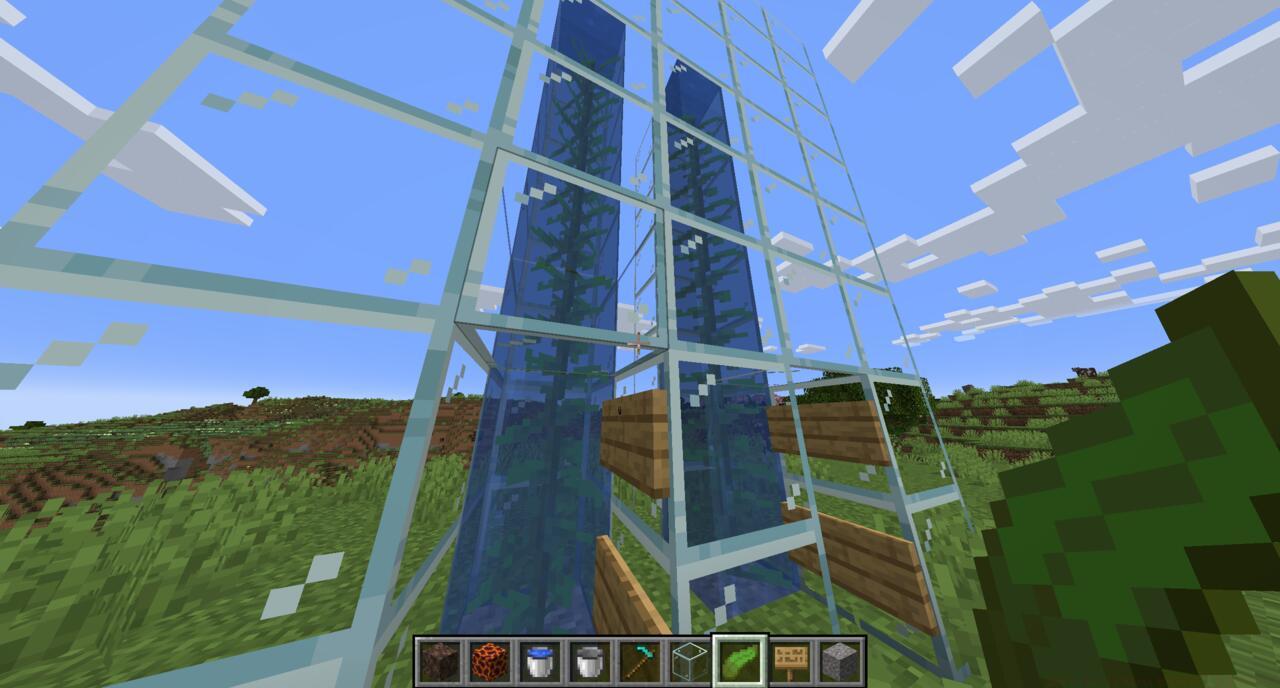
While often overlooked in early game development, Minecraft water elevators represent one of the most efficient vertical transportation systems available. These ingenious constructs leverage the game’s bubble column physics to propel players rapidly between levels, dramatically reducing travel time compared to conventional ladders or staircases. The underlying mechanics involve creating a continuous water column where specific blocks generate directional currents.
Strategic applications extend far beyond simple mine shaft access. Experienced builders incorporate water elevators into multi-level bases, sky platforms, underwater structures, and nether portal hubs. The system’s versatility makes it invaluable for connecting disparate areas of your world while maintaining aesthetic appeal and functional efficiency.
Proper planning involves calculating the exact height requirements and anticipating future expansion needs. Unlike traditional movement methods that require continuous player input, water elevators provide automated transportation, allowing you to focus on other tasks during ascent or descent. Understanding these core principles ensures successful implementation regardless of your specific building scenario.
Before initiating construction, comprehensive material gathering prevents mid-build interruptions. The quantity of each component directly correlates with your elevator’s height and functional requirements. Strategic resource allocation ensures you have adequate supplies for both primary construction and potential modifications.
Critical components include glass blocks for the structural framework, with quantities determined by your desired elevation height. Kelp serves the crucial function of converting flowing water into source blocks, requiring one unit per block of vertical distance. Water buckets provide the liquid medium, while signs create essential barriers to contain the water column.
- Glass blocks (quantity equals elevation height plus foundation layers)
- Various sign types (minimum two for single direction, four for bidirectional systems)
- Water buckets (one per elevator shaft, two for complete systems)
- Kelp plants (match the exact number of water blocks in your column)
- Gravel blocks (used for temporary construction scaffolding)
- Soul Sand (generates upward bubble columns for ascent)
- Magma blocks (optional, creates downward current for controlled descent)
Alternative material options include using any solid block instead of glass for opaque structures, though visibility suffers. Iron doors with pressure plates can create secure access points, while observers and pistons enable redstone-activated systems for advanced builders. Always gather 10-15% extra materials to account for construction errors and future expansions.
Begin by establishing a solid foundation at your elevator’s base location. Dig a 1×1 vertical shaft to your desired depth, ensuring adequate clearance at both entry and exit points. The shaft width remains critical—deviating from single-block dimensions disrupts water flow mechanics.
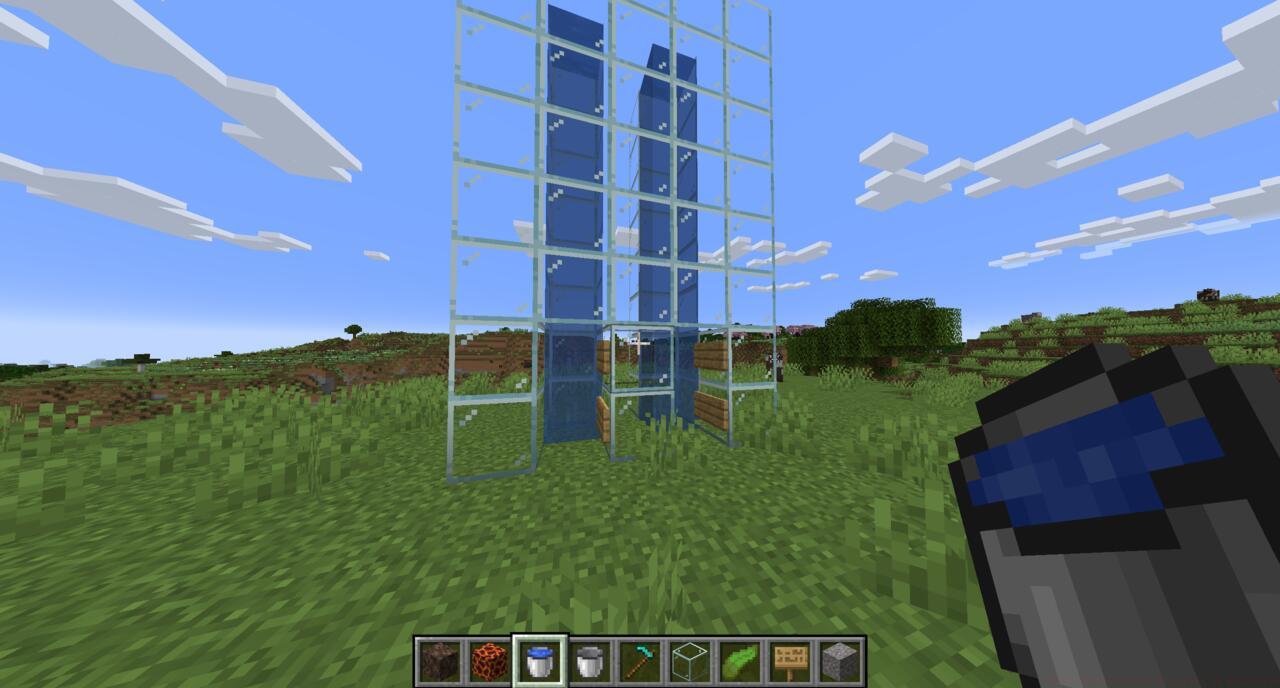
Water deployment requires careful execution to establish a continuous source block column. Pour your water bucket at the shaft’s topmost block, allowing it to flow downward naturally. This creates a temporary water stream that requires conversion to permanent source blocks.
Kelp implementation transforms the flowing water into stable source blocks. Begin planting kelp from the bottom upward, ensuring each segment connects properly. The growth mechanic automatically converts all water blocks above into permanent sources.
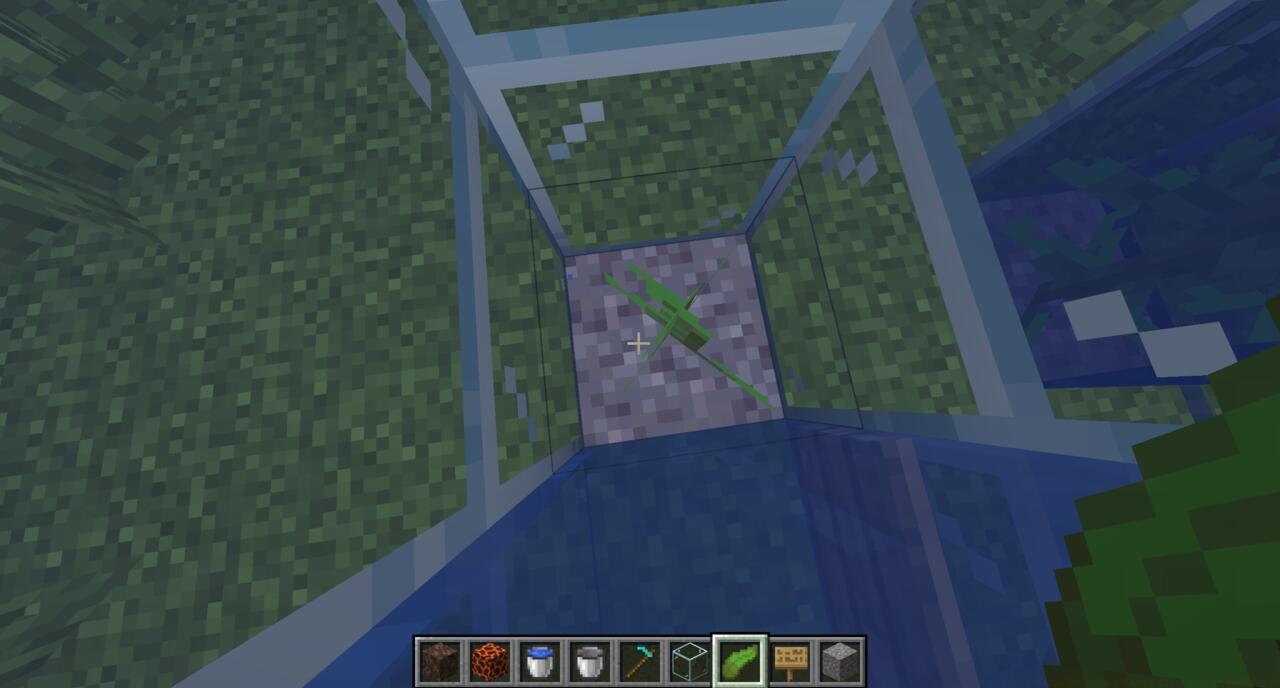
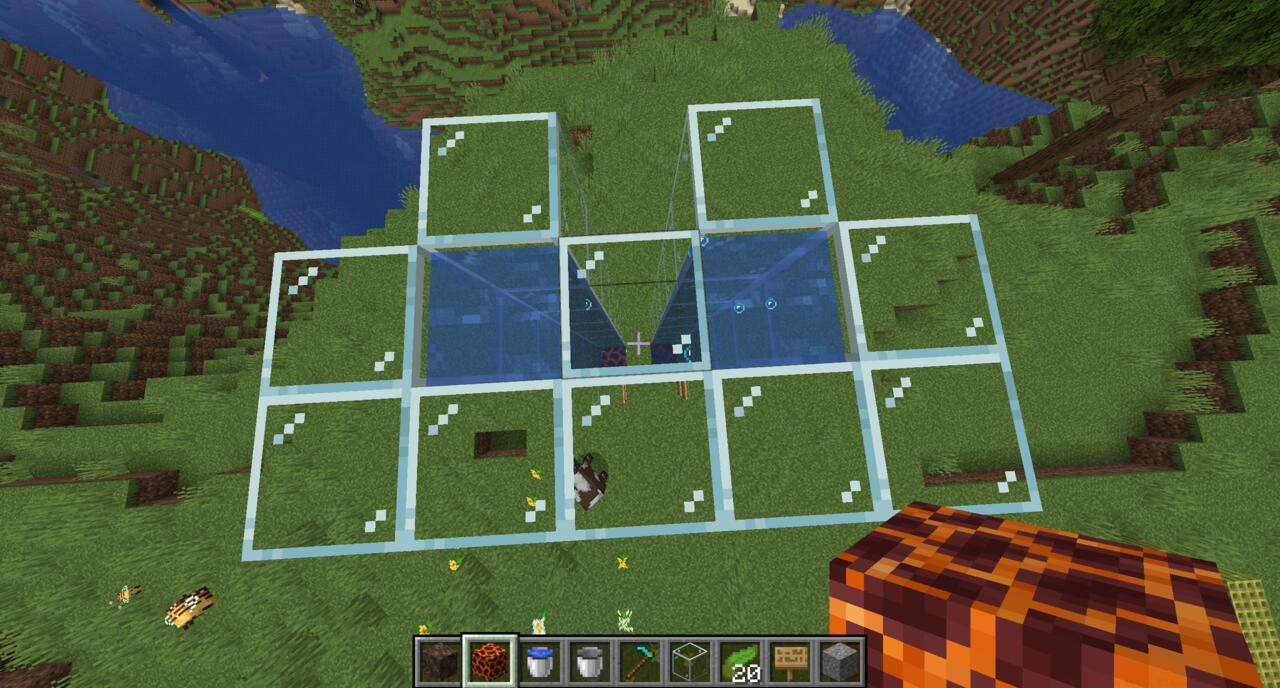
Activation block placement determines your elevator’s directional functionality. Position soul sand at the bottom for upward travel, creating bubbling columns that propel entities upward. For descent capabilities, magma blocks generate downward currents when placed at the column base.
Sign placement prevents water escape while maintaining accessibility. Install signs on the interior walls at both entry points, creating barriers that contain water without obstructing player access. Final testing involves entering the elevator to verify proper ascent and descent functionality.
Performance enhancements can significantly improve your water elevator’s efficiency and integration. Incorporating air pockets at regular intervals creates breathing stations for extended shafts, while ladder placement alongside the water column provides emergency exit options. Redstone integration allows for toggleable systems using piston mechanisms to switch between soul sand and magma blocks.
Common construction mistakes include insufficient kelp placement leading to partial source block conversion, and incorrect sign positioning causing water leakage. Always verify that every water block displays still water animations rather than flowing current indicators. Another frequent error involves using non-source block water, which fails to generate proper bubble columns.
Advanced builders should consider multi-shaft designs for high-traffic areas, incorporating separate elevators for upward and downward travel. This prevents entity collision and maintains consistent travel speeds. Hidden elevator systems using piston doors and observer circuits provide security while maintaining functionality.
Maintenance involves periodically checking for block updates that might disrupt water source continuity, particularly after nearby explosions or structural modifications. Keep spare materials readily available for quick repairs, and consider building redundant systems for critical transportation routes.
For players seeking comprehensive Battlefield 6 strategies, similar systematic approaches apply to base building and resource management across different gaming environments.
Action Checklist
- Calculate required height and gather materials with 15% surplus
- Construct 1×1 vertical shaft with clear entry/exit points
- Place water at top, then use kelp to convert entire column to source blocks
- Install signs to contain water and place soul sand/magma blocks
- Test functionality and implement optimization features
No reproduction without permission:SeeYouSoon Game Club » How To Make A Water Elevator In Minecraft Master Minecraft vertical transportation with efficient water elevator designs and expert building techniques