TL;DR
- Access the puzzle in Rivain Coast’s Lair of the Dragon King after completing Taash’s questline
- Interpret the four knight riddle by matching weapons to directional positions around the central tower
- Interact with statues in specific order: arrow (right), hammer (left), sword (front), shield (back)
- Complete the sequence correctly to unlock valuable gear and crafting materials
- Avoid common timing mistakes by ensuring you’ve defeated the area boss first
GameSpot may receive revenue from affiliate and advertising partnerships for sharing this content and from purchases through links.
Exploring the vast world of Dragon Age: The Veilguard consistently reveals hidden secrets and unexpected challenges. While numerous treasure chests appear throughout your journey, one particular puzzle in Rivain Coast presents a sophisticated riddle that demands careful analysis. This comprehensive walkthrough details exactly how to conquer the Treasure of Sharksmouth Mountain enigma in Dragon Age: The Veilguard.
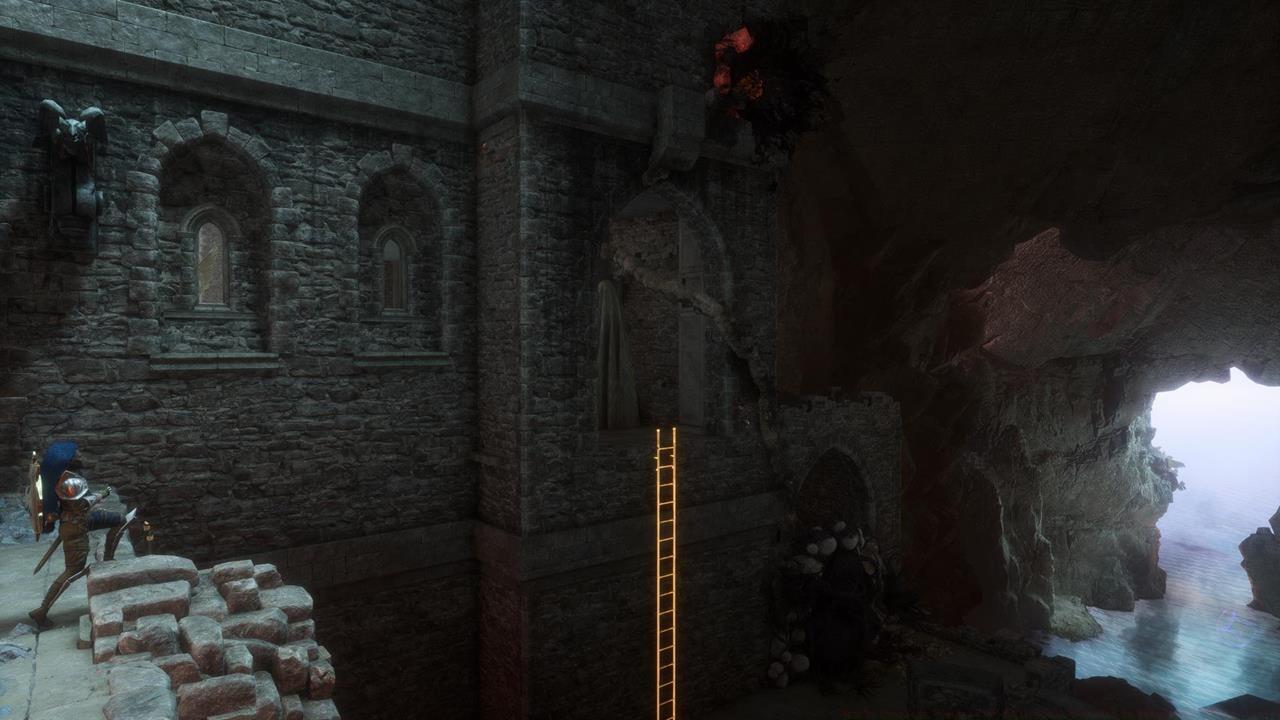
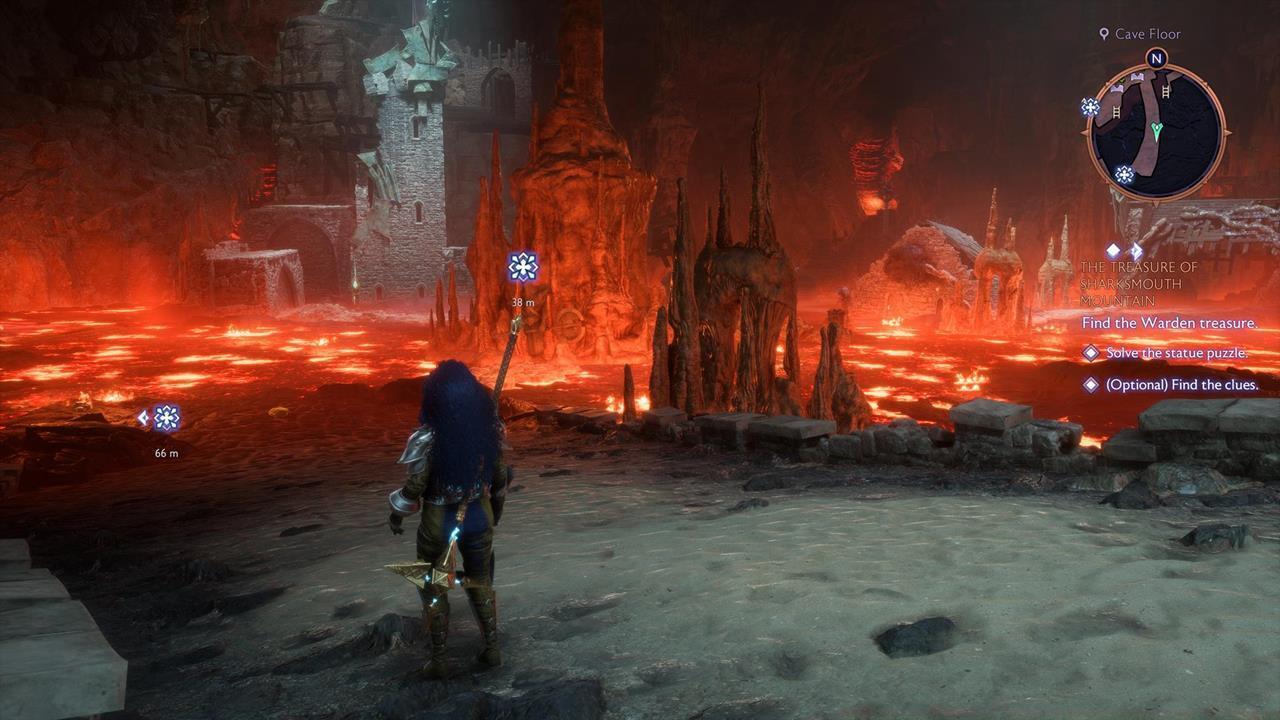
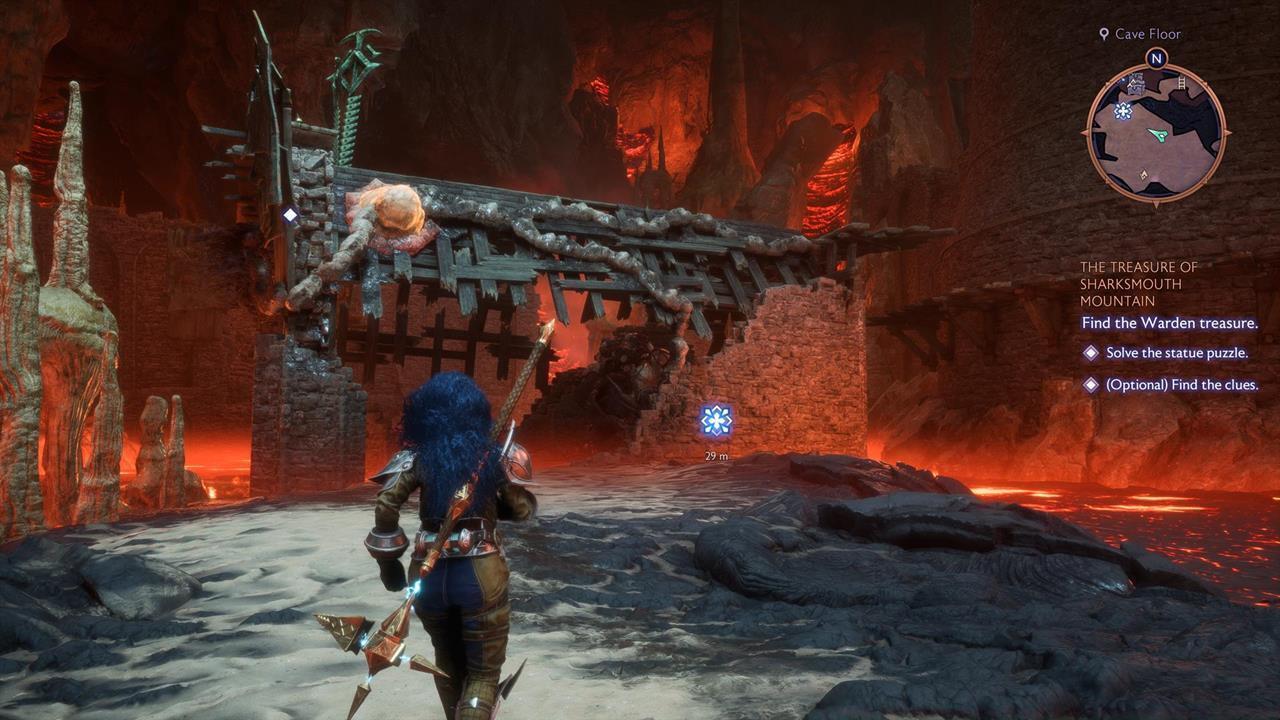
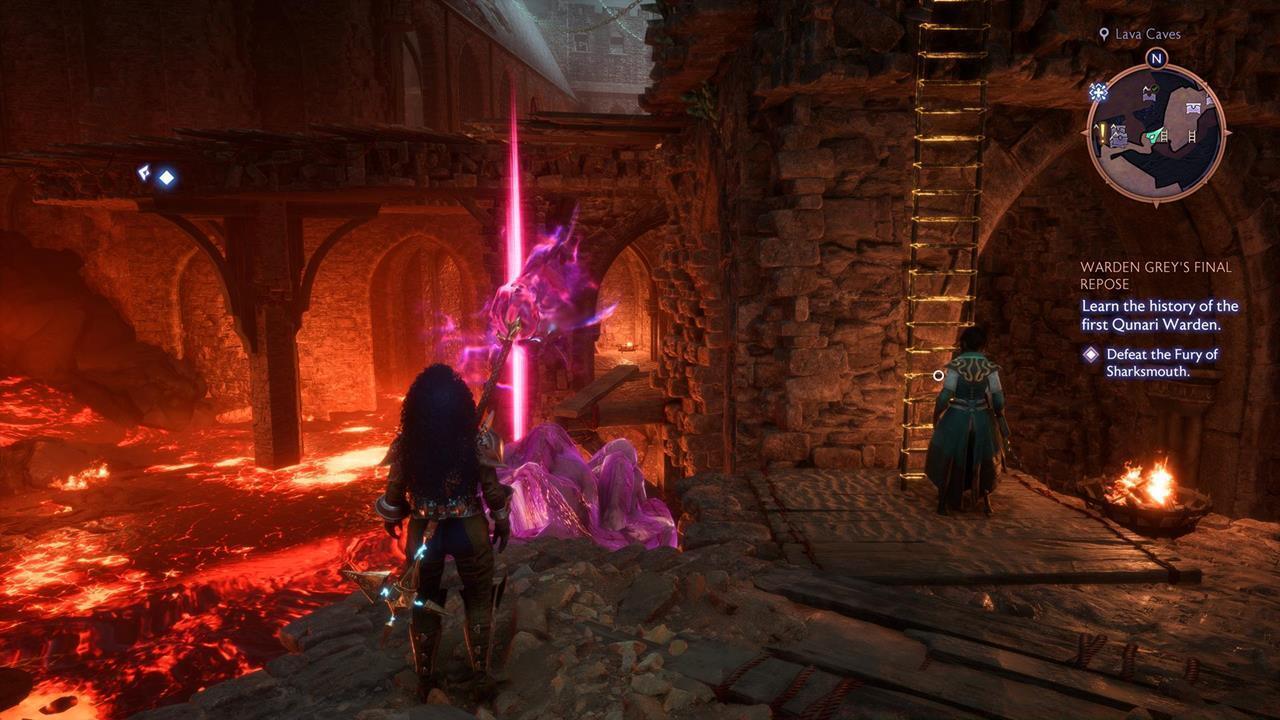
The Treasure of Sharksmouth Mountain challenge unfolds within the Rivain Coast region, specifically in the Lair of the Dragon King sector. Gaining entry to this location requires advancing through Taash’s companion mission chain, which gradually unlocks access to this restricted area.
Upon reaching the destination, observant players will detect an engraved message on a stone tower. Crucially, you cannot resolve this puzzle during the active progression of Taash’s primary objective. You must first overcome the zone’s boss encounter, then deliberately return to the location when you have uninterrupted exploration time.
Successfully solving the Treasure of Sharksmouth Mountain puzzle in Dragon Age: The Veilguard hinges on meticulous interpretation of the poetic clues. The complete riddle appears either carved into the tower doorway or etched upon a shield located inside the adjacent fortress structure.
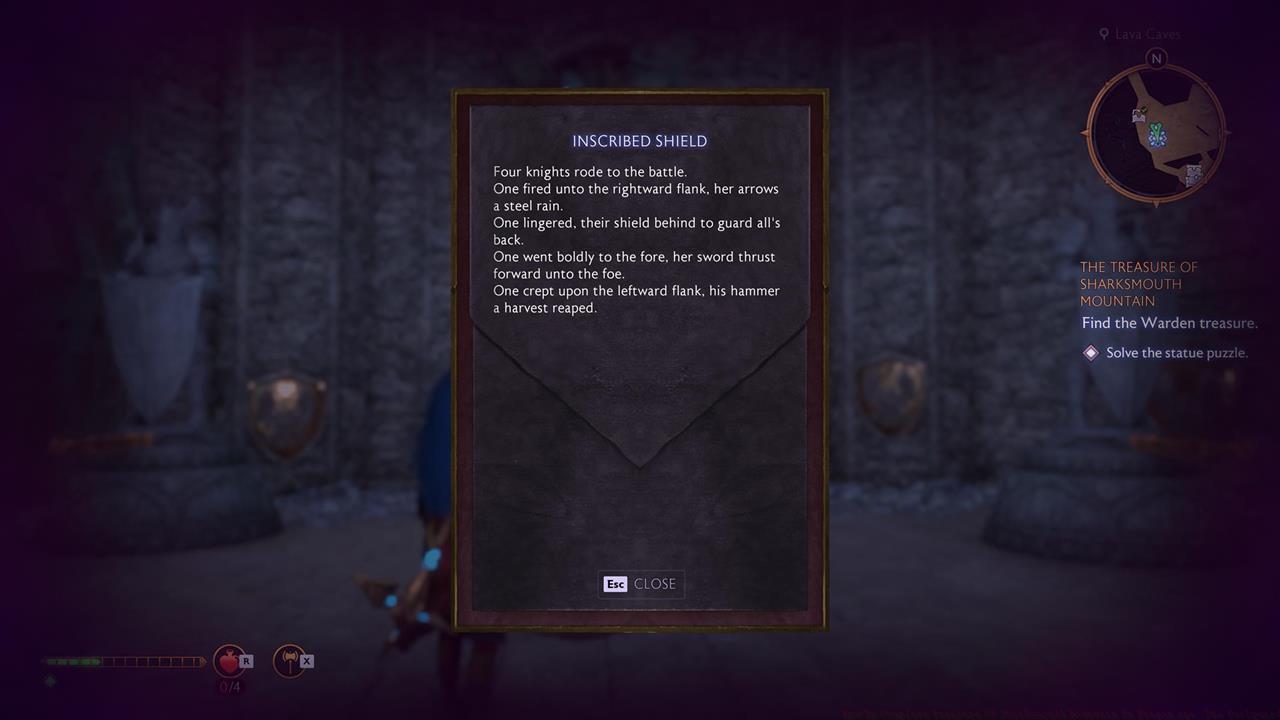
Four knights rode to battle.
One fired unto the rightward flank, her arrows a steel rain.
One lingered, their shield behind to guard all’s back.
One went boldly to the fore, her sword thrust forward unto the foe.
One crept upon the leftward flank, his hammer a harvest reaped.
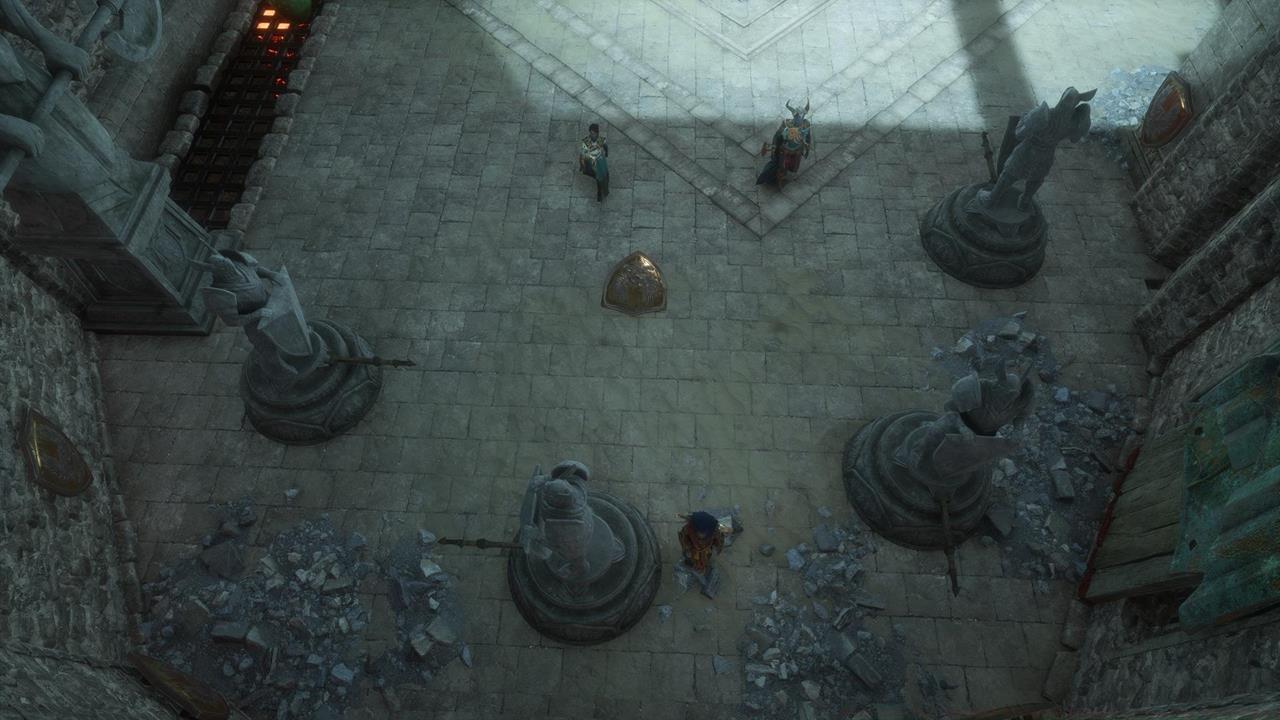
Each line corresponds to a specific knight statue positioned around the central tower. The directional indicators—”rightward flank,” “behind,” “to the fore,” and “leftward flank”—provide exact positioning clues. Understanding medieval battlefield terminology becomes essential, as “flank” references side positions, “fore” indicates forward placement, and positional descriptors establish precise interaction requirements.
Begin by thoroughly scouting the perimeter of the stone tower to locate all four knight statues. Each embodies a distinct combat style through their weaponry and positioning. The sequence demands strategic activation based on the riddle’s narrative flow rather than spatial arrangement.
First, identify the archer statue positioned on the right side when facing the tower entrance. This represents “Ser Rian the Red” from the riddle’s “rightward flank” reference. Activate this statue initially to establish the correct sequence foundation.
Next, locate the hammer-wielding knight on the left flank, corresponding to “Ser Cruach the Wolf.” This statue typically stands partially concealed behind environmental elements, reflecting the “crept upon” description.
Proceed to the sword-bearing knight positioned directly facing outward from the tower’s main entrance. This represents “Ser Dheon the Silent” and the “boldly to the fore” positioning.
Finally, interact with the shield-carrying knight situated at the rear of the tower structure. This final position aligns with “lingered, their shield behind” and completes the activation sequence.
A common mistake involves activating statues based on proximity rather than the riddle’s specified order. Another frequent error occurs when players attempt the puzzle before defeating the area boss, which prevents proper sequence completion. Allocate approximately 10-15 minutes for thorough exploration and precise execution once you’ve met the access prerequisites.
Successfully completing the Treasure of Sharksmouth Mountain puzzle unlocks substantial rewards that significantly enhance your gameplay experience. The treasure chest contains rare crafting materials, powerful equipment upgrades, and unique cosmetic items unavailable through other acquisition methods.
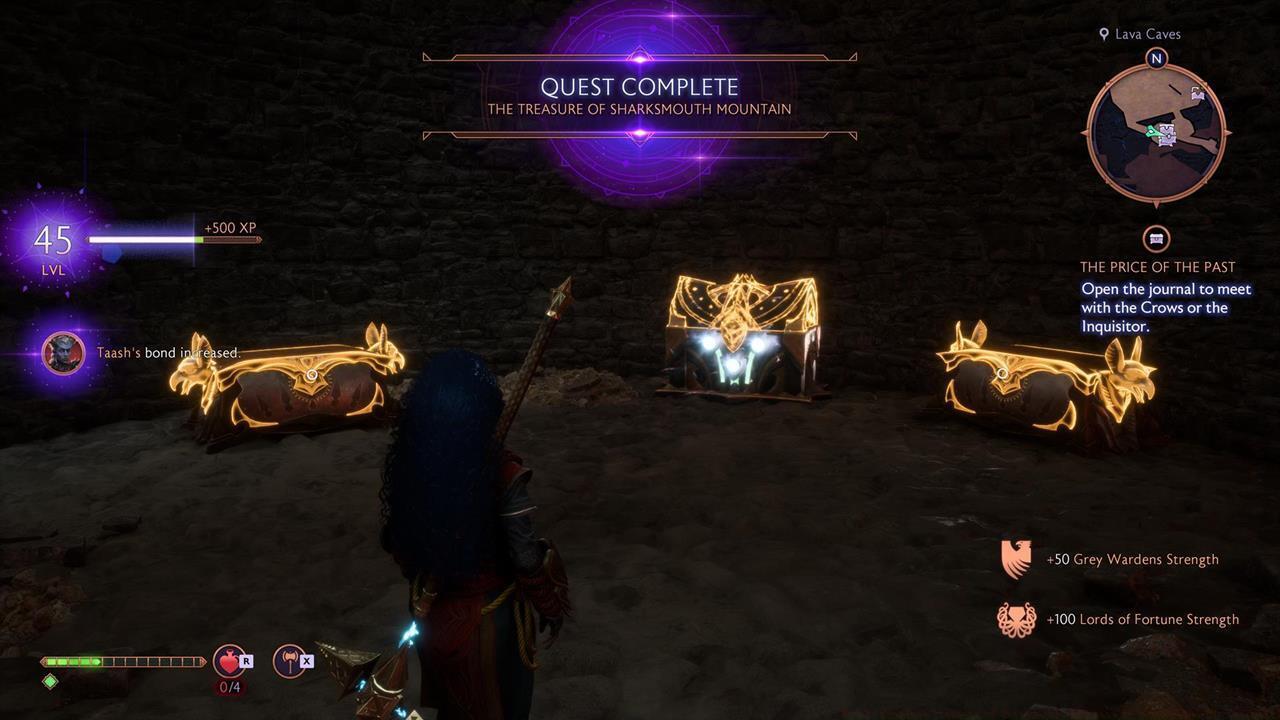
Among the valuable contents, you’ll typically discover enhanced weapon schematics, rare enchantment components, and character-specific gear that complements various playstyles. These rewards prove particularly beneficial for players focusing on advanced weapon customization and character specialization.
The strategic advantages extend beyond immediate loot, as solving this puzzle often unlocks additional hidden quests or reveals secret areas within Rivain Coast. This environmental storytelling element deepens your connection to Dragon Age’s rich lore while providing tangible gameplay benefits. For players exploring different character class approaches, the acquired gear can dramatically alter combat effectiveness and tactical options.
Consider this puzzle an essential component of your overall progression strategy, offering rewards that remain relevant throughout multiple gameplay stages. The investment in puzzle-solving time yields disproportionate returns compared to standard treasure chests found throughout the game world.
Action Checklist
- Complete Taash’s questline and defeat the Lair of the Dragon King boss
- Return to Rivain Coast and locate the inscribed tower
- Study the riddle on the tower door or shield, noting directional keywords
- Activate knight statues in sequence: arrow (right), hammer (left), sword (front), shield (back)
- Collect treasure rewards and apply new gear to your character build
No reproduction without permission:SeeYouSoon Game Club » How To Complete Treasure Of Sharksmouth Mountain In Dragon Age: The Veilguard Master the Treasure of Sharksmouth Mountain puzzle with step-by-step solutions and expert strategies