Master Episode 12: Fragile with advanced combat tactics, strategic loadout optimization, and essential boss fight strategies.
Mission Overview & Critical Preparation
Episode 12: Fragile immediately re-engages players with high-intensity action following the narrative climax of Episode 11. This chapter shifts operational leadership to Fragile, tasking Sam with a perilous delivery mission that critically destabilizes the Ghost Mechs. Expect a sequence defined by layered enemy encounters, cinematic story beats, and a significant escalation in combat difficulty.
Strategic use of the DHV Magellan’s artillery is a cornerstone of this episode. Initiating a fire support strike consumes resources from the ship’s finite stockpile. Therefore, players must employ these strikes judiciously against dense enemy clusters or high-priority targets rather than wasting them on scattered foes.
Loadout preparation is non-negotiable. Before departing, access the APAS menu to invest in critical combat passives. Prioritize the following upgrades:
- Optimized Transfusions: Drastically reduces the animation time for using Blood Bags, a vital upgrade given the episode’s sustained firefights.
- Battery Efficient Boost: Extends the operational time of your exoskeleton or vehicle between charges, crucial for traversing hostile zones.
- Increased MP Firing Rate: Boosts the fire rate of your Machine Gun, directly increasing your damage output against waves of standard Ghost Mechs.
Further customize your backpack for endurance. Equip multiple Spare Ammo Containers to avoid running dry during extended engagements. Always carry a Cryptobiote for emergency chiralium contamination cleansing, and stockpile at least 8-10 Blood Bags—this episode will test your reserves.
Also read: How to unlock Solar Generator in Death Stranding 2
Waystation 1: Initial Assault & Network Link
Your first objective is Waystation 1, situated southwest of the DHV Magellan. While geographically close, the site is entirely occupied by Ghost Mechs. Full clearance is mandatory before the terminal can be linked to the Chiral Network.
Employ a versatile weapon loadout. The Quadruple Rocket Launcher (unlocked in Episode 10) excels against grouped enemies and armored units. Pair it with a Machine Gun for dealing with lighter, faster foes. A common mistake is becoming stationary; maintain constant lateral movement, use the ruined structures for cover, and only commit to aiming when you have a clear shot.
When overwhelmed, utilize the Magellan’s artillery. To call support, hold the Right D-pad button to open the Weapons/Tools wheel, navigate to “Drawbridge Support,” and select a target zone. The strike has a brief deployment time, so use it preemptively as enemies converge. After eliminating all hostiles, interface with the terminal to sync Waystation 1 and proceed.
Waystation 2: Fire Zone Clearance & Rainy’s Arrival
From Waystation 1, trek approximately 600 meters southwest to Waystation 2. This area presents a similar challenge but within a fire-ravaged landscape that can limit movement. The core loop remains: eliminate all Ghost Mech waves to secure the terminal.
The key here is efficiency. Use the elevated terrain on the approach to scout enemy positions. The artillery support is particularly effective here, as enemies often cluster around burning wrecks. Once the area is secure, a pivotal cutscene triggers. Rainy arrives, using her unique abilities to extinguish the fires, which in turn allows the DHV Magellan to safely land and resupply you closer to the action.
Fort Knot Approach & Bridge Defense
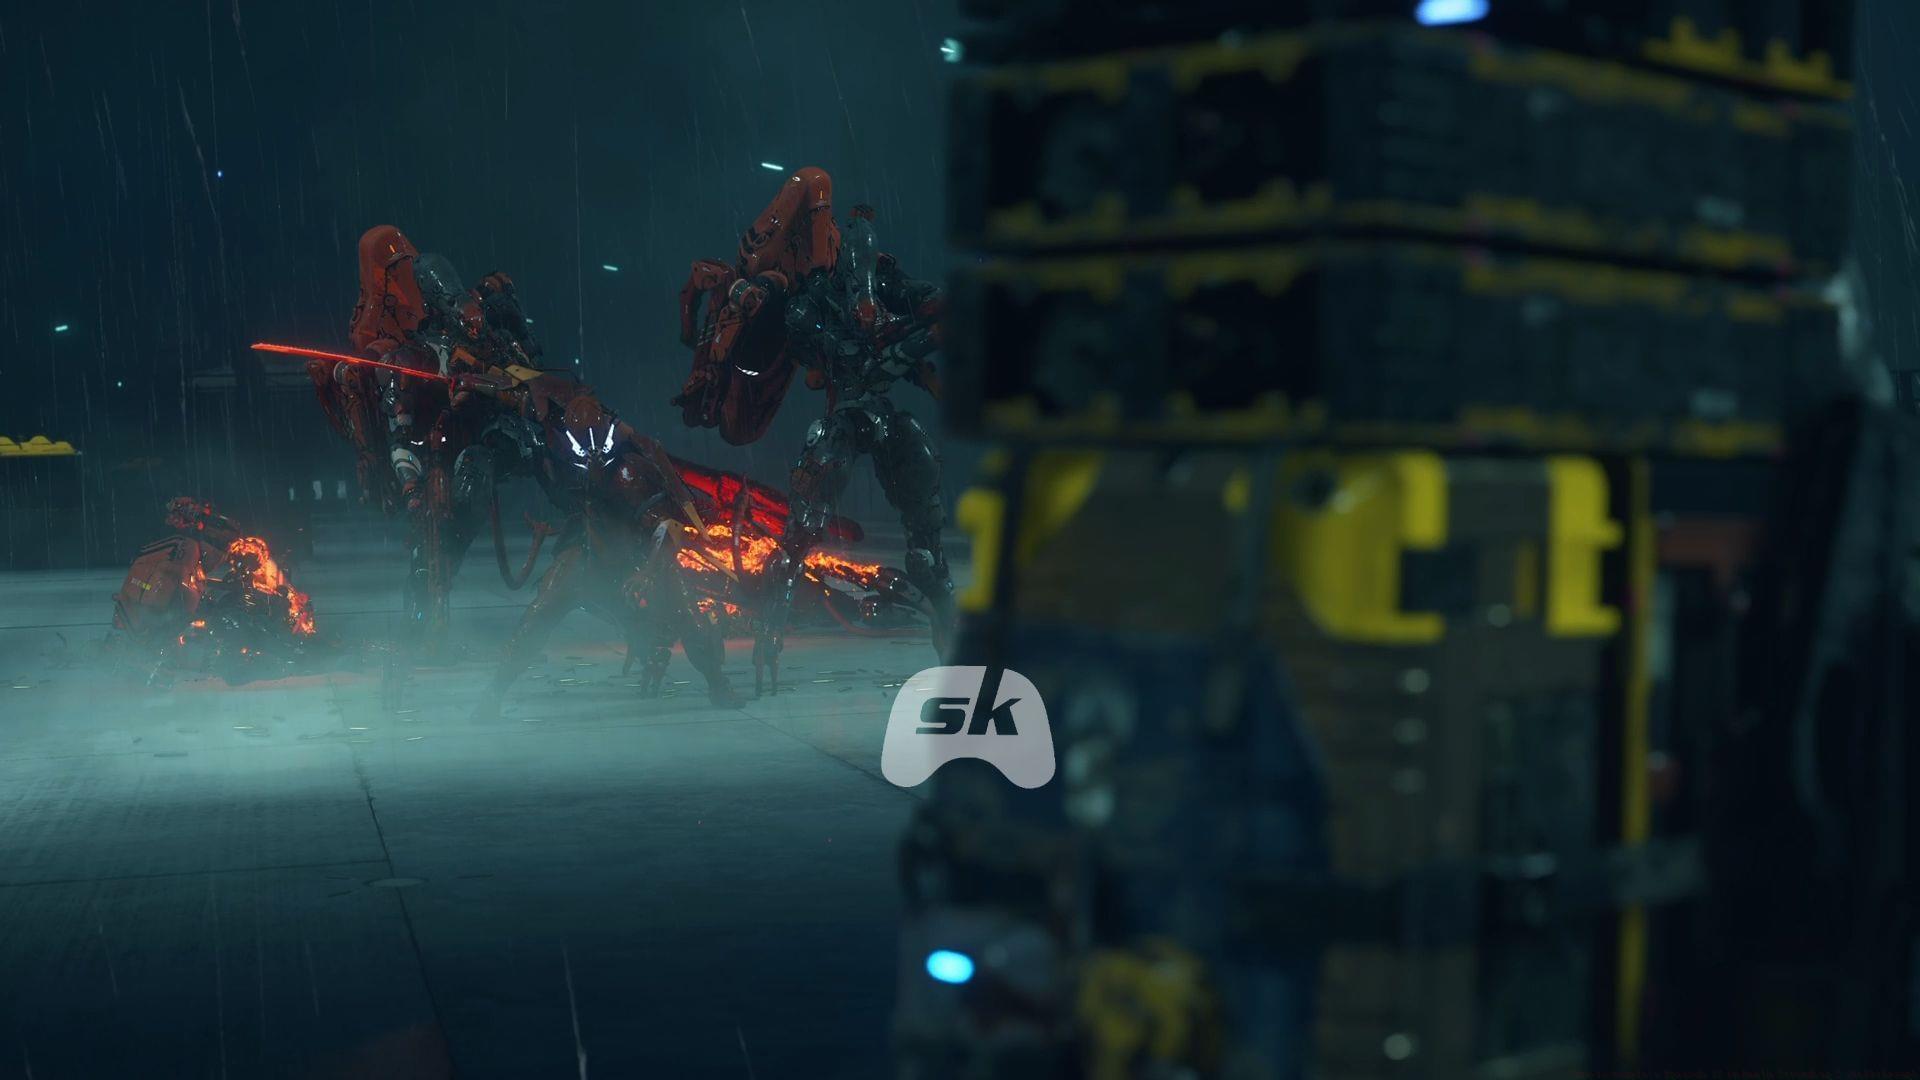
Your next task is to deliver the Drawbridge Terminal Unit to F8 Fort Knot. The route is heavily defended. As you approach the main bridge, a large, heavy Ghost Mech blocks the path, supported by agile variants designed to flank and dislodge your cargo.
Using the Pickup Off-Roader is highly recommended for this segment. If you have previously installed vehicle weapons like the Sticky Cannon or Heavy Machine Gun, they provide invaluable mobile firepower. On foot or in vehicle, adhere to a strict target priority:
- Eliminate smaller, faster Ghost Mechs first. They pose the greatest threat to your cargo stability and mobility.
- Master dodge-sprinting. Time your sprints to bypass charging enemies, and use the dodge maneuver (typically a tap of the crouch/jump button while moving) for last-second evasions.
- Engage the large Mech last. Isolate it by clearing the area of smaller foes, then focus all heavy weapons fire on its core.
At the peak of the confrontation, Deadman intervenes in a new, combat-capable form. After aiding you, he severs the bridge to halt enemy reinforcements, a decisive narrative and gameplay moment.
Tentacle Ghost Mech Boss Rematch & Final Delivery
Shortly after, you’ll re-encounter the Tentacle Ghost Mech from Episode 9, now in a weakened state. This is a battle of endurance and precision.
Its primary weak points are the tentacle joints and its central eye. Damaging the joints slows its lashing attacks, while the eye takes amplified damage. My professional recommendation is to prioritize the central eye whenever it’s exposed. Use your Quadruple Rocket Launcher or Grenade Launcher for massive burst damage. Ignore the smaller minions it spawns unless they swarm you; your goal is to burn down the boss quickly.
Maintain a cycle of movement, focused fire on the eye, and healing with Blood Bags as your health dips. Once the beast falls, enter Fort Knot, complete the delivery, and finalize the chiral network connection across Australia.
The victory is short-lived. Higgs appears, but the dynamic has shifted. In a stunning cinematic, the DHV Magellan erupts from a tar portal, physically overwhelming Higgs. Fragile then exacts her long-awaited revenge, wielding Higgs’s own battle guitar as her weapon. This iconic instrument is added to your inventory as the episode concludes.
Sam and Fragile return to the Magellan. The closing cutscene delves deeper into the game’s lore, setting the stage for the chapters to follow and providing crucial backstory on several key characters.
This concludes our advanced guide for Episode 12: Fragile in Death Stranding 2.
No reproduction without permission:SeeYouSoon Game Club » How to complete Episode 12 in Death Stranding 2 (Walkthrough) Master Episode 12: Fragile with advanced combat tactics, strategic loadout optimization, and essential boss fight strategies.