Master Death Stranding 2’s Portable Chiral Constructor with advanced building strategies and optimization techniques
Understanding the Portable Chiral Constructor
The Portable Chiral Constructor (PCC) represents one of Death Stranding 2’s most crucial gameplay mechanics, enabling players to construct various infrastructure elements across the game’s vast landscapes. Unlike basic tools available from the start, this advanced device requires significant story progression before becoming accessible. You’ll need to advance through the main narrative until reaching specific story milestones that introduce construction mechanics.
This sophisticated constructor serves as your primary means of establishing permanent waypoints and assistance structures that benefit both your delivery routes and those of other players in the shared world. The structures you create can dramatically reduce travel time, provide essential shelter from timefall, and create network connections that enhance the overall gameplay experience for the entire community.
Step-by-Step Building Process
Initiating construction begins with holding right on your D-pad to access the comprehensive tools menu. Within this interface, locate and select the Portable Chiral Constructor from your available equipment. The system will then display a catalog of buildable structures—choose your desired installation to project its holographic blueprint into the game world.
Careful placement is crucial: hold L2 to position the hologram while monitoring its color indicator. A vibrant blue signifies optimal placement conditions with sufficient clear area. Alternative colors like red or orange indicate placement conflicts with terrain obstacles or insufficient construction space. Experienced players recommend rotating the hologram and adjusting elevation to find the perfect positioning before committing resources.
Also read: How to complete Episode 1 in Death Stranding 2 (Walkthrough)
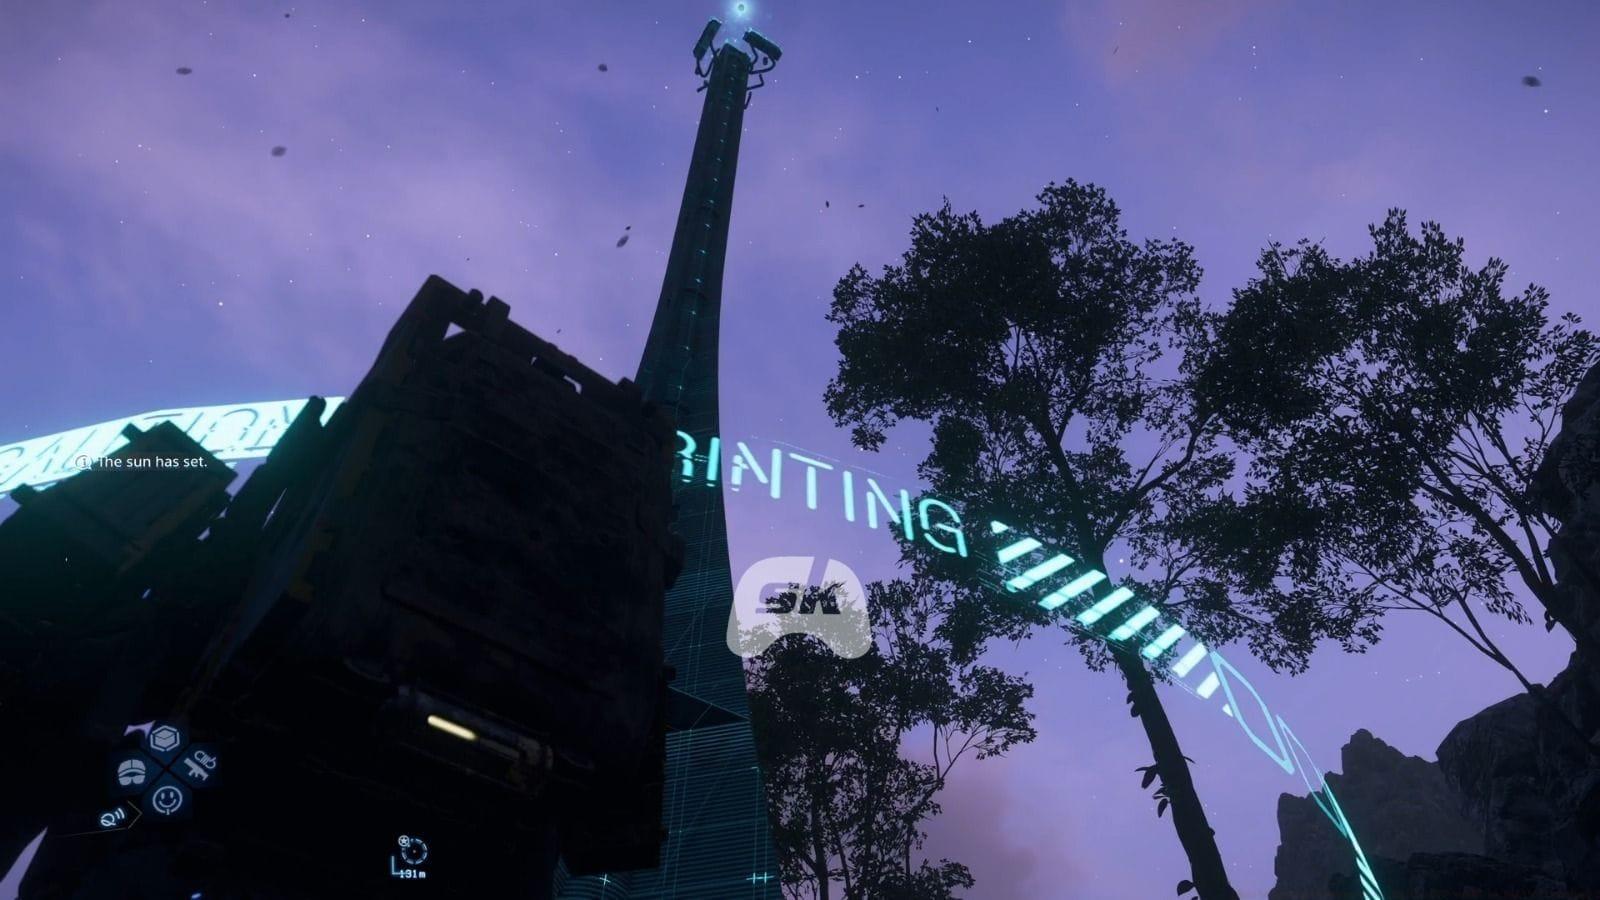
Once satisfied with placement, hold R2 to initiate the construction sequence. The PCC will begin materializing the structure through advanced chiral printing technology. The construction process isn’t instantaneous—more complex installations require longer formation periods, during which your character remains vulnerable to environmental threats.
Advanced Construction Management
Many advanced structures demand supplemental materials beyond the PCC’s initial foundation creation. While the constructor establishes the basic framework, these skeletal structures deteriorate rapidly when exposed to Death Stranding 2’s harsh environments. Strategic material investment significantly boosts structural integrity, particularly against persistent timefall erosion and other environmental degradation factors.
Every construction project consumes a portion of your limited chiral bandwidth—an abstract resource representing your connection capacity within the chiral network. Exceeding your available bandwidth prevents additional construction until you either expand your network connectivity or dismantle existing structures. Bandwidth management becomes increasingly critical as you establish more extensive infrastructure networks across different regions.
Online multiplayer integration introduces collaborative construction opportunities. Other players traversing your world may contribute resources to complete partially-built structures, creating emergent cooperation that benefits the entire community. This shared investment system allows for faster infrastructure development while distributing resource costs across multiple contributors.
Also read: How to trade with local porters in Death Stranding 2
Post-construction upgrades provide additional functionality beyond basic durability improvements. Advanced customization options include integrated audio systems for morale-boosting music, personalized greeting messages for fellow porters, and specialized modules that enhance structure capabilities based on their intended purpose and location.
Optimization Strategies and Pro Tips
Strategic structure placement dramatically impacts their long-term effectiveness. Position installations at natural choke points, river crossings, and mountain passes where they’ll receive maximum usage from both yourself and other players. Avoid placing structures in isolated locations unless they serve a specific strategic purpose for your personal routes.
Resource allocation requires careful planning—prioritize structures that provide the greatest utility per chiral bandwidth point. Temporary structures might serve immediate needs, while permanent installations should be reserved for high-traffic areas. Monitor structure usage statistics to identify underperforming installations that could be dismantled to free up bandwidth.
Common construction mistakes include: placing structures too close together creating cluster inefficiency, underestimating timefall degradation rates, and poor terrain assessment leading to inaccessible placements. Always survey the area from multiple angles before construction and consider seasonal weather patterns that might affect accessibility.
For advanced players, consider creating specialized structure networks that complement each other—positioning generators near climbing anchors, or safe houses adjacent to timefall shelters. This synergistic approach maximizes route efficiency while minimizing redundant construction.
No reproduction without permission:SeeYouSoon Game Club » How building structures using the PCC works in Death Stranding 2 Master Death Stranding 2's Portable Chiral Constructor with advanced building strategies and optimization techniques