TL;DR
- Four distinct mounts available: Charger, Bristleback, Clawstrider, and Sunwing
- Cauldron completion essential for unlocking advanced mounts
- Mount selection impacts both travel efficiency and combat effectiveness
- Story progression gates the powerful Sunwing flying mount
- Strategic mount usage significantly enhances exploration and battle outcomes
Horizon Forbidden West dramatically expands your mechanical companion options compared to the original game, offering enhanced mobility and combat support through its diverse mount system. Mastering these mechanical steeds transforms both exploration and combat encounters throughout the vast open world.
While engaging machines in direct combat provides thrilling encounters, strategically overriding them to serve as temporary allies introduces deeper tactical possibilities. The ability to permanently override specific machines as mounts elevates this system further, providing reliable transportation across the expansive landscapes that would otherwise require extensive travel time on foot.
The sequel introduces several new rideable machines beyond what was available in Horizon Zero Dawn, including some surprising mechanical creatures that offer unique capabilities. Each mount requires completing specific Cauldron overrides to unlock, with one particularly powerful mount remaining inaccessible until reaching advanced story milestones. We’ve structured this guide to minimize spoilers while ensuring you understand the unlocking requirements.
Your initial mount provides immediate transportation benefits from the game’s opening hours.
Four distinct mounts await discovery in Horizon Forbidden West, with the Charger serving as your foundational mechanical steed carried over from the previous game. The remaining three mounts require successful completion of specific Cauldrons scattered throughout the game world.
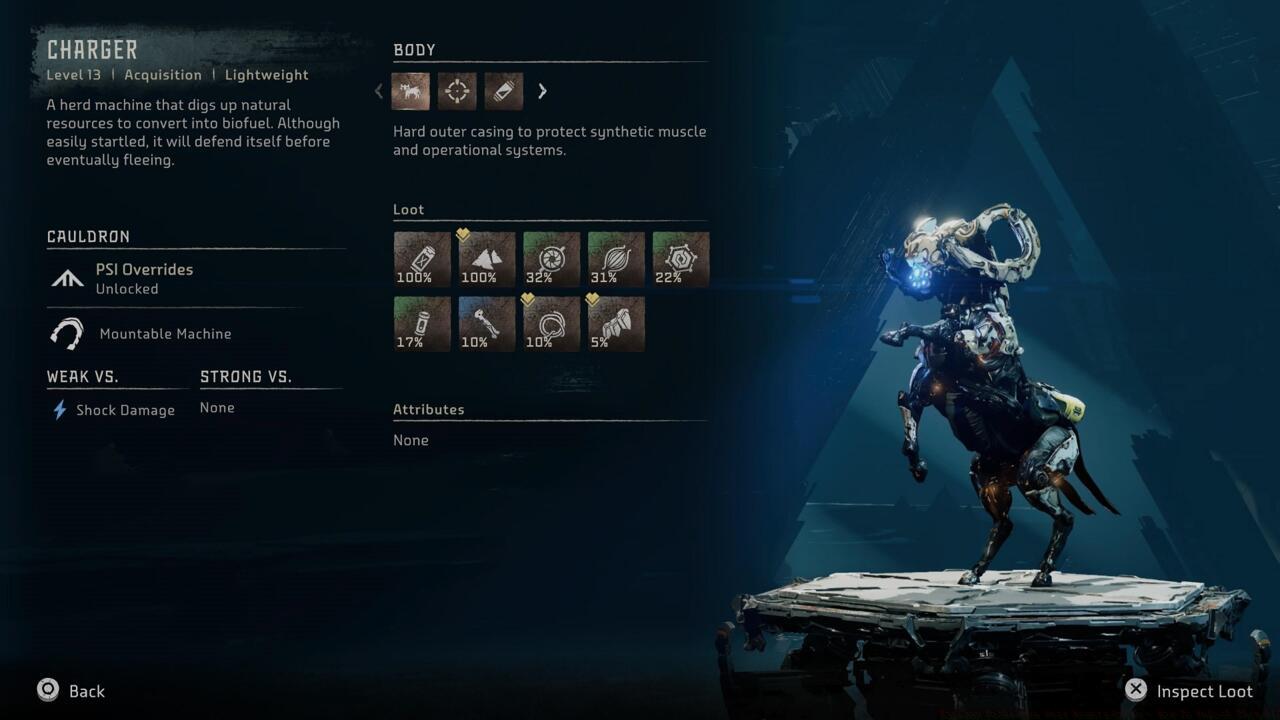
The Charger represents your introductory mount option, resembling a mechanical ram commonly encountered in herds during early game exploration. Aloy begins her journey with the override codes for this machine, enabling immediate access to mounted transportation from the initial gameplay hours. While Chargers provide excellent speed for traversing terrain, their defensive capabilities remain limited, making them vulnerable during combat encounters.
Early game mount availability accelerates exploration significantly.
Pro Tip: Dismount before engaging hostile machines to preserve your Charger, as they possess minimal durability in combat situations. Their acceleration makes them ideal for escaping dangerous encounters when retreat represents the wisest tactical choice.
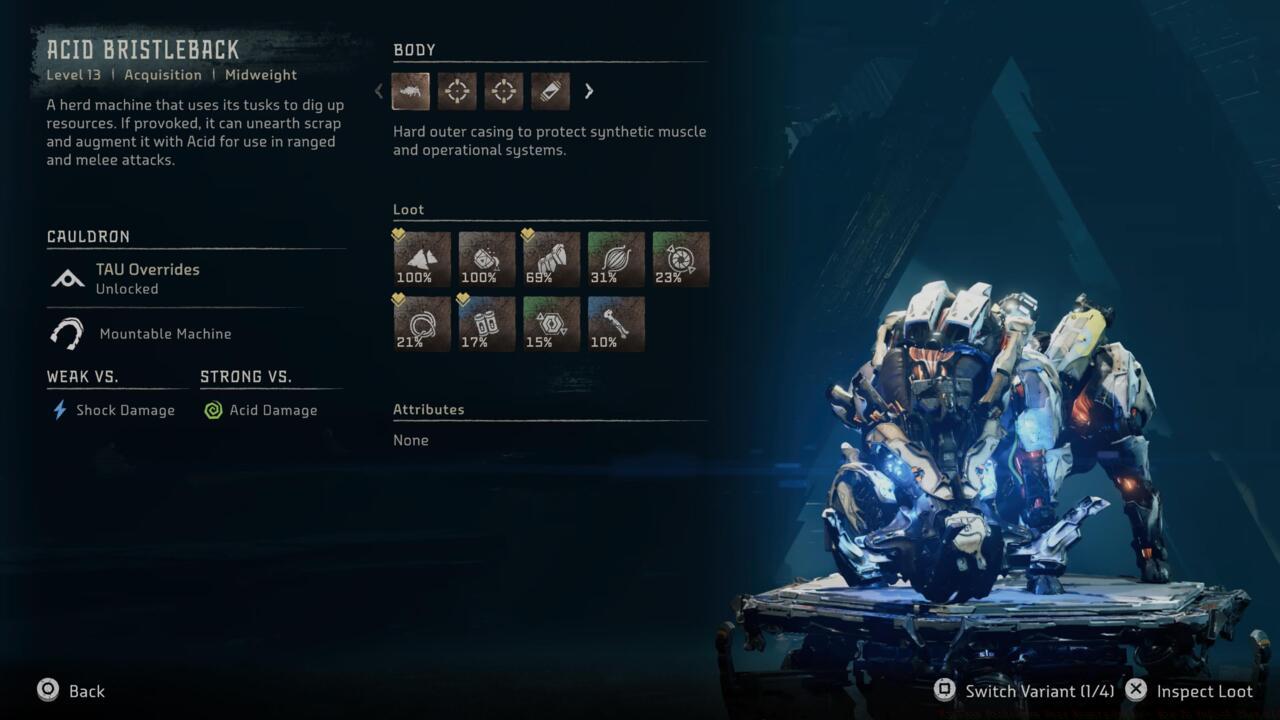
Upon reaching the Daunt region in Forbidden West’s early stages, you’ll encounter local inhabitants contending with aggressive Bristleback machines. These substantial warthog-inspired robots become available as mounts relatively early through main story progression.
Bristlebacks deliver exceptional combat performance with numerous elemental attack options while maintaining impressive mobility. Their balanced attributes make them versatile choices for both transportation and battlefield support when additional firepower proves necessary.
The Repair Bay Cauldron becomes accessible during Plainsong narrative arcs.
Advanced Strategy: Bristlebacks excel at disrupting enemy formations with their charge attacks. Position them to flank opponents while you engage from range for maximum tactical advantage. Their elemental capabilities can exploit specific machine weaknesses when properly utilized.
Clawstriders present as formidable combat mounts despite their relatively reduced movement speed compared to other options. Their aggressive nature makes them exceptional partners in hostile engagements where offensive capability outweighs mobility concerns.
Combat proficiency compensates for mobility limitations with Clawstriders.
Unlocking the Clawstrider requires locating and overriding the IOTA Cauldron, situated north of Scalding Spear away from primary story paths.
IOTA Cauldron discovery demands exploration beyond main narrative objectives.
Combat Optimization: Deploy Clawstriders as stationary defense points during complex engagements. Their sustained damage output proves invaluable when controlling battlefield zones or protecting strategic positions.
The Sunwing revolutionizes traversal mechanics by introducing three-dimensional mobility across the game world. This flying mount dramatically reduces travel time between destinations while providing unparalleled reconnaissance capabilities.
Aerial mobility transforms exploration dynamics but requires substantial story progression.
This exceptional mount remains locked behind significant narrative advancement, representing one of the game’s most rewarding progression milestones. The ability to bypass terrestrial obstacles and enemies makes the Sunwing an invaluable end-game asset.
Master Tip: Utilize Sunwings for scouting enemy camps and identifying optimal infiltration routes before engaging. Their elevation advantage provides tactical oversight unavailable through ground-based mounts.
Strategic mount selection should align with your immediate objectives—speed for exploration, combat capability for hostile territories, or aerial mobility for reconnaissance missions. Understanding each mount’s specialized role enhances both efficiency and effectiveness throughout your journey.
Common Mistakes to Avoid: Many players underestimate mount durability in combat situations, resulting in frequent overrides. Others fail to utilize the full tactical potential of their mounts beyond basic transportation.
Optimization Techniques: Rotate mounts based on environmental demands. Use Chargers for rapid traversal through safe zones, Bristlebacks for regions with moderate threats, and Clawstriders for actively hostile areas. The Class Guide demonstrates similar specialization principles applicable to mount selection.
For comprehensive gameplay enhancement, consult our Complete Guide for additional strategic frameworks. Weapon compatibility with mount types also influences combat effectiveness, as detailed in our Weapons Unlock guide for synergistic loadout configurations.
Mount mastery requires understanding not just unlocking mechanisms but also situational application. The time investment for Cauldron completion typically ranges from 20-45 minutes each, depending on puzzle complexity and combat encounters.
Action Checklist
- Master Charger usage for early game mobility and escape tactics
- Complete Repair Bay Cauldron near Plainsong to unlock Bristleback
- Locate and override IOTA Cauldron north of Scalding Spear for Clawstrider
- Progress through main story to unlock Sunwing flying capabilities
- Implement situational mount selection based on terrain and threat assessment
No reproduction without permission:SeeYouSoon Game Club » Horizon Forbidden West Mounts Guide – How To Unlock Them All Master Horizon Forbidden West's machine mounts with comprehensive unlocking strategies and combat optimization tips