Master Honkai Star Rail’s Snack Dash event with advanced strategies, optimal Creation picks, and arena-specific tactics for maximum rewards.
Event Overview & Core Mechanics
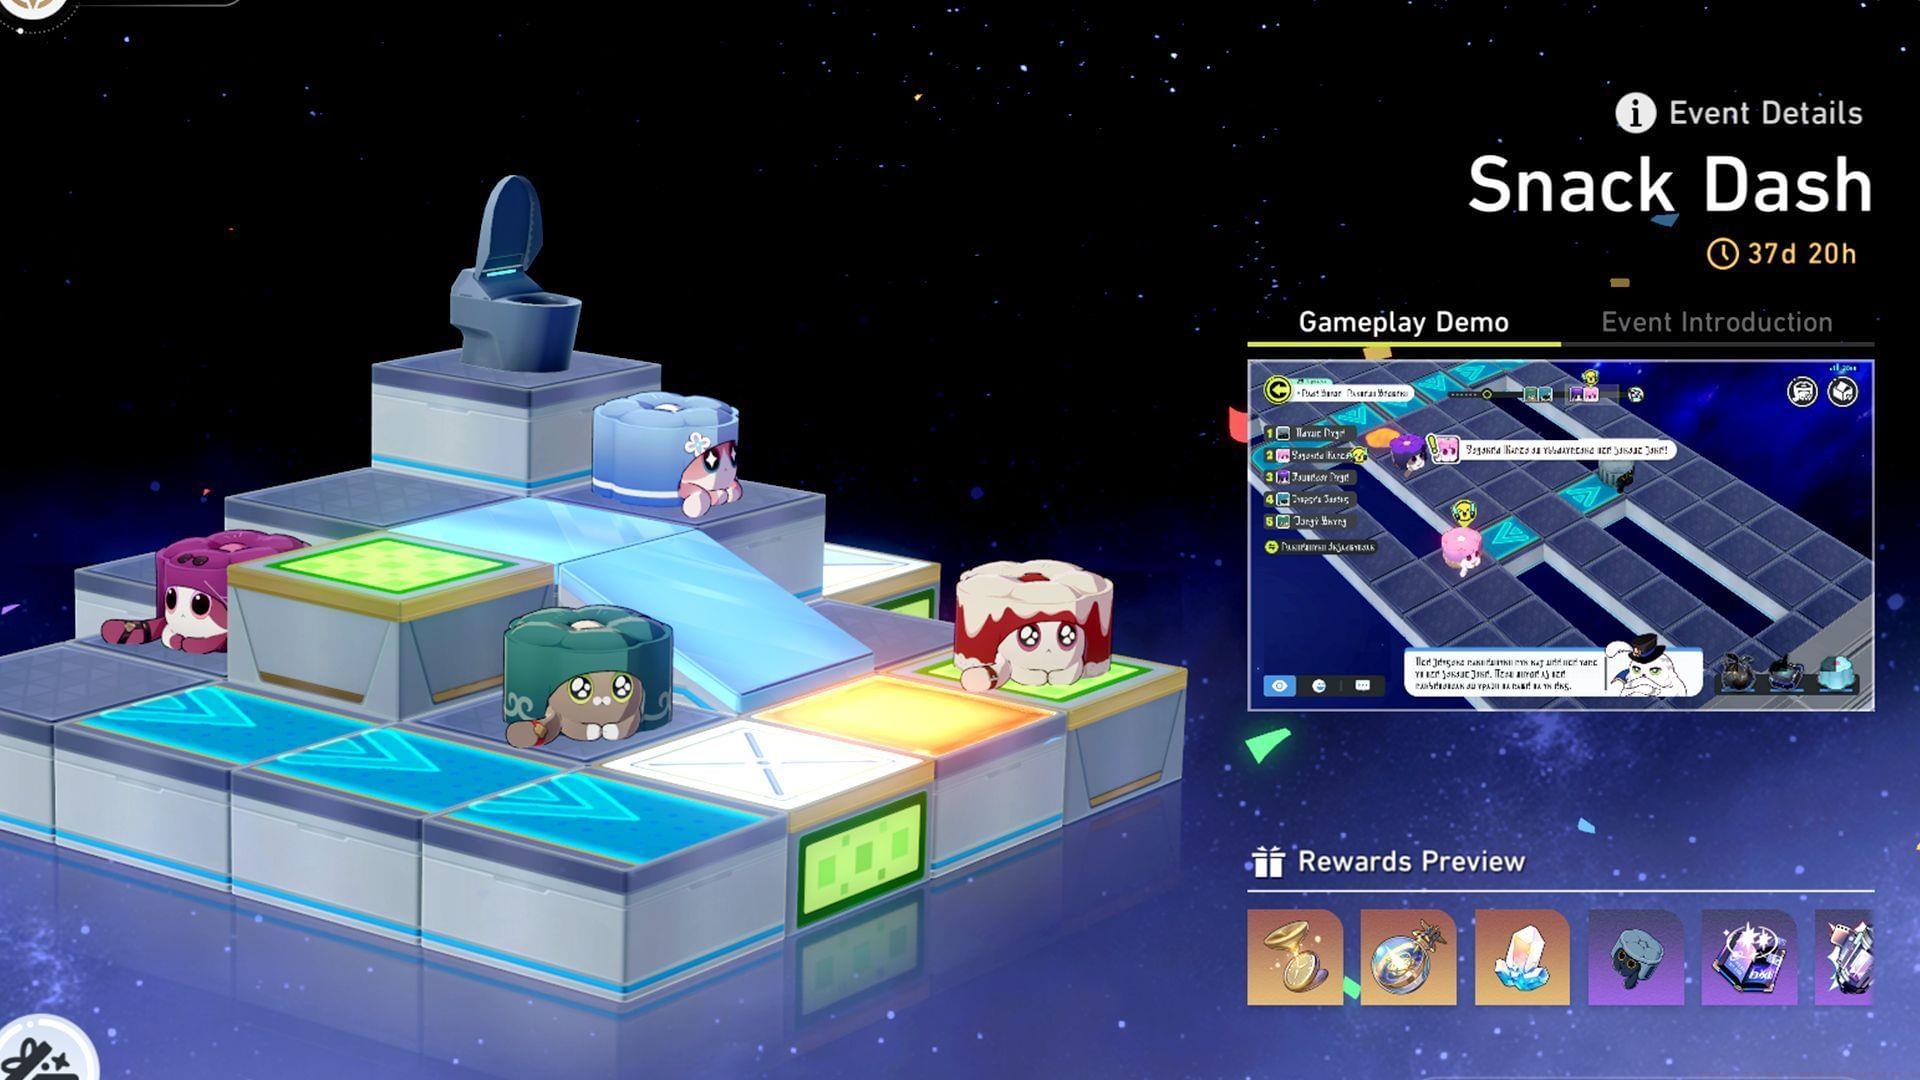
Introduced in Honkai Star Rail’s Version 3.7, Snack Dash presents players with a novel obstacle course challenge where you act as a spectator cheering on unique Creations. Your primary goal is to guide your chosen Creation to victory across various races to earn lucrative rewards, including Stellar Jades, Trace Materials, Credits, and an exclusive cosmetic item for the Trailblazer.
A critical distinction exists between event access and reward availability. While the Snack Dash event itself will become a permanent fixture in the Conventional Memoir after Version 3.7 concludes, the most valuable rewards are time-limited. You must participate and claim them during the current version’s runtime to add them to your inventory.
The core gameplay loop involves strategic support. You don’t control a Creation directly but influence the race by spending Bounce-Bounce Snacks to cheer and by deploying tactical Arena Items. Success hinges on matching the right Creation to the specific arena layout and leveraging stage effects to your favor.
Arena Progression & Resource Management
The event features four distinct Arenas that serve as difficulty tiers: Casual, Beginner, Intermediate, and Advanced. Progression is linear, requiring you to complete one arena to unlock the next. However, a key gatekeeping mechanism is the escalating entry cost. Each subsequent arena demands a higher amount of Bounce-Bounce Snacks to enter.
Practical Tip: Do not spend all your Snacks on re-racing in early arenas. Always keep a reserve equal to the entry cost of the next locked arena. A common mistake is depleting resources on Casual mode, only to be stuck waiting for Snack regeneration to unlock Beginner.
Think of Bounce-Bounce Snacks as your event-specific stamina. Plan your session to ensure you have enough to attempt the next arena unlock in one sitting. The Advanced Arena offers the best reward yield, so efficient resource management is crucial for maximizing your total event gains.
Creations: Choosing Your Champion
Before each race, you must select one Creation to support. This choice is the most significant strategic decision you will make. While the original guide mentions ‘best Creations,’ the truth is more nuanced: the optimal pick is arena-dependent.
Each Creation possesses unique abilities that interact with specific tile types on the course. For example, a Creation with high straight-line speed is mediocre on a course full of sharp turns but dominant on a long straightaway. Conversely, a Creation with a dash or teleport ability can bypass certain obstacle tiles entirely.
Strategy: In the selection screen, scrutinize the arena preview. Identify the most common tile types (e.g., speed boosts, bumpers, push plates, gaps). Then, cross-reference this with your unlocked Creations’ skill descriptions. Prioritize Creations whose abilities either exploit beneficial tiles or negate hazardous ones. Do not simply pick the Creation with the highest base speed stat.
Common Mistake: Players often stick with one ‘favorite’ Creation across all arenas, leading to suboptimal performance in later, more complex courses. Be prepared to switch your support based on the tactical demands of each race.
Arena Items: Tactical Match Control
During the race, you are not powerless. You can deploy Arena Items to swing the momentum. These items affect all Creations on the track, so timing and placement are key to benefiting your pick while hindering opponents.
- Trash Bag: Dropping it on Creations will stun them for two seconds. Pro Tip: Best used reactively. Wait for an opponent Creation to pull alongside or slightly ahead of yours on a straight section, then drop the bag. Using it preemptively often wastes the effect.
- “Herta-V” Signal Jammer: Dragging this onto Bumper or Push Plates disables them for three seconds. Pro Tip: This is a defensive or setup tool. Use it on a hazardous plate just before your Creation arrives to create a safe path, or disable a boost plate right before an opponent reaches it to slow them down.
- Universal Bait: Attracts nearby Creations for four seconds. Pro Tip: This is a powerful zoning tool. Drop it off the ideal racing line (e.g., in a corner) to lure opponents off-course. Alternatively, place it just before a beneficial speed tile to cluster opponents and deny them clean access.
Item management separates beginners from experts. Holding an item for the perfect moment is often better than using it immediately.
Stage Effects & Advanced Optimization
Upon reaching the Intermediate Arena, a new strategic layer unlocks: Stage Effects. After each stage within a match, you’ll be offered a choice of effects that will persist for the remainder of the race.
These effects can radically alter the race conditions. Examples might include “All speed tiles provide 50% more boost,” “Creations regenerate stamina faster,” or “Bumper plates have a larger knockback effect.” Your selection should not be made in a vacuum.
Optimization Tip: Analyze the synergy between the offered effects and your chosen Creation’s strengths and weaknesses. If you picked a slow but sturdy Creation, an effect that reduces collision damage might be perfect. If your Creation excels on speed tiles, doubling down with an effect that enhances them is ideal. Avoid effects that primarily benefit opponent Creations or that contradict your established strategy.
This system allows for deep customization of each run, encouraging you to build a strategy around your Creation’s unique kit rather than relying on raw stats alone.
Actionable Roadmap & Pro Tips
Mastering Snack Dash requires a blend of strategy and resource awareness. Here’s a consolidated approach to ensure you claim all time-limited rewards efficiently.
Also read: Cyrene E1 vs S1 in Honkai Star Rail: Which one should you pull?
Follow Sportskeeda for more Honkai Star Rail news, updates and guides.
No reproduction without permission:SeeYouSoon Game Club » Honkai Star Rail Snack Dash event guide Master Honkai Star Rail's Snack Dash event with advanced strategies, optimal Creation picks, and arena-specific tactics for maximum rewards.