Master the opening quest in Ghost of Yotei with detailed strategies, combat tips, and efficiency guides for The Road to Ishikari Plain.
Initiating The Road to Ishikari Plain
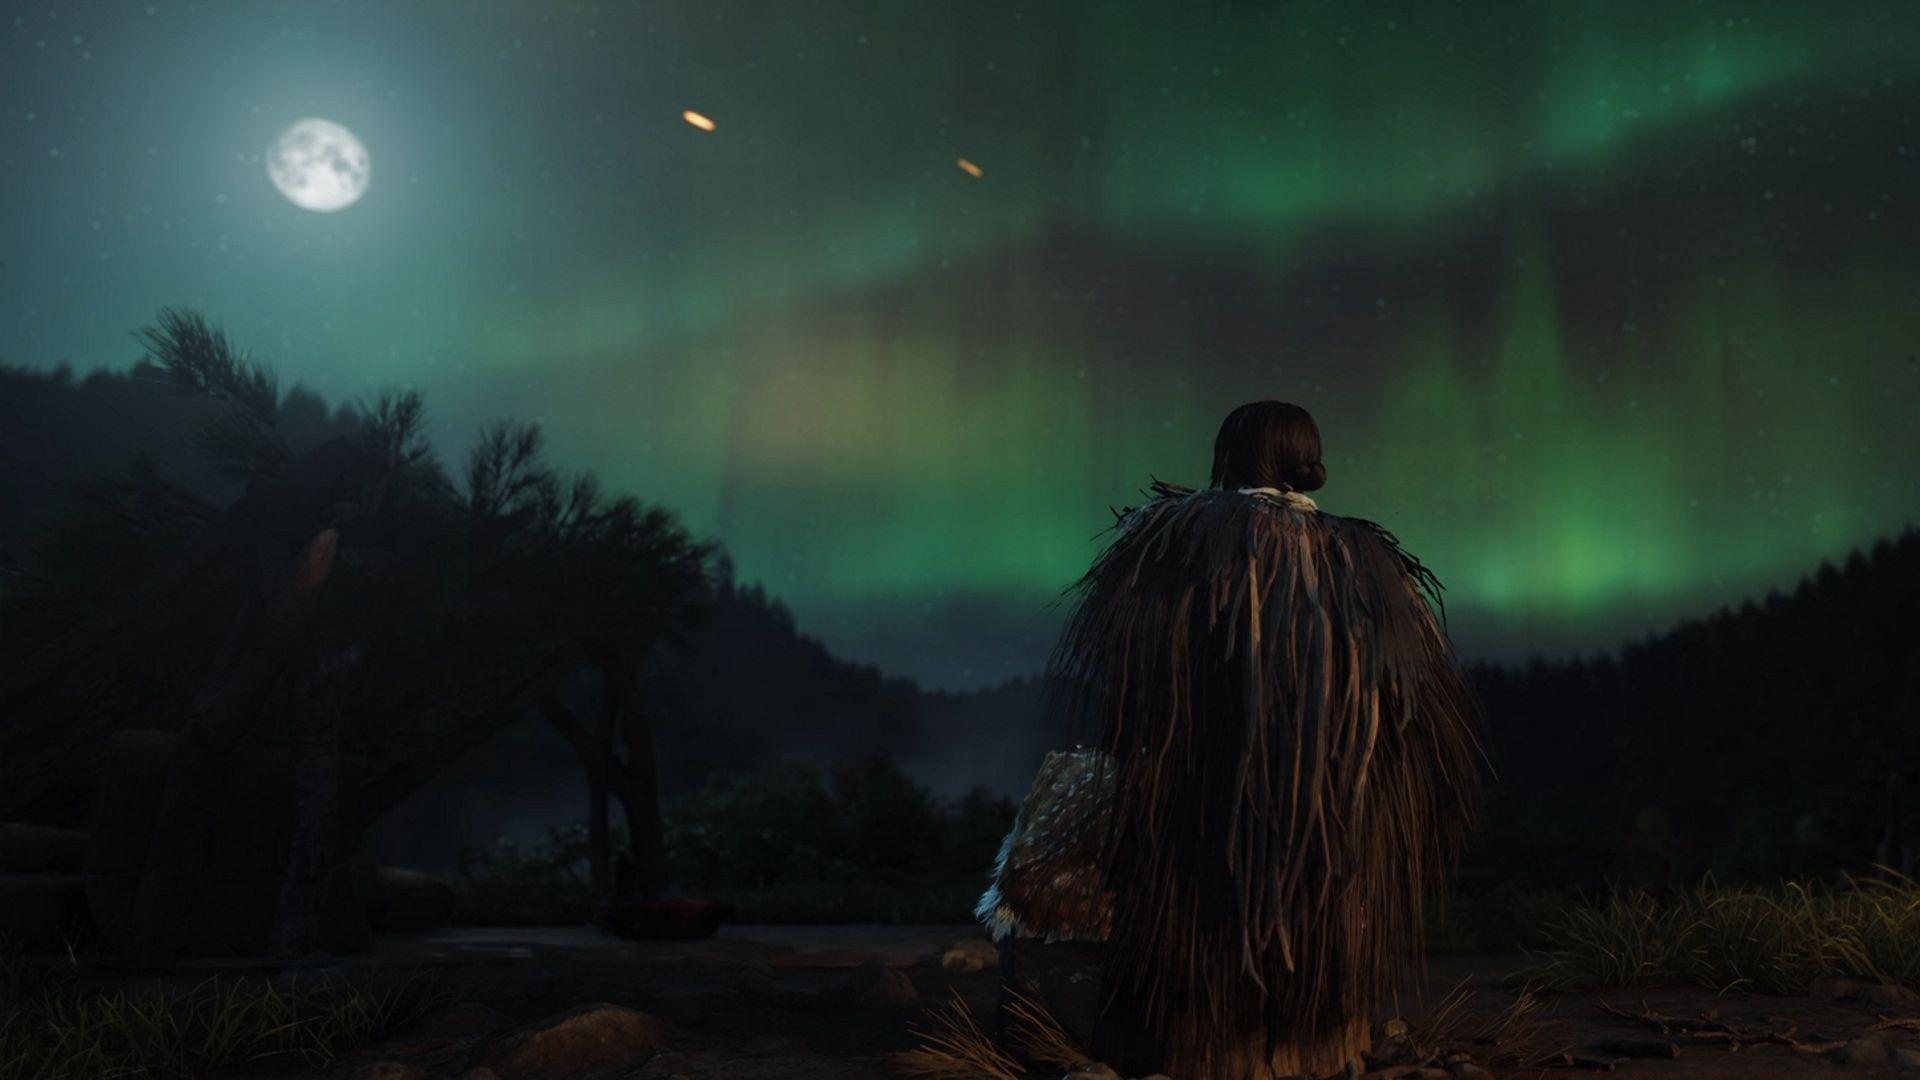
The Road to Ishikari Plain serves as the inaugural main story mission in Ghost of Yotei, launching Atsu’s vendetta against The Oni. This critical path quest becomes available in the Golden Foothills region immediately after completing the introductory quest, The Yotei Six. Your primary objectives involve engaging Oni Raiders in combat and investigating key characters to advance the narrative.
To gain entry past the guarded gate, you must first locate the beggar accompanied by a dog. Interact with this NPC and donate 10 coins to him. This charitable act triggers a scripted event where the guards deny you passage, prompting the beggar to intervene. Converse with the beggar a second time, and he will furnish you with the necessary travel permit.
Presenting this document to the gatekeepers formally commences The Road to Ishikari Plain quest, setting the story in motion.
Also read: How to get money (Coins) fast in Ghost of Yotei
Initial Combat and Investigation
A cinematic sequence concludes with a squad of Oni Raiders launching a surprise attack. With Lord Kitamori fighting alongside you, defeat all hostiles. A key strategy here is to target enemy archers first, as their ranged attacks can disrupt your flow and deplete health rapidly. Following the skirmish, mount your horse and shadow Lord Kitamori as he leads you to a grisly scene featuring multiple deceased horses.
Dismount and inspect one of the horse carcasses to discover vital environmental storytelling and a clue about the Oni’s movements.
From this point, proceed along the dirt path marked with distinct footprints. Shortly ahead, the game will prompt you to activate the Examine function. Do so, then track the prints as they ascend the slope.
At the trail’s terminus, scale the rock face using available handholds and proceed along the mountain pass. Approach the cliff’s edge to trigger the next story cutscene.
Mountain Slope Battle and Camp Sequence
After sliding down the mountainside, you’ll face another group of Oni Raiders. Again, fight alongside Lord Kitamori. For efficiency, use your Kusarigama’s charged heavy attack (typically Triangle/Hold) to shatter the shields carried by some foes, leaving them vulnerable. Once the area is secure and Lord Kitamori mentions burying the dead, you’ll be given dialogue choices regarding the burial.
These options are purely narrative and do not influence quest progression or rewards; select based on role-playing preference.
Also read: Ghost of Yotei ending explained
Next, head down the muddy trail bordered by two trees adorned with Oni masks. At the fork, take the left path to locate a deserted Oni Raider camp.
Search the camp to acquire the fish basket, a key quest item. This location is also rich with optional lootable supplies like arrows, crafting materials, and minor coin pouches—always worth scouring.
Afterward, approach the extinguished campfire and select the Build Fire interaction to cook the fish from your basket. This not only progresses the quest but also restores a portion of your health.
Also read: How to build and use camps in Ghost of Yotei
Confronting the Oni Raider Ambusher
Upon waking, exit the campsite to encounter Jubei. Accompany him; the following conversation offers prompts that are, again, narrative-only. When you discover more horses, continue following Jubei until you reach the designated objective marker.
A cutscene transitions directly into a boss fight against the Oni Raider Ambusher. This duel is challenging because his slashing attacks can inflict a damage-over-time burn status on Atsu. Your core defense should be a mix of well-timed dodges and parries.
Combat Strategy: When the enemy closes in, watch for blue glints on his weapon—this signals an attack that can be parried for an opening. Crucially, when his weapon flashes with a distinct yellow glint, he is preparing an unblockable grab. You must interrupt this immediately with a charged attack (hold Square) to avoid significant damage.
When the Ambusher’s health drops to about 5%, he will draw a Katana. At this moment, switch to your own Katana stance to match his aggression and deliver the finishing blows effectively.
After prevailing, help Jubei dispatch the remaining regular Oni Raider. Then, follow him to a large gate, open it, and continue to the Matsumae Encampment. Dialogue choices here are, once more, inconsequential to outcomes.
Also read: Why did Saito kill Atsu’s family in Ghost of Yotei?
Bamboo Training and Journey’s End
Once in the encampment, proceed to the adjacent training grounds. A Matsumae samurai will call out to you. Speak with him, select any response, and then choose the Cut Bamboo prompt to initiate a combat tutorial sequence.
This sequence tests your ability to execute specific combos. You must input the following button presses accurately and in sequence:
Pro Tip: Don’t rush. The game gives you a generous window for each input. Focus on accuracy over speed to pass easily.
After the training, follow your Guiding Wind indicator to find Jubei again. Converse with him using any dialogue option to advance.
Mount your horse stationed near the encampment gate and select the Leave option.
Ride to the cliff’s edge and utilize your Spyglass. Pan across Ishikari Plain to survey key points of interest:
This action concludes The Road to Ishikari Plain. You are now free to travel to the Ishikari market district to begin the next main story quest, A Mad Pursuit, continuing your hunt for The Oni.
Check out more gameplay guides from Sportskeeda:
No reproduction without permission:SeeYouSoon Game Club » Ghost of Yotei walkthrough: How to complete The Road to Ishikari Plain quest (The Oni) Master the opening quest in Ghost of Yotei with detailed strategies, combat tips, and efficiency guides for The Road to Ishikari Plain.