Master the mechanics to defeat The Last Survivor of Tenochtzitoc with strategic team building and combat techniques
Understanding the Boss Mechanics
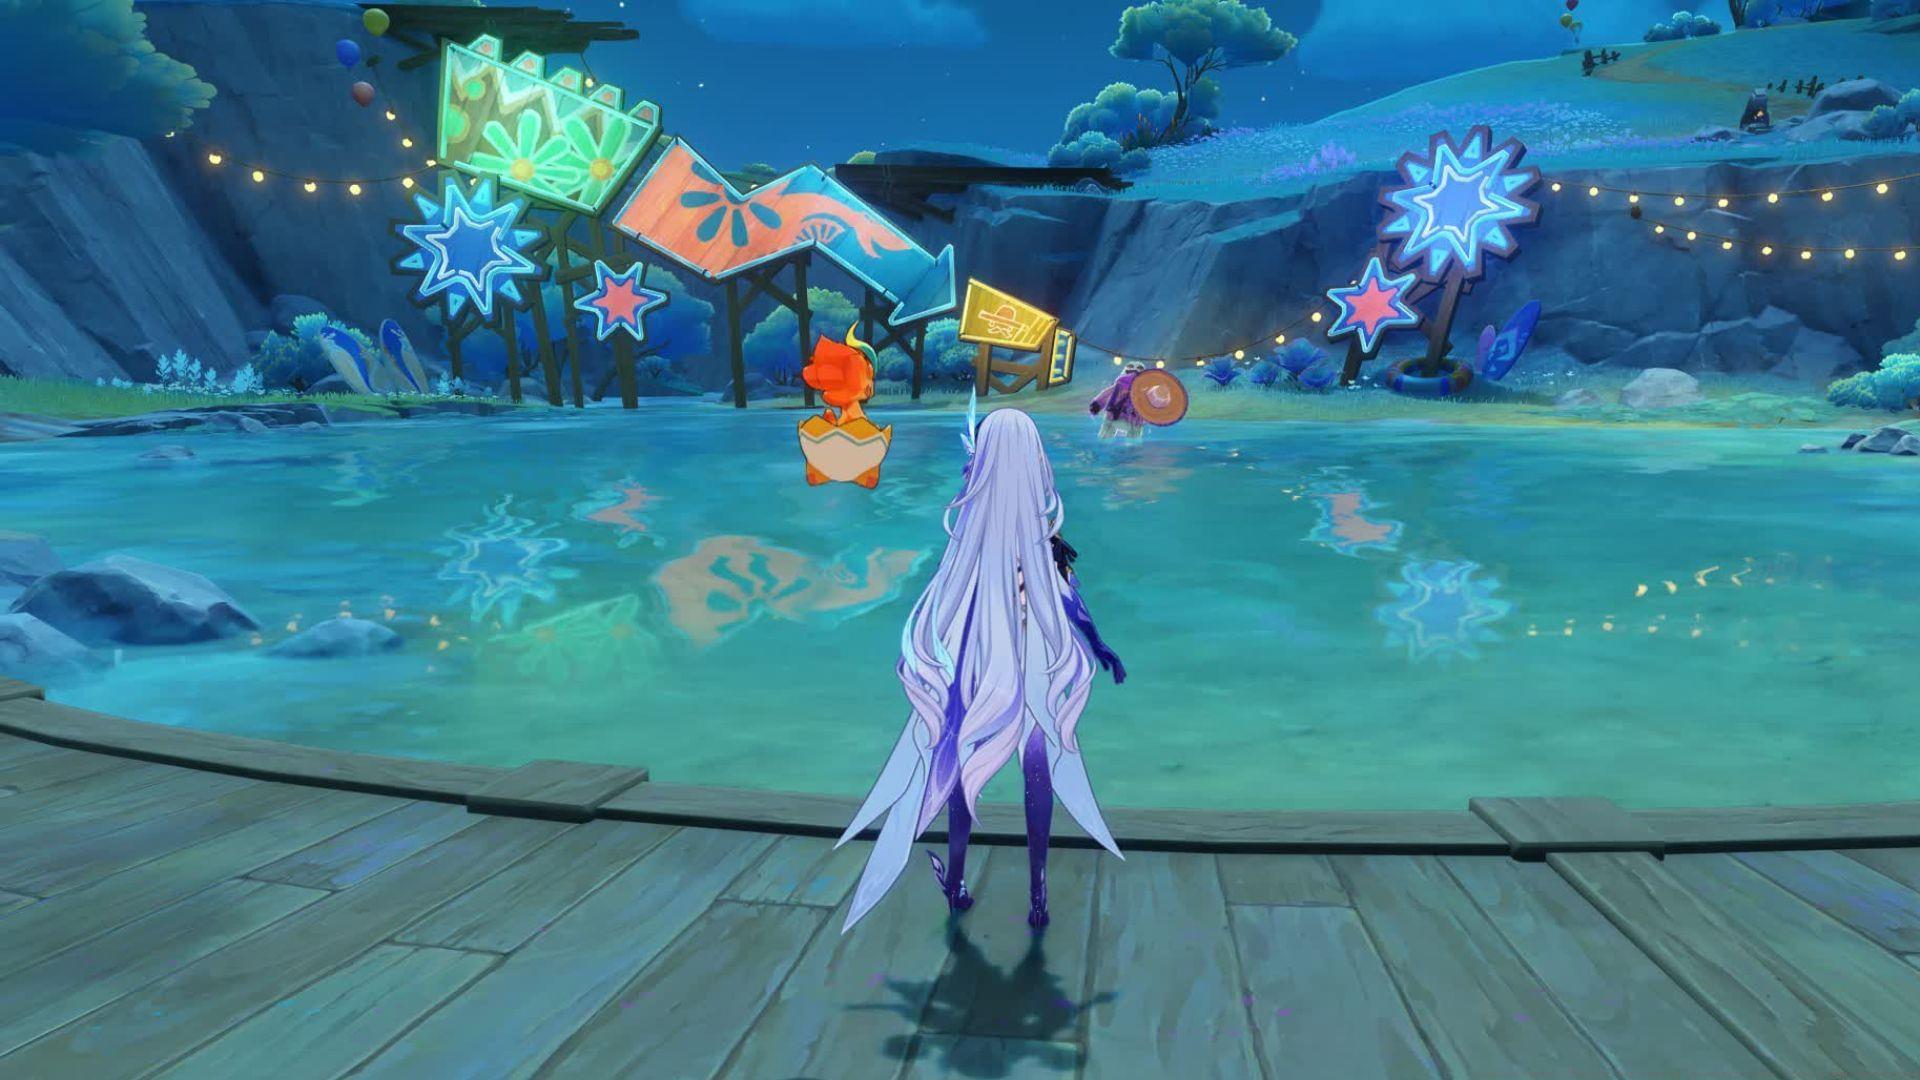
Introduced with Genshin Impact’s 5.8 update, The Last Survivor of Tenochtzitoc represents a challenging Local Legend encounter located within the Easybreeze Holiday Resort area of Natlan, positioned south of the Wavey Hill region. This formidable opponent requires specific elemental strategies to overcome, with victory rewarding players with both the associated achievement and valuable Primogems. Understanding the core mechanics of this Battle-Hardened Pipilpan Doll encounter is essential for efficient completion.
This particular Local Legend exhibits significant vulnerability to both Electro-Charged and Lunar-Charged elemental reactions, making team composition critical for success. The encounter features a unique transformation mechanic where successfully filling a special meter beneath the boss’s health bar triggers a pivotal phase change. Proper execution of these mechanics separates successful attempts from failed encounters, requiring both strategic planning and real-time adaptation.
Optimal Team Composition Strategies
Constructing an effective squad demands careful consideration of elemental synergies, with Hydro and Electro characters forming the foundation of any successful strategy. Characters capable of consistently applying these elements will dramatically increase your damage output and meter-building efficiency. The inclusion of Ineffa, if available in your roster, provides exceptional value due to her innate compatibility with the required reaction mechanics.
For players lacking specific five-star options, numerous effective alternatives exist. Consider pairing characters like Fischl or Yae Miko for consistent Electro application with Xingqiu or Kokomi for reliable Hydro support. The key lies in maintaining near-constant elemental application to rapidly progress through the encounter’s phases. Teams should also include at least one defensive option to mitigate damage during the boss’s more aggressive attack patterns.
Advanced players may experiment with Anemo supports like Kazuha or Sucrose to swirl elemental applications across multiple targets during the hat phase, potentially accelerating the meter-filling process. Regardless of your specific composition, ensure your team possesses sufficient survivability to withstand the encounter’s duration while maintaining offensive pressure.
Step-by-Step Combat Execution
Initiate combat by immediately applying Electro-Charged reactions to begin filling the transformation meter beneath the boss’s health bar. Once this meter reaches capacity, the enemy will undergo a dramatic transformation into a sombrero, signaling the beginning of the encounter’s primary mechanic. This phase requires careful observation and quick reflexes to successfully navigate.
During the transformation, two additional hats will appear within the arena, creating a total of three potential targets. The boss will inhabit one of these sombreros while periodically swapping positions with the decoys. Most players report between two to three position swaps before the targeting phase concludes. Maintaining visual tracking of the correct hat is absolutely critical—losing track will reset your progress and extend the encounter unnecessarily.
After successfully identifying the correct sombrero following the swapping sequence, apply either Electro or Lunar-Charged reactions to resume filling the meter. Upon completion, the boss will enter a vulnerable stunned state, providing your primary damage window. Unleash your most powerful attacks and elemental bursts during this period to maximize damage output.
Following the stun phase, the boss becomes highly aggressive, employing a leaping attack that can easily incapacitate unprepared characters. Time your dodges precisely to avoid these high-impact moves. Additionally, remain aware of aerial attacks where hats rain down across the battlefield—these require constant movement and spatial awareness to evade successfully.
Advanced Strategies and Rewards
Many players struggle with properly tracking the sombrero during the swapping phase—a common mistake that significantly prolongs the encounter. Develop a systematic approach to tracking, such as focusing on subtle visual differences or memorizing initial positions. Another frequent error involves mismanaging stamina during the evasion phases, leaving characters vulnerable to the boss’s leap attacks.
Successfully defeating The Last Survivor of Tenochtzitoc rewards players with the eponymous achievement, granting 5 Primogems as direct compensation for your efforts. While the material rewards may seem modest, the encounter provides valuable practice for reaction-based combat mechanics that appear throughout Natlan’s content. Consider repeating the fight to master the timing and patterns for future challenging encounters.
For speedrunners and efficiency-focused players, optimizing the meter-filling phase represents the greatest time-saving opportunity. Characters with rapid, widespread elemental application can significantly reduce the time spent in the initial phase. Additionally, learning the exact timing of the stun window allows for perfectly coordinated burst rotations that can sometimes skip subsequent phases entirely.
No reproduction without permission:SeeYouSoon Game Club » Genshin Impact: The Last Survivor of Tenochtzitoc Doll Local Legend boss guide Master the mechanics to defeat The Last Survivor of Tenochtzitoc with strategic team building and combat techniques