Comprehensive Genshin Impact 6.0 Spiral Abyss guide with enemy breakdowns and battle strategies
Understanding Spiral Abyss 6.0 Updates
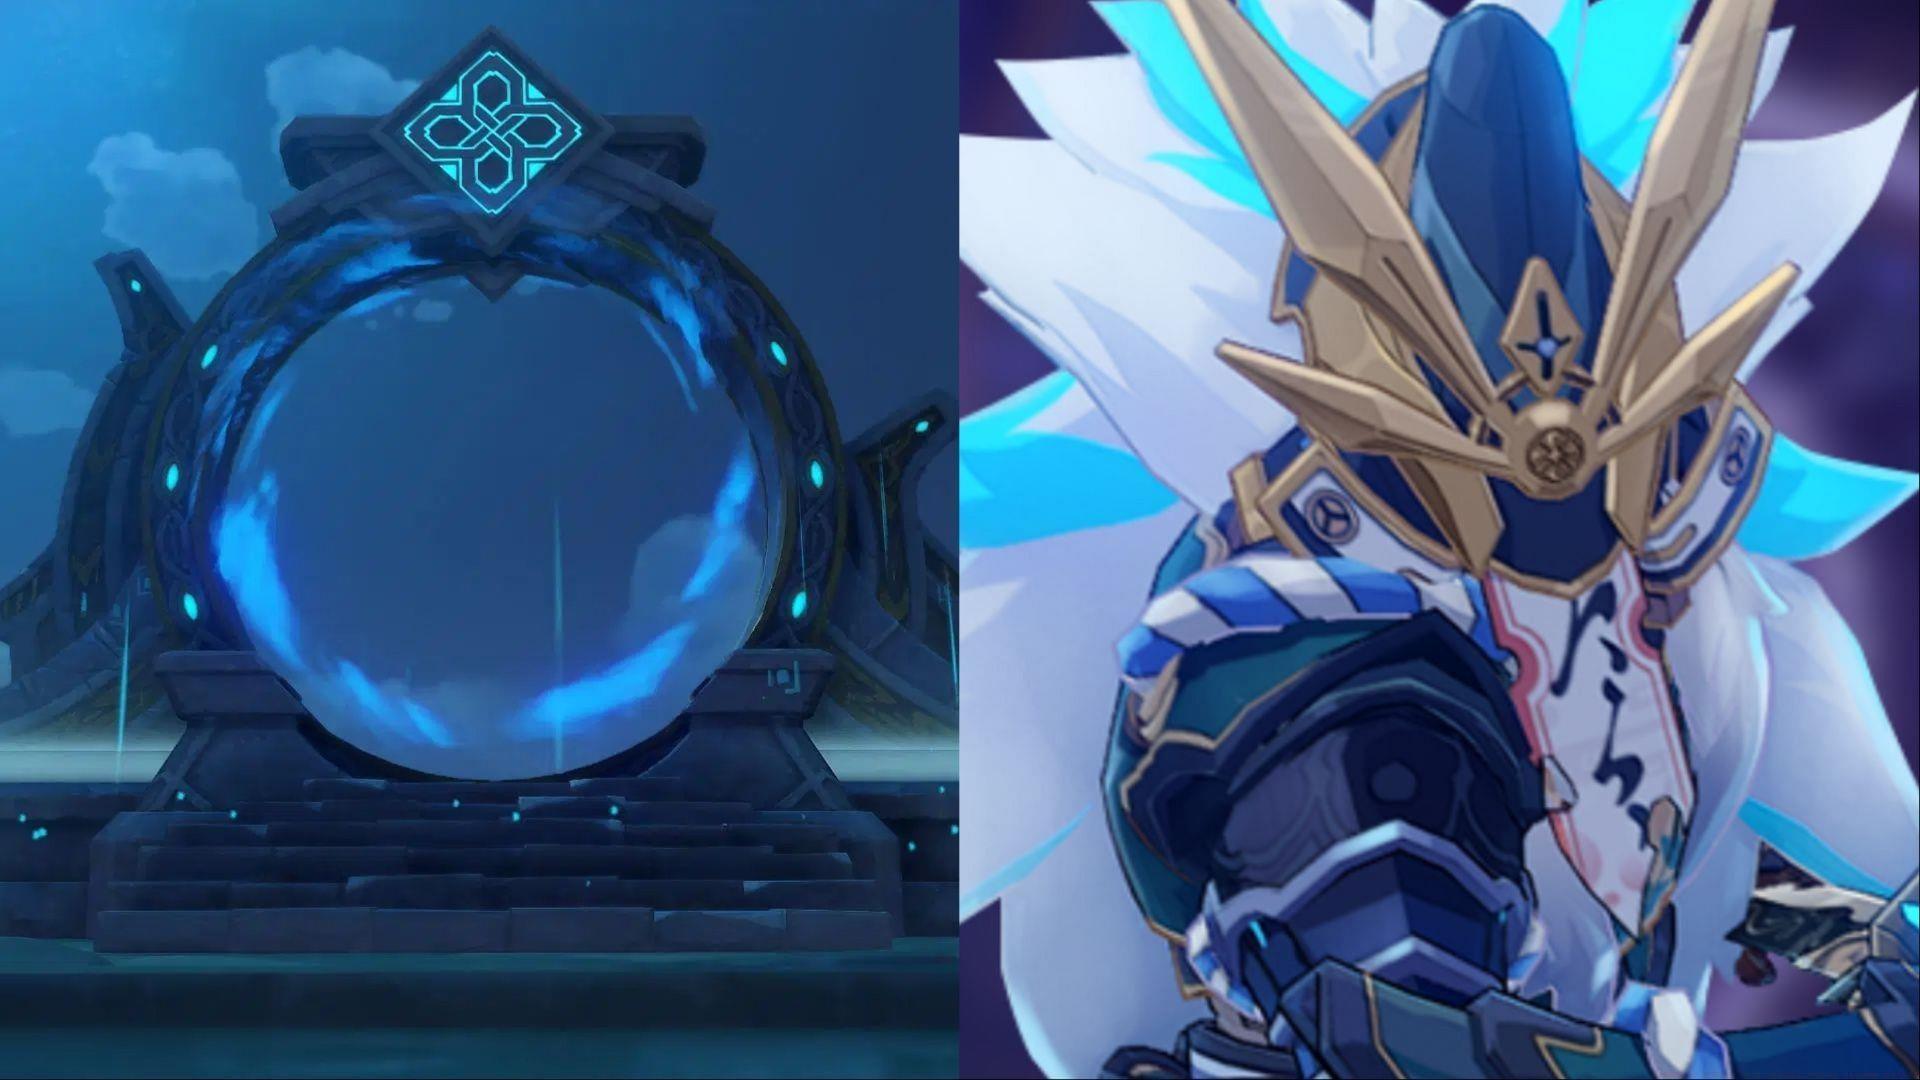
Genshin Impact 6.0 Spiral Abyss lineup (Image via HoYoverse)
Genshin Impact 6.0 Spiral Abyss lineup (Image via HoYoverse)
The Spiral Abyss represents Genshin Impact’s premier endgame challenge, serving as the ultimate testing ground for character builds and team compositions. This demanding mode undergoes complete enemy roster refreshes every month on the 15th, presenting players with new strategic puzzles to solve. The upcoming 6.0 expansion introduces Nod-Krai, an entirely new region where Travelers will encounter diverse factions and previously unseen adversaries. Many of these fresh combatants will debut within the Spiral Abyss rotation.
Version 6.0 showcases numerous hostile forces from various factions including Mythical Beasts, Fatui operatives, Abyss Order members, and additional groups. Understanding these enemy types and their behavior patterns becomes essential for achieving three-star clears.
Strategic preparation involves analyzing enemy elemental affinities, attack patterns, and potential synergies between different enemy types within each chamber. Advanced players should pay particular attention to enemy positioning and spawn timing to optimize area-of-effect damage and crowd control effectiveness.
First Phase Abyss Lineup Analysis
Below you’ll find the comprehensive enemy breakdown for floors 11 and 12 during the initial Spiral Abyss phase of version 6.0, complete with strategic insights for each encounter:
Chamber 11 Composition
First Half: Nobushi: Jintouban (170,484 HP), Kairagi: Fiery Might (409,163 HP), Kairagi: Dancing Thunder (409,163 HP), Assault Specialist Mek – Pneuma (409,163 HP) – Focus the Kairagi first to prevent their revival mechanic
Second Half: Grounded Geoshroom (238,678 HP), Grounded Hydroshroom (170,484 HP), Primordial Bathysmal Vishap (681,938 HP) – Use Cryo against Hydroshroom for freeze reactions
Chamber 12 Detailed Breakdown
First Half: Consecrated Horned Crocodile (649,255 HP), Consecrated Fanged Beast (649,255 HP) – These enemies apply strong corrosion effects; bring shields or healers
Second Half: Primal Construct: Reshaper (315,352 HP), Primal Construct: Prospector (315,352 HP), Cutting Edge All-Purpose Scout Landcruiser (742,006 HP), Cutting Edge All-Purpose Storm Landcruiser (649,225 HP), Ruin Grader (547,967 HP) – Destroy Ruin Grader’s weak points first to stagger it
Advanced Floor 12 Strategies
First Half: Cutting Edge All-Purpose Scout Landcruiser (797,146 HP), Oprichniki Support Trooper (139,500 HP), Construction Specialist Mek – Pneuma (697,502 HP) – Priority target: Support Trooper to prevent enemy healing
Second Half: Ruin Defender (418,501 HP), Ruin Cruiser (298,930 HP), Ruin Guard (447,491 HP), Ruin Drake: Earthguard (697,502 HP) – Use bow characters to target weak points for interrupts
Wave-Based Chamber Tactics
First Half Wave 1: Mirror Maiden (1,022,145 HP) – Avoid her hydro imprisonment field at all costs
First Half Wave 2: The Last Survivor of Tenochtzitoc (3,407,150 HP) – This boss has devastating area attacks; maintain distance
Second Half Wave 1: 2x Tainted Water-Spouting Phantasm (681,430 HP each) – Group them together for efficient clearing
Second Half Wave 2: Hydro Tulpa (3,747,865 HP) – Electro and Cryo characters excel here for reaction damage
Final Chamber Optimization
First Half Wave 1: 2x Hydro Hilichurl Rogue (965,636 HP each) – They teleport frequently; use crowd control abilities
First Half Wave 2: Radiant Moonfly (3,090,036 HP) – This enemy has high mobility; use freeze or stagger effects
Second Half Wave 1: 2x Thundercraven Rifthounds (1,451,891 HP each) – They create corrosion; bring strong healers
Second Half Wave 2: 2x Assault Specialist Mek – Ousia (927,011 HP each) – Use Pneuma-aligned attacks to break their shields quickly
Second Half Wave 3: Eremite Floral Ring-Dancer (965,636 HP) and Eremite Stone Enchanter (965,636 HP) – Focus the Ring-Dancer first as she provides buffs to allies
First Half Wave 1: Oprichniki Thunderblitz Druzhina (831,900 HP) – This enemy has rapid attack patterns; use interruption resistance
First Half Wave 2: Knuckle Duckle (5,615,327 HP) – Massive HP pool requires sustained DPS; save bursts for this phase
Second Half Wave 1: Shadowy Husk: Defender (831,900 HP), Shadowy Husk: Standard Bearer (1,039,875 HP), Shadowy Husk: Line Breaker (1,247,850 HP) – Eliminate Standard Bearer first to remove enemy buffs
Second Half Wave 2: Maguu Kenki: Lone Gale (2,205,907 HP), Maguu Kenki: Mask of Terror (2,205,907 HP), Maguu Kenki: Galloping Frost (2,205,907 HP) – This triple boss fight requires careful positioning and target prioritization
Second Phase Abyss Lineup Breakdown
The following analysis covers the enemy compositions for the second Spiral Abyss phase in version 6.0, featuring different mechanical challenges and strategic requirements:
Initial Chamber Formations
First Half: Radiant Lunapod (852,422 HP) – This enemy has strong area denial; use mobile characters
Second Half: Oprichniki Hailstorm Cannoneer (409,163 HP), Oprichniki Fireblade Shock Trooper (1,747,466 HP), Oprichniki Vanguard (102,291 HP), Oprichniki Medic (85,242 HP) – Always prioritize the Medic first to prevent enemy healing
Mid-Chamber Adaptations
First Half: Tangled Vines: Frostnight Scion (946,057 HP) – Pyro characters are highly effective against this enemy type
Second Half: Wilderness Exile (222,602 HP) – Relatively straightforward but can summon reinforcements if not eliminated quickly
First Half: Wilderness Exile (239,144 HP), Cutting Edge All-Purpose Storm Landcruiser (697,502 HP), Close Combat Scout Landcruiser (239,144 HP) – Focus the Storm Landcruiser first due to its disruptive attacks
Second Half: Gleaming Charge: Frostnight Scion (1,016,361 HP) – This enemy charges frequently; use freeze or stagger to interrupt
Wave Mechanics and Prioritization
First Half Wave 1: Tainted Water-Splitting Phantasm (851,787 HP) – These enemies split when damaged; use burst damage to eliminate quickly
First Half Wave 2: Assault Specialist Mek – Pneuma (817,716 HP) – Requires Ousia-aligned attacks for shield breaking
First Half Wave 3: Radiant Antelope (1,873,932 HP) – High mobility enemy; use crowd control to limit movement
Second Half: The Night Watcher (1,609,878 HP) – This boss has powerful single-target attacks; use shields or dodging
Final Chamber Challenges
First Half: Cineas (2,085,774 HP) – Complex attack patterns require careful observation and timing
Second Half: 2x Wilderness Hunter (2,008,523 HP each) – These enemies coordinate attacks; separate them if possible
First Half: Hermit Crab (4,409,072 HP) – Extremely high HP pool demands optimal DPS rotation and energy management
Second Half: Oprichniki Fireblade Shock Trooper (4,263,489 HP) – This empowered version requires careful positioning and interrupt management
Remember that these Spiral Abyss compositions represent leaked information for version 6.0. As with all pre-release content, HoYoverse may adjust enemy HP values, compositions, or mechanics during the beta testing phase. Final implementations often differ from initial leaks based on balancing feedback.
Advanced Combat Strategies
Mastering the Spiral Abyss requires more than just understanding enemy compositions. Here are advanced techniques to optimize your clears:
Elemental Reaction Optimization
Strategic elemental application becomes crucial against specific enemy types. For Hydro-based enemies like the Tainted Water-Spouting Phantasm and Hydro Tulpa, Cryo and Electro reactions provide maximum efficiency. Against mechanical enemies such as the various Mek variants, matching Pneuma and Ousia alignments dramatically reduces their defensive capabilities.
Positioning and Aggro Management
Proper positioning can make or difficult chambers. Against multiple enemy waves, learning spawn locations allows for pre-positioning area-of-effect abilities. For bosses with telegraphed attacks like The Last Survivor of Tenochtzitoc, positioning near the edge of their attack range enables easier dodging while maintaining DPS uptime.
Energy Management and Burst Cycling
Consistent burst uptime separates average clears from three-star performances. Against high-HP targets like Knuckle Duckle (5.6M HP) and Hermit Crab (4.4M HP), optimizing energy generation through proper particle funneling and skill rotation ensures your primary damage dealers can maintain pressure throughout the encounter.
Common Mistakes to Avoid
Many players struggle with target prioritization, especially in multi-enemy scenarios. Never ignore support enemies like Oprichniki Medics or Standard Bearers, as their buffs and healing can dramatically extend encounter duration. Additionally, failing to adapt team compositions between chamber halves often results in time losses that prevent three-star clears.
Team Composition Philosophy
Versatility outperforms specialization in the Spiral Abyss. While hypercarry teams excel in single-target scenarios, the variety of enemy types across different chambers demands flexible compositions capable of handling both crowd control and single-target burst damage. Consider including at least one character with strong area-of-effect capabilities and another with reliable single-target performance.