TL;DR
- Distribute elemental spells across party members to cover all enemy weaknesses
- Always keep Assess Materia equipped to identify vulnerabilities and tactical opportunities
- Prioritize Healing and Barrier Materia leveling for survival in challenging encounters
- Optimize Cloud with Deadly Dodge and Elemental weapon enhancements
- Use Magnify Materia on Aerith for area-of-effect spell amplification
When approaching Final Fantasy 7 Remake, your Materia configuration decisions significantly impact combat effectiveness throughout the entire campaign. These magical orbs represent the cornerstone of the game’s strategic depth, enabling spellcasting, special abilities, and summon invocation that dramatically expand your tactical options beyond basic attacks.
Strategic elemental distribution ensures your party can exploit vulnerabilities across diverse enemy types encountered throughout Midgar.
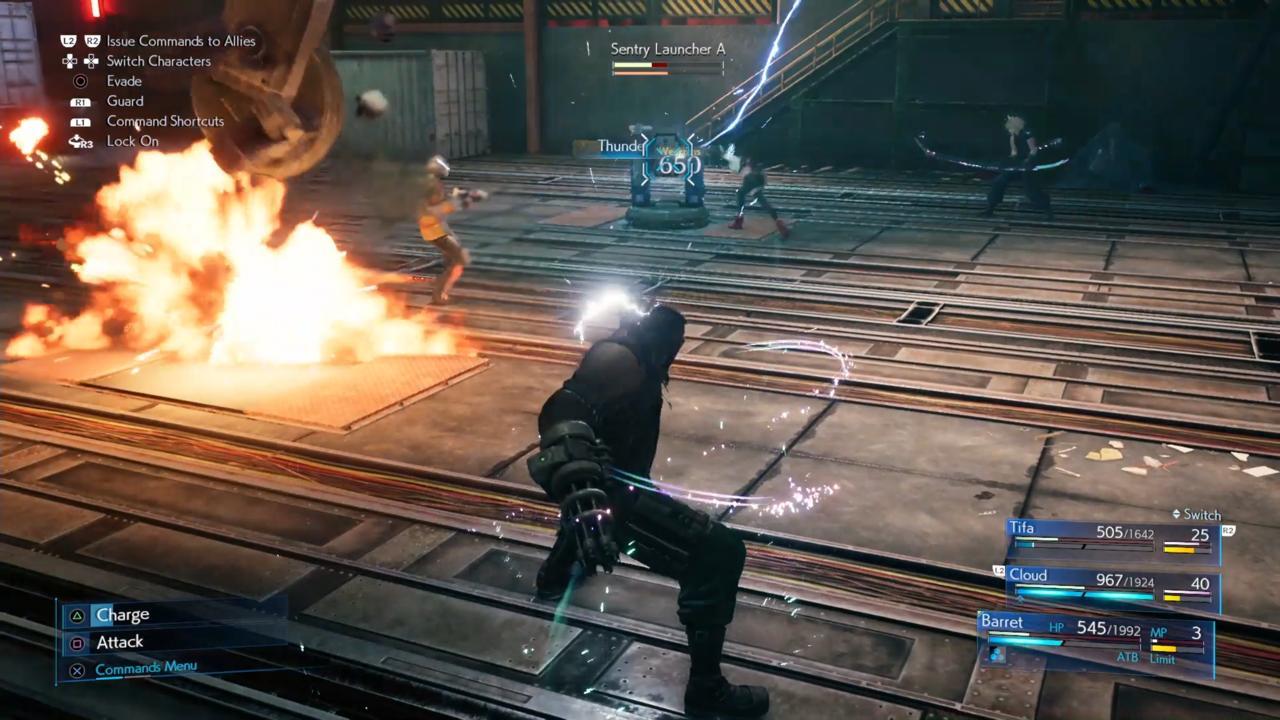
The game frequently places you in combat scenarios with minimal preparation time, making pre-battle loadout adjustments impossible in many critical encounters. While limited opportunities exist to modify Materia during certain cutscenes, most battles require immediate engagement with your current configuration. A fundamental principle involves assigning different elemental spells to each party member, creating comprehensive coverage for exploiting various enemy weaknesses. Your initial spell arsenal includes Fire, Blizzard, Thunder, and Wind Materia. During early missions within Shinra installations, Fire and Thunder prove particularly valuable—Fire effectively damages human opponents, while mechanical adversaries typically show vulnerability to Thunder-based attacks.
Delegation of spell Materia involves minimal character-specific considerations, allowing flexible assignment based on personal preference. The critical requirement remains ensuring all four elemental types are distributed across your active party members. When discovering your loadout proves inadequate for a specific encounter, utilize the restart function accessible through the pause menu to revert to the battle’s commencement point.
Many players question how to determine enemy spell vulnerabilities efficiently. During Chapter 3, you’ll encounter Chadley, who provides the Assess Materia through a side quest. This scanning orb enables detailed enemy analysis, revealing weaknesses and providing combat recommendations. Maintaining Assess Materia on one character consistently throughout your playthrough is essential for informed tactical decision-making.
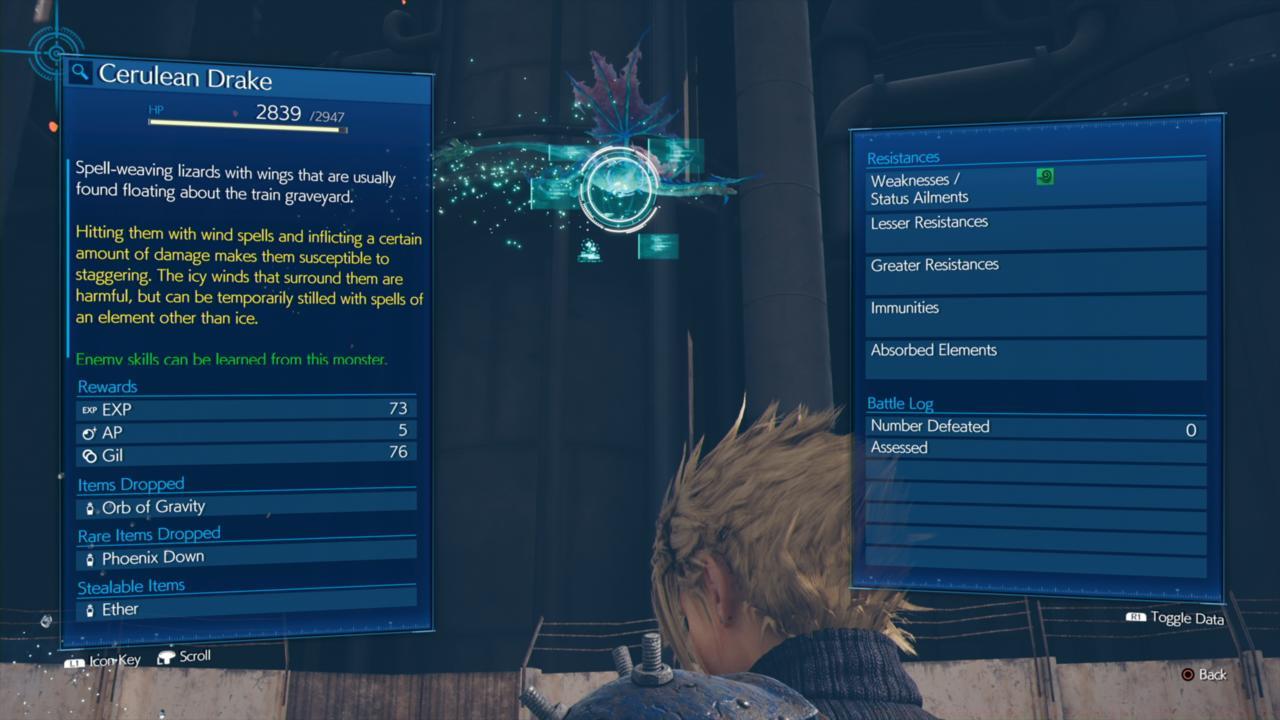
Continuous Assess Materia deployment enables real-time enemy analysis and vulnerability identification during combat sequences.
Our preferred approach involved equipping the current party leader with Assess Materia (leadership designation adjustable via Battle Settings), as they typically initiate combat control and accumulate ATB charges most rapidly. Beyond this consideration, tactical placement remains flexible based on player preference regarding scanning responsibility. Utilize Assess data not only for weakness identification but also for comprehensive tactical advice specific to each enemy type, as the information frequently includes specialized combat strategies beyond elemental vulnerabilities.
Distributing Healing Materia across multiple party members early in the game ensures reliable health recovery capacity during emergency situations. We strongly recommend equipping at least two characters with Healing Materia, though providing all party members with recovery capability never represents a suboptimal decision.
Comprehensive Healing Materia distribution across party members ensures emergency recovery capability regardless of combat positioning or ATB availability.
Materia progression operates on an experience-based leveling system where frequent usage accelerates development, ultimately enhancing spell potency or effect magnitude. Strategic focus on specific Materia cultivation based on your playstyle and frequent enemy encounters maximizes combat efficiency throughout the game’s duration.
Consistent Materia utilization accelerates experience accumulation, leading to enhanced combat performance through leveled capabilities.
Deadly Dodge Materia represents one of Cloud’s most valuable combat tools, transforming his evasion maneuver into an offensive opportunity. Initiating engagements with Cloud employing Deadly Dodge creates immediate area damage while positioning him advantageously for subsequent attacks.
Deadly Dodge integration into Cloud’s standard combat rhythm transforms defensive maneuvers into offensive opportunities.
As your primary frontline combatant, Cloud significantly benefits from Elemental Materia integration with his weapon. This configuration enables elemental damage application through standard physical attacks, exploiting enemy weaknesses without consuming ATB charges. The Elemental Materia requires pairing with a specific spell orb in adjacent slots, with the connected element determining the additional damage type applied to basic strikes.
Elemental Materia weapon integration enables persistent elemental damage application through standard attacks, creating continuous weakness exploitation.
Magnify Materia represents one of the game’s most powerful support tools, enabling single-target spells to affect multiple enemies simultaneously. Aerith’s natural magical aptitude and typically rear-position combat role make her the ideal candidate for this Materia. When paired with healing spells, Magnify creates area-of-effect recovery, while elemental combinations enable multi-target damage application. This Materia substantially increases combat flexibility, particularly during encounters with grouped adversaries or when requiring multi-character healing.
Barrier Materia provides significant defensive enhancement against physical attacks, reducing incoming damage during challenging engagements. Investing in Barrier Materia development increases damage reduction percentage and extends effect duration, providing greater survival capability against powerful physical opponents.
Barrier Materia application creates defensive buffs that substantially reduce physical damage intake during combat.
Summon Materia provides access to powerful cinematic attacks that can dramatically alter battle dynamics. Maintaining an equipped Summon Materia throughout your adventure ensures availability of these game-changing abilities during appropriate encounters. Summon activation requires specific battle conditions, typically involving extended combat duration or significant damage accumulation.
Consistent Summon Materia equipment ensures availability of transformative cinematic attacks during qualifying combat scenarios.
Strategic Materia management involves understanding both immediate combat needs and long-term development goals. While covering elemental weaknesses remains crucial, equally important is cultivating Materia that aligns with your preferred combat style and party composition. Regular assessment of your Materia development progress and strategic reallocation based on upcoming challenges represents advanced tactical planning.
Common configuration mistakes include over-specializing characters in single roles, neglecting defensive Materia development, and failing to adapt loadouts for specific boss encounters. Advanced players should develop specialized loadouts for anticipated challenge areas, particularly when facing known boss enemies with specific vulnerability patterns.
For players seeking comprehensive combat mastery, understanding Materia synergy and advanced combinations becomes essential. The relationship between supporting Materia like Magnify and elemental spells, or Elemental Materia paired with specific attacks, can create combat advantages beyond individual Materia capabilities. Experimentation with different pairings across various weapon slots reveals powerful interactions that significantly enhance party performance.
Optimal Materia strategy balances immediate combat effectiveness with long-term development planning. Focusing experience accumulation on Materia with broad utility ensures maximum return on investment, while situational Materia can be developed specifically for anticipated challenge encounters.
Action Checklist
- Distribute Fire, Blizzard, Thunder, and Wind spells across different party members
- Equip Assess Materia on party leader for immediate battle analysis
- Provide at least two characters with Healing Materia
- Slot Deadly Dodge on Cloud and practice dodge-attack combinations
- Pair Elemental Materia with appropriate spell in Cloud’s weapon
- Assign Magnify Materia to Aerith for area-effect spells
- Level Barrier and Healing Materia through consistent combat usage
No reproduction without permission:SeeYouSoon Game Club » FF7 Remake Materia Loadout Guide: Useful Advice To Consider As You Play Master FF7 Remake combat with strategic Materia loadouts, enemy analysis, and party optimization techniques