TL;DR
- The Shooting Range provides controlled testing for weapons, perks, and builds with precise metrics
- Proper setup including ammo, Super energy, and Prismatic resources is essential for effective testing
- Enemy selection and behavior settings allow for customized testing scenarios including Champions
- Advanced techniques enable direct comparison of perk combinations and damage optimization
- Scoreboard data reveals critical performance metrics for informed build decisions
GameSpot may receive revenue from affiliate and advertising partnerships for sharing this content and from purchases through links.
Destiny 2’s newest expansion, The Edge of Fate, introduces the revolutionary Shooting Range facility, accessible to every Guardian regardless of experience level. This specialized testing ground enables precise comparison of firearms, ability enhancements, armor configurations, and complete combat loadouts in a controlled setting.
The complexity of Destiny 2’s combat systems involves numerous interconnected mechanics that influence damage output and effectiveness. Every equipment choice impacts performance, though the exact nature of these interactions often remains unclear without proper testing methodology.
Previously, elite players developed builds through custom game sessions or repetitive Lost Sector engagements; while functional, these approaches lacked the precision and consistency needed for accurate comparisons. For casual Guardians, build construction appeared overwhelmingly complex, leaving powerful Exotic capabilities underutilized.
The Shooting Range finally delivers a dedicated space for loadout experimentation, enabling players to identify exactly how different selections influence combat effectiveness. Accessible directly from the Tower’s landing zone, this guide details optimal utilization of the facility’s features and interpreting the resulting performance data.
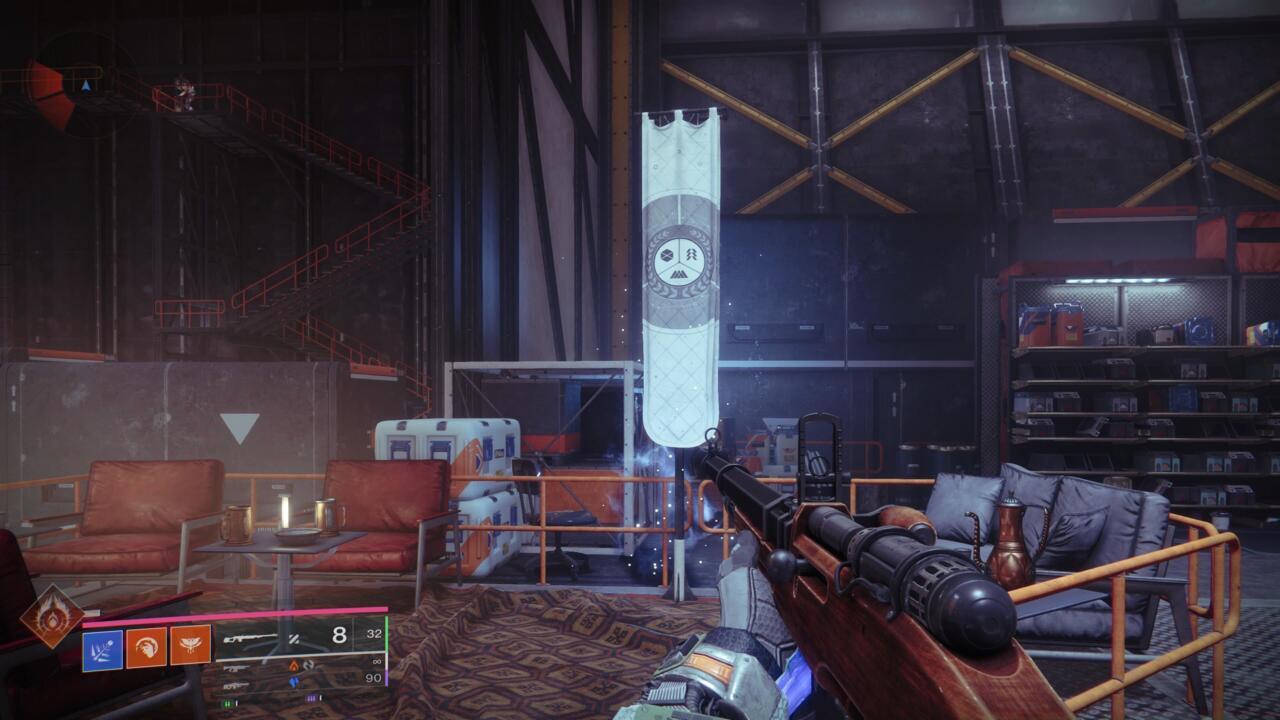
Upon entering the Shooting Range, immediately visit the Raid Banner positioned directly ahead and slightly right of your spawn location to replenish Special and Heavy ammunition while charging your Super meter. This resource provides unlimited access to ensure you have sufficient energy and munitions for comprehensive build assessment.
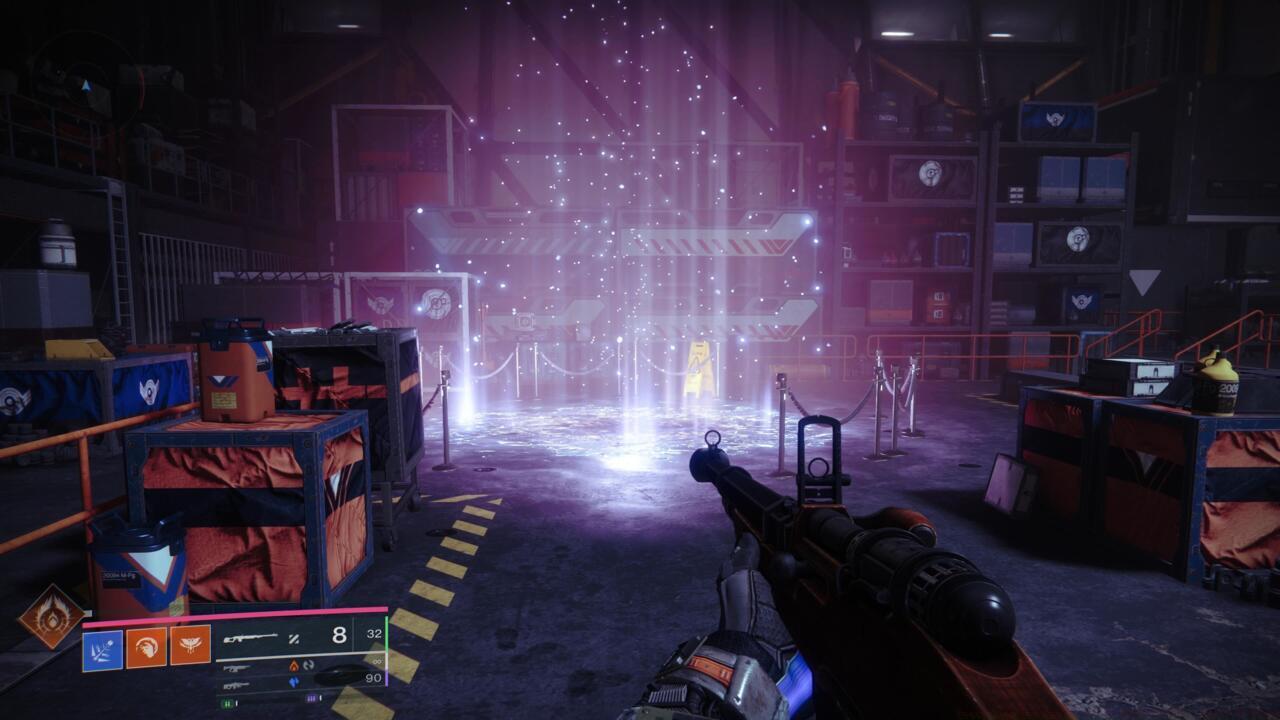
Guardians utilizing Prismatic subclasses can energize their Light and Dark meters at the Prismatic Well situated immediately left of the starting position.
Pro Tip: Always fully charge all resources before beginning tests to avoid interruptions. Consider testing weapon performance both with and without specific ammo modifiers to understand their true impact.
Common Mistake: Many players forget to reactivate the Raid Banner after respawning, leading to incomplete testing sessions. Set a reminder to check your ammo reserves between test scenarios.
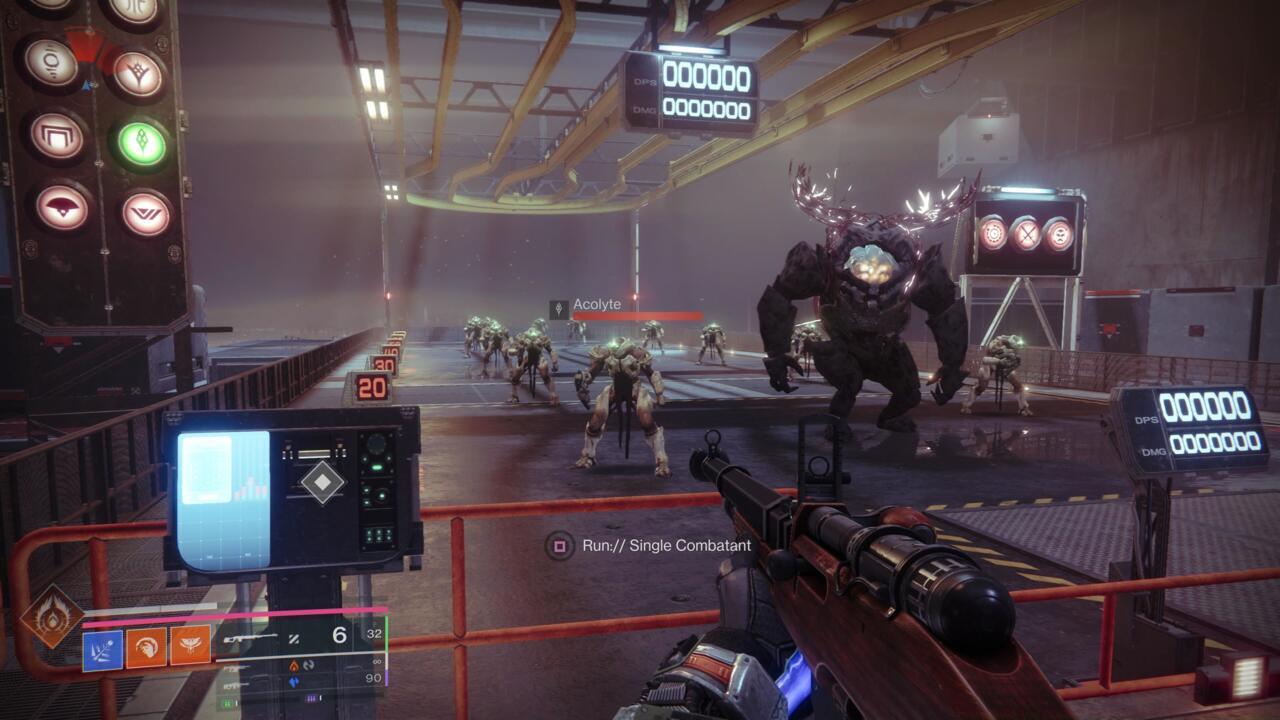
Within the Shooting Range facility, two control panels (positioned left and right of the testing area) manage all testing parameters. These interfaces are activated by weapon fire; successful activation illuminates the selection in green. The left panel governs enemy spawn types, featuring every combatant faction available—including stationary training dummies.
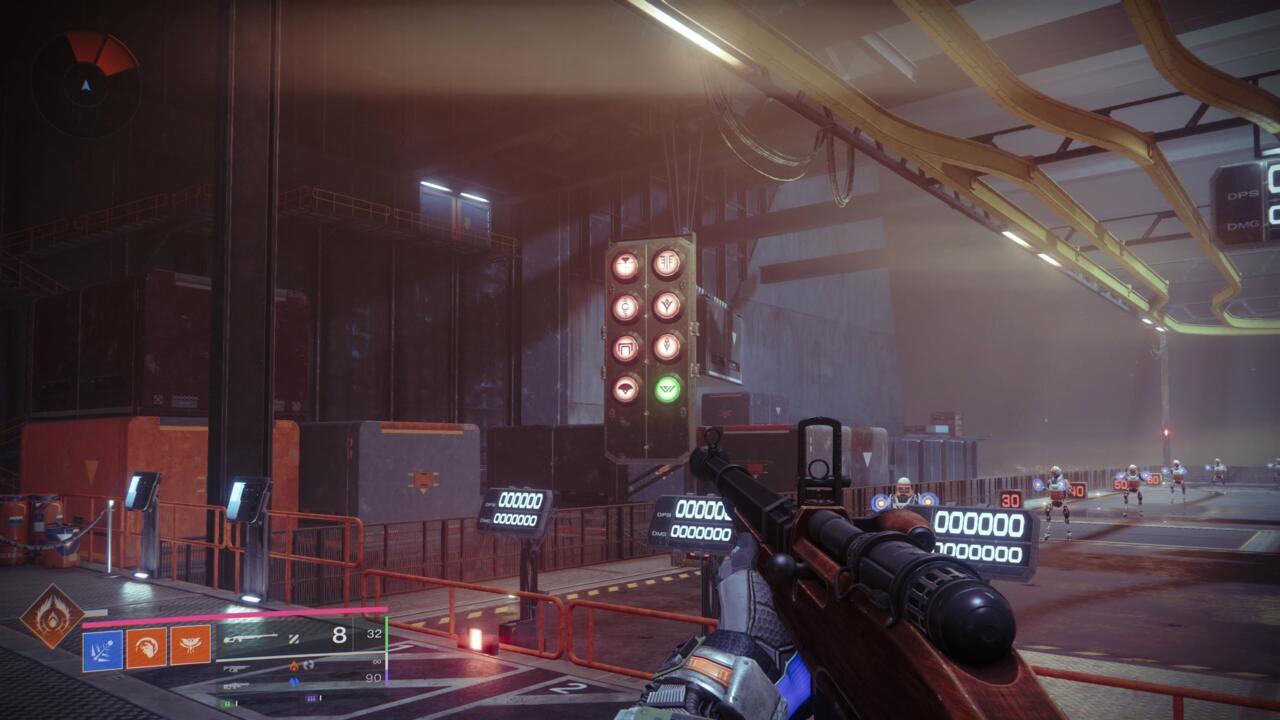
The right-side control board offers additional configuration options. The leftmost button clears all scoreboard data (detailed scoring mechanics explained later). The central button activates combat behavior, making enemies respond as they would in standard Destiny 2 engagements. The right button summons mini-boss adversaries similar to Champions.
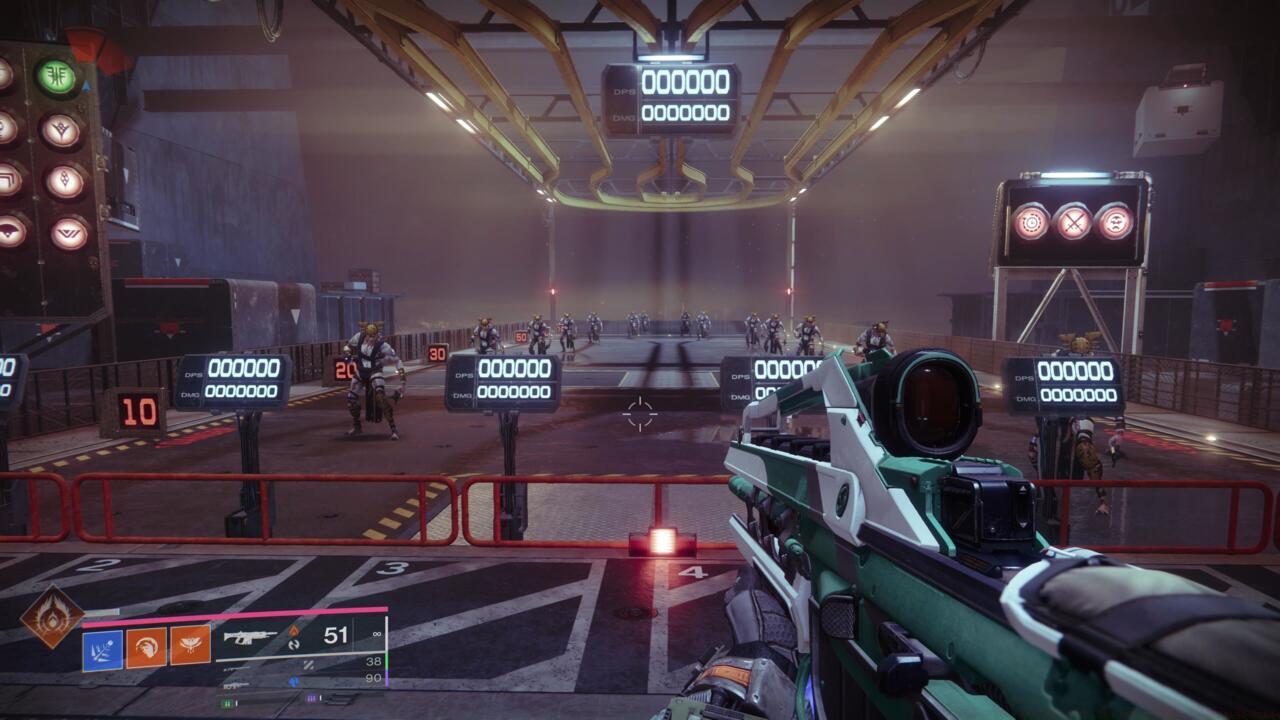
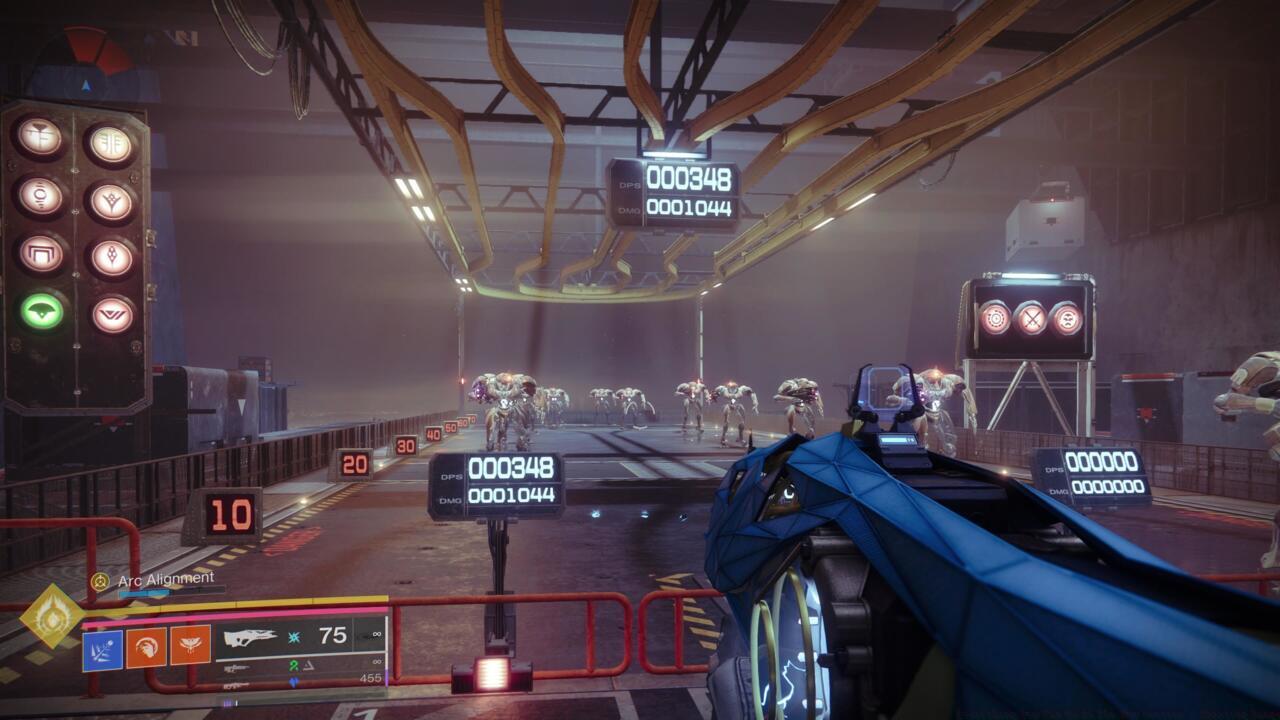
When initially selecting an enemy faction from the control panel, multiple combatants will appear downrange. By default, they remain stationary, serving as passive test subjects. The accompanying image demonstrates a deployed Fallen unit group for assessment purposes.

Advanced Technique: Test against both stationary and combat-active enemies to understand how target movement affects your accuracy and damage consistency.
Time Estimate: Allow 5-10 minutes per enemy type for comprehensive assessment, including both standard and champion variants.
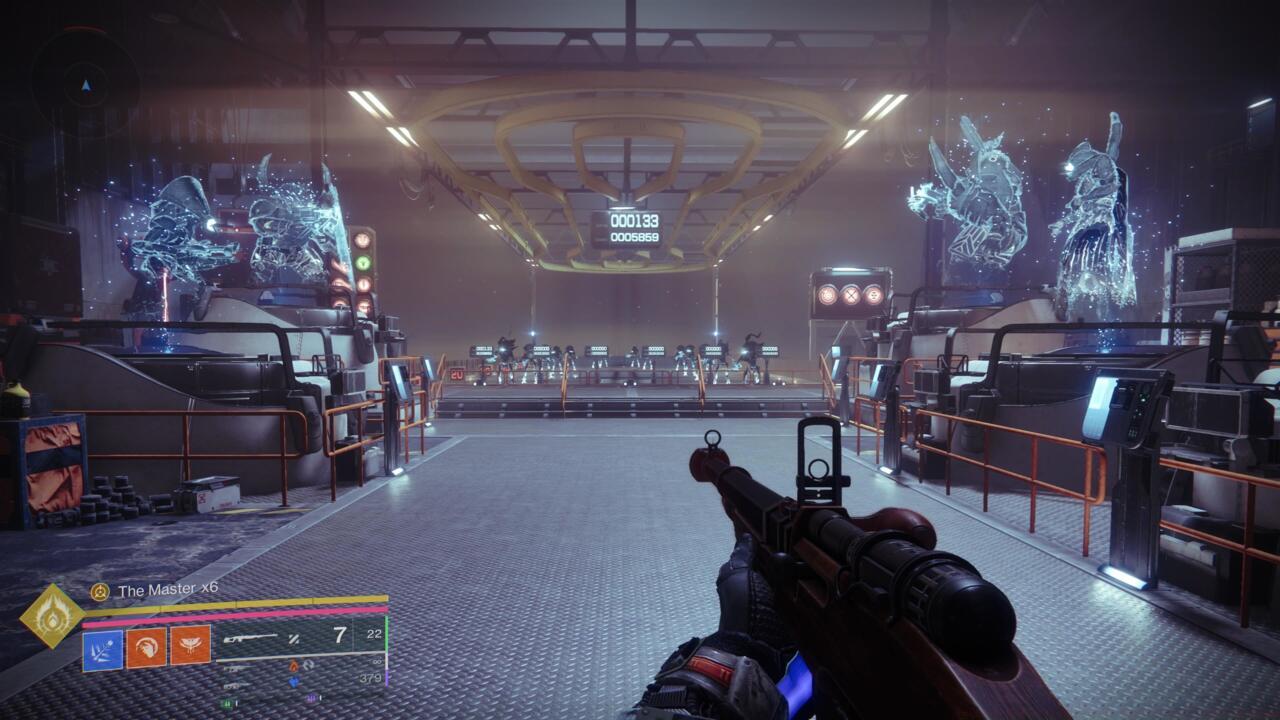
For precise perk evaluation, conduct tests with identical weapons featuring different perk combinations. The visual examples demonstrate testing “New Land Beyond’s The Master” with varying perk configurations to measure performance differences accurately.
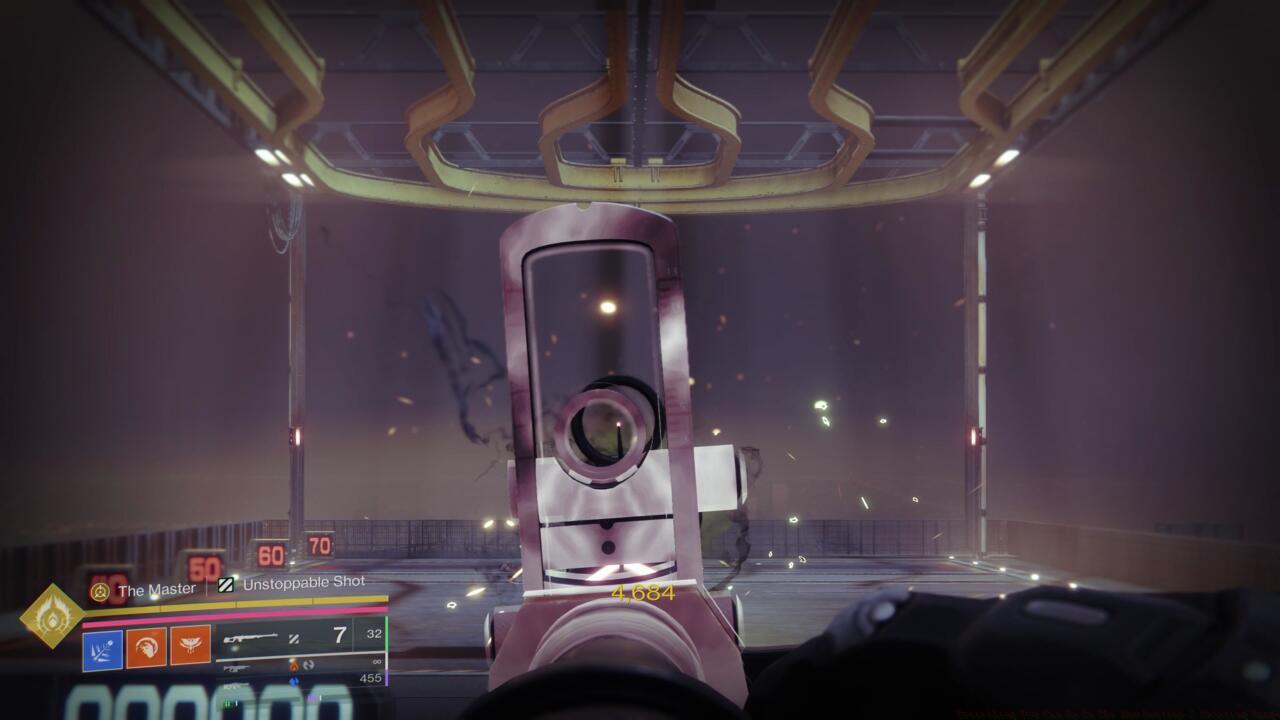

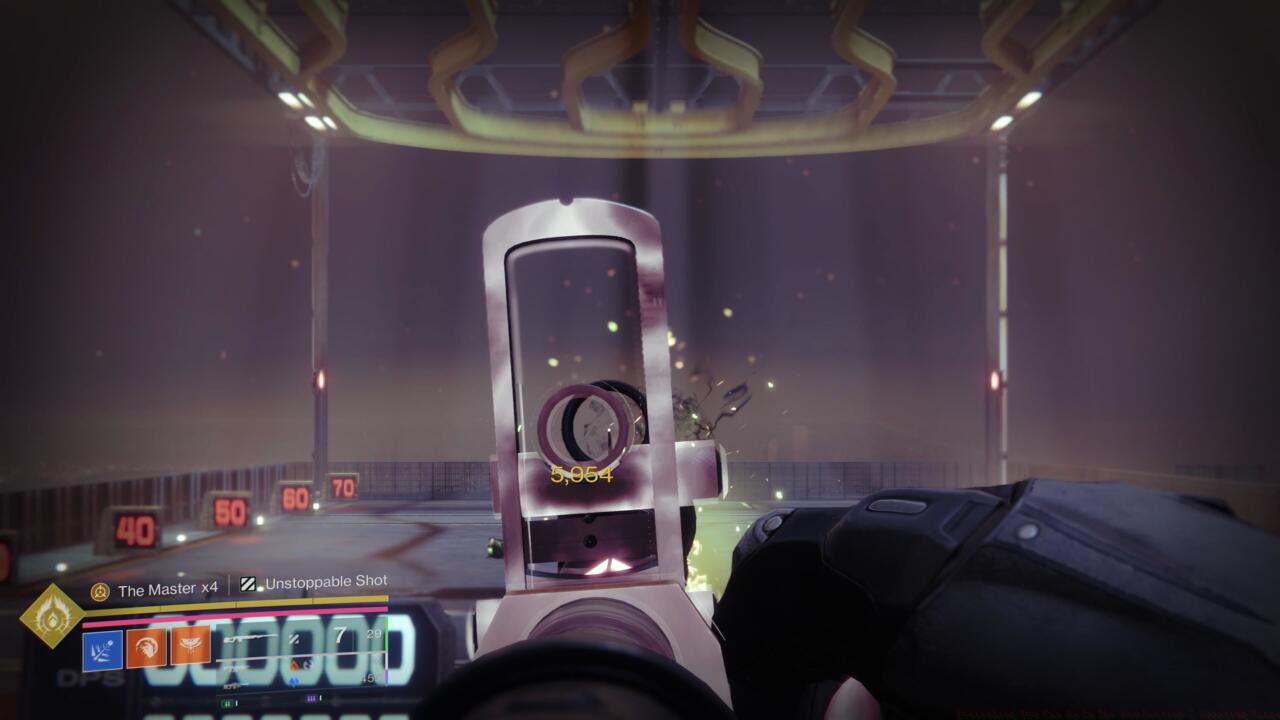
The facility’s scoring systems provide two critical metrics: Damage Per Second (DPS) and Total Damage output. These measurements appear on digital displays within the testing arena, providing quantitative data for build comparisons.
Optimization Strategy: Test complete ability rotations rather than individual skills to understand synergistic effects. Many powerful builds rely on combination sequences rather than isolated capabilities.
Mechanics Insight: Certain perks and mods interact in non-obvious ways. For example, some damage buffs stack multiplicatively while others are additive—the Shooting Range helps identify these interactions through controlled testing.
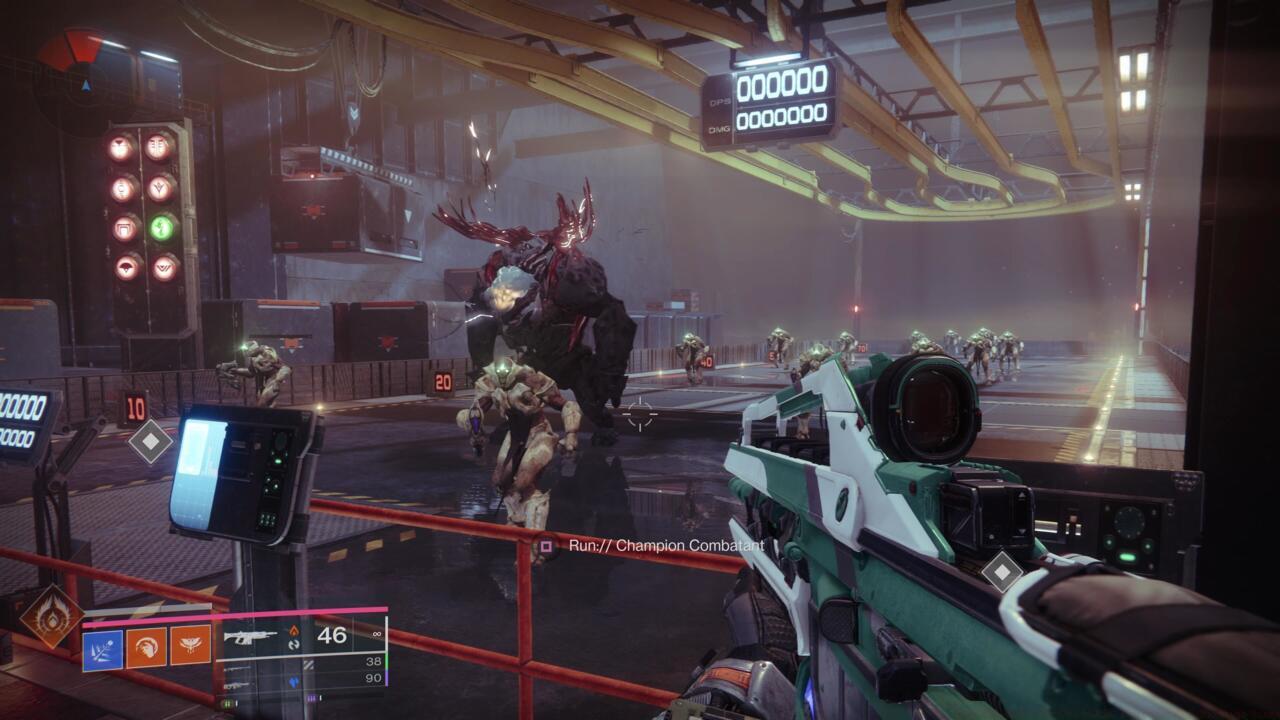
Enemy respawning mechanisms allow continuous testing without resetting the entire session. Champion-level adversaries can be summoned repeatedly for specialized loadout assessment against high-health targets.

Understanding the relationship between DPS and Total Damage is crucial for different content types. High DPS builds excel in boss damage phases, while high Total Damage configurations perform better in extended engagements with limited ammo reserves.
Practical Application: Translate your Shooting Range findings to actual gameplay by testing in similar conditions to your target content—whether raids, dungeons, or PvP activities. For comprehensive character development, consult our Class Guide to align your testing with specific role requirements.
Common Testing Errors: Many players make the mistake of testing in ideal conditions only. Ensure you evaluate performance under various scenarios, including moving targets, different ranges, and with partial ability uptime to simulate real combat situations.
The facility’s versatility extends to single-target assessment, enabling focused testing on specific enemy types or precise damage measurement against isolated combatants.
Strategic Insight: The most effective Guardians use the Shooting Range not just for initial build creation, but for ongoing optimization as new gear and patches are released. Regular testing sessions help maintain peak performance as game mechanics evolve.
For weapon enthusiasts looking to expand their arsenal, our Weapons Unlock guide provides essential context for which firearms merit detailed range evaluation.
Remember that while the Shooting Range provides invaluable data, actual combat performance may vary due to environmental factors, enemy AI behavior, and team composition effects.
Action Checklist
- Activate Raid Banner for full ammo and Super energy
- Charge Prismatic meters at the Well if using that subclass
- Select enemy faction from left control panel
- Configure enemy behavior using right panel options
- Test weapon and perk combinations against both stationary and active enemies
- Analyze DPS and Total Damage scoreboards for optimization
- Apply findings to actual gameplay scenarios and refine based on performance
No reproduction without permission:SeeYouSoon Game Club » Everything You Can Do In The New Destiny 2 Shooting Range Master Destiny 2's Shooting Range to optimize weapon performance and build efficiency with precision testing