TL;DR
- Reach level 100+ with 40+ Vigor and prioritize Holy damage resistance gear
- Utilize the 10-second opening window for buffs and summons before engaging
- Master delayed dodge timing to counter Morgott’s extended attack windups
- Position strategically in quadrants during Holy sword rain to avoid cross formation damage
- Coordinate multiple summons to create distraction opportunities for safe damage windows
Confronting Leyndell’s ultimate adversary presents a significant escalation from your initial encounter with Margit at Stormveil Castle. His expanded arsenal of combat techniques introduces entirely new tactical considerations that demand careful preparation.
Having navigated the royal capital’s challenges, you’ll arrive at the foundation of the grand staircase ascending toward the Erdtree. The pinnacle hosts the region’s culminating challenge: Morgott, the Omen King, offspring of Marika and Godfrey. By this stage in your Elden Ring journey, Morgott’s presence should feel familiar, marking your third confrontation assuming previous battles at Stormveil (as Margit) and the Capital Outskirts. This engagement represents his most formidable iteration yet, featuring a perilous blood-loss inducing blade alongside numerous fresh assault patterns and magical abilities. However, with proper strategic planning and potential NPC ally support, you can efficiently overcome this Demigod and achieve final victory.
Accessing Morgott’s arena necessitates possession of minimum two Great Runes plus victory over Godfrey, First Elden Lord (Golden Shade), ensuring you naturally attain appropriate combat readiness. Target approximately character level 100, allocating no less than 40 attribute points to Vigor to withstand his most devastating strikes.
Morgott’s most lethal offensive capabilities inflict Holy Damage; the identical sacred daggers and hammer encountered during your Margit, the Fell Omen battle reappear here, supplemented by additional holy-based assaults. Equip armor providing maximum Holy Damage Negation statistics, and contemplate consuming Holyproof Dried Liver or equipping Haligdrake Talisman for additional protection. (Predictably, Morgott demonstrates strong resistance to Holy Damage, requiring Faith-focused builds to modify their approach appropriately).
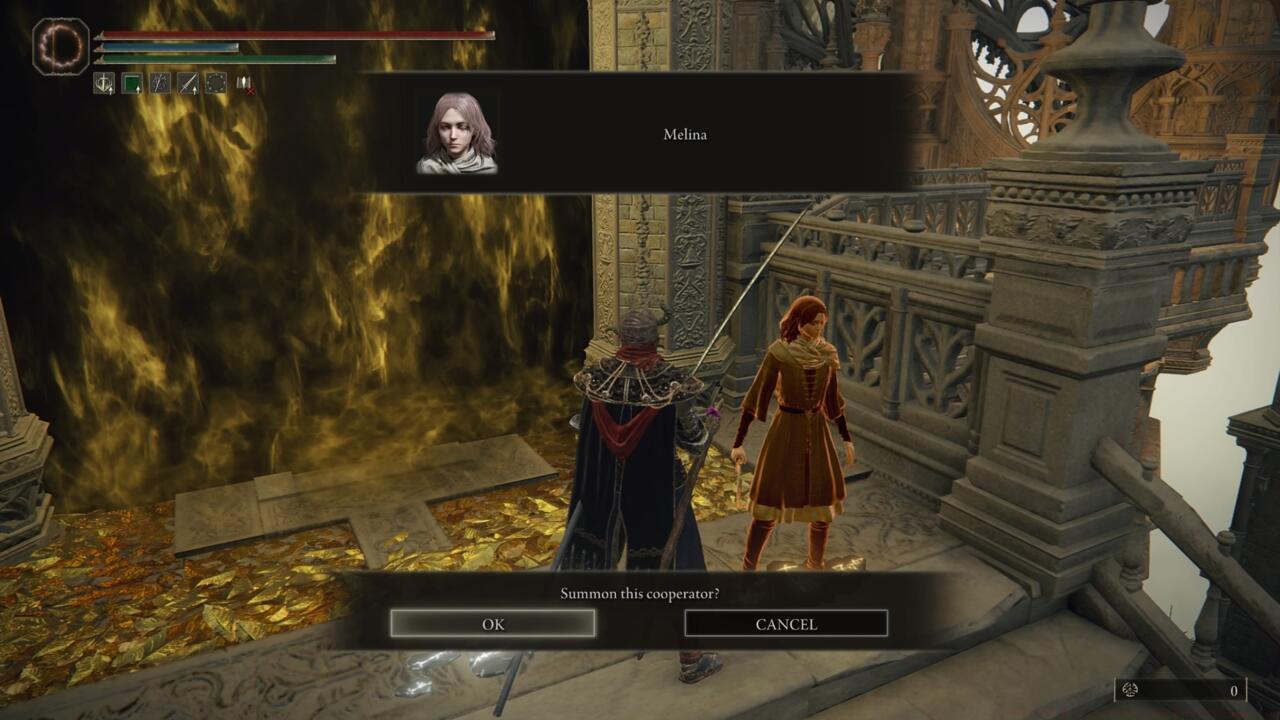
Melina’s summon signature appears immediately to your right upon reaching the staircase summit.
Two NPC combat allies become accessible for this encounter: Melina and Dung Eater. Melina’s summon marker materializes adjacent to the entrance, provided you haven’t compromised her trust through Three Fingers interaction. Dung Eater’s summon remains available if you’ve advanced his narrative thread and liberated him from Sewer Gaol confinement in the Subterranean Shunning-Grounds. To further complicate the boss’s tactical situation, incorporate your preferred Spirit Summon selection to create overwhelming numerical superiority!
Similar to prior Demi-God confrontations, Morgott exhibits relentless aggression, exceptional mobility, and erratic movement patterns. At range, he’ll bombard you with projectile volleys or rapidly close distance with lunging assaults, making ranged specialization builds strongly recommend bringing supplementary summons.
The crucial element for overcoming Morgott involves precise timing and disciplined patience. Numerous his offensive maneuvers feature substantially extended preparation phases than anticipated; as general guidance, execute dodge-roll actions later than instinct suggests. Premature evasion rolling almost guarantees fatal consequences during this engagement. Maintain composure, thoroughly learn his attack rhythm patterns, and identify exploitation opportunities.
Upon traversing the fog barrier, Morgott demonstrates considerable delay before initiating aggressive behavior. He dedicates the initial approximately ten combat seconds to gradual advancement from the arena’s opposite side. Leverage this secure interval strategically. This presents ideal timing for sorcery practitioners to activate Terra Magica, followed by your most potent Incantation selection (Ranni’s Dark Moon represents excellent choice here). Close-quarters combatants should utilize this period for weapon enhancement applications or Spirit Ash summoning.

When he elevates the spear overhead, prepare to evade roll immediately upon his foot returning ground contact.
Strategic positioning within any of the four arena quadrants prevents intersection with the cruciform sacred blade precipitation pattern.
During the engagement, he’ll assault you with diverse combinations of horizontal strikes, thrusting motions, and vertical crushing attacks using Morgott’s Cursed Sword, frequently integrated with his conjured divine armaments. You can evade through majority these offensive actions, though it carries risk, particularly against his extended, eight-plus strike sequences. Consider straightforward blocking of his blade attacks employing any 100% Physical Damage Negation shield. You’ll still accumulate some Blood loss progression, but probably insufficient for status effect activation. (Important: You’ll still receive Holy damage when parrying his summoned weapons).
The combat encounter intensifies dramatically when Morgott’s health diminishes below approximately 60%. He initiates his secondary phase with a distinctive earthy fluid detonation that blankets the battlefield. This signals the activation of intermittent geyser eruptions across the arena floor that demand constant spatial awareness.
The distinctive brown liquid detonation indicates phase two commencement. Maintain vigilance against the surging fountains emerging from terrain surfaces throughout the combat space.
During this elevated threat phase, Morgott incorporates additional perilous techniques including his blood-infused blade trail that subsequently detonates. Immediate disengagement from the crimson sword path prevents exposure to the impending blast concussion.
Rapidly distance yourself from the hematite blade’s residual trace to evade the approaching detonation event.
Advanced combat methodology involves utilizing summons as strategic distractions while you target Morgott’s vulnerable rear flank during his extended animation sequences. His holy weapon conjuration attacks create predictable patterns that experienced players can exploit for consistent damage opportunities while minimizing risk exposure.
For players seeking comprehensive battlefield mastery, our Complete Guide offers additional strategic frameworks applicable to challenging encounters. Weapon selection significantly impacts this fight’s difficulty; consult our Weapons Unlock guide for optimization recommendations. Different character specializations require tailored approaches; reference our Class Guide for build-specific tactics.
Action Checklist
- Verify character level 100+ with 40+ Vigor and optimal Holy resistance gear
- Coordinate Melina and/or Dung Eater summons plus Spirit Ash for numerical advantage
- Utilize 10-second opening for Terra Magica, weapon buffs, or summons
- Practice delayed dodge timing against extended windup attacks
- Position in quadrants during Holy sword rain and evade blood-trail explosions
No reproduction without permission:SeeYouSoon Game Club » Elden Ring – How To Beat Morgott, The Omen King Master the ultimate Morgott strategy with advanced tactics, summon optimization, and phase transition mastery