TL;DR
- Wyrmslife Crystals become crucial during the Flickering Shadows quest for Ambrosius’ weapon crafting
- Dragons spawn in 7 key locations with varying encounter conditions and difficulty levels
- Master weak spot targeting and ability counters to maximize crystal drops from 10-20 per kill
- Thief, Sorcerer, and Magick-Archer vocations excel with specific combat techniques
- Dragonforged offers exclusive items and gear enhancement using collected crystals
Wyrmslife Crystals emerge as a pivotal late-game resource in Dragon’s Dogma 2, formed from crystallized dragon blood. These rare materials become essential once you trigger the Flickering Shadows quest, which directs you to meet Ambrosius along the northern coastal region beyond Bakbattahl. This mysterious figure demands at least 15 Wyrmslife Crystals to forge an exceptionally powerful weapon, initiating the subsequent A New Godsway mission chain.
Ambrosius additionally requires you to consult two critical characters whose positions appear clearly on your world map. The Oracle grants access to the Trickster vocation—one of several unlockable vocations available to skilled Arisen. Meanwhile, the Dragonforged operates as a specialized merchant who trades exclusively for Wyrmslife Crystals, offering unique gear and enhancement services.
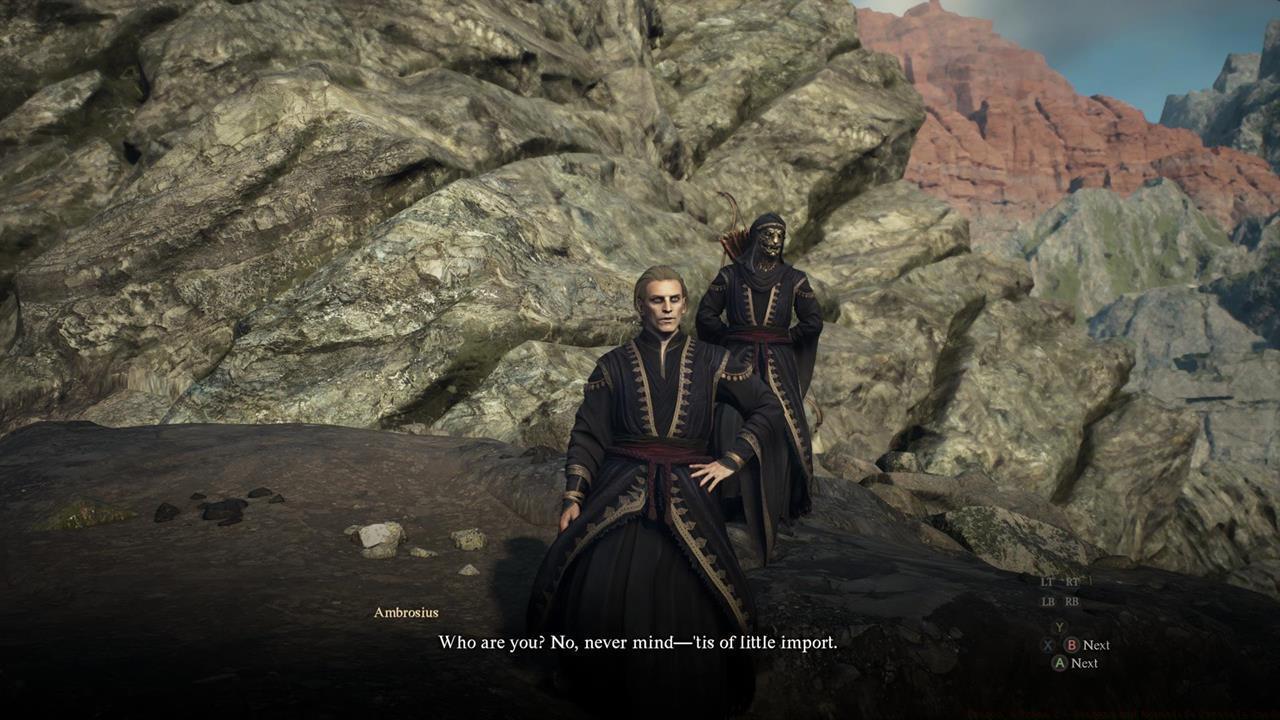
This shady fella wants you to complete a task.
Dragons manifest across diverse regions of Dragon’s Dogma 2, often aggressively initiating combat encounters. Based on extensive field testing, we’ve documented seven reliable spawn points with distinct environmental conditions:
- Melve – Confront this dragon during Readvent of Calamity, which also advances the Ulrika romance arc narrative.
- Vernworth – Appears dramatically at the main city gate, creating chaos as guards engage while civilians scatter.
- Harve Village – Patrols the northeastern ruins near the settlement perimeter.
- Guerco Cavern – Typically found dormant adjacent to the campsite area.
- Ancient Battleground – Roams the expansive fields leading toward the Cenotaph landmark and your initial Sphinx encounter.
- Reverant Shrine – Guards the exterior grounds of the Oracle’s sacred temple.
- Dragonsbreath Tower – Features NPC Sigurd who provides access to specialized unlockable vocations.


These are the Dragons that we’ve encountered in the northern (left) and southern (right) portions of the world map.
Successfully farming Wyrmslife Crystals demands meticulous preparation and strategic execution. Dragons employ devastating combat techniques that can decimate unprepared parties:
- Ground Pound – When attempting to scale a dragon’s body, remain vigilant for sudden leaps that crush anything beneath its chest and torso area.
- Flame Breath – These legendary creatures expertly deploy fire in multiple configurations: concentrated streams, wide frontal arcs, and aerial sweeping attacks.
- Venomous Breath – Corrupted Red Dragons expel corrosive acid projectiles that inflict persistent damage.
- Lightning Strike – Watch for distinctive blue chest pulsations signaling imminent lightning barrages across the battlefield.
- Magma Explosion – Red chest pulsations indicate forthcoming explosive orbs that detonate with catastrophic force.
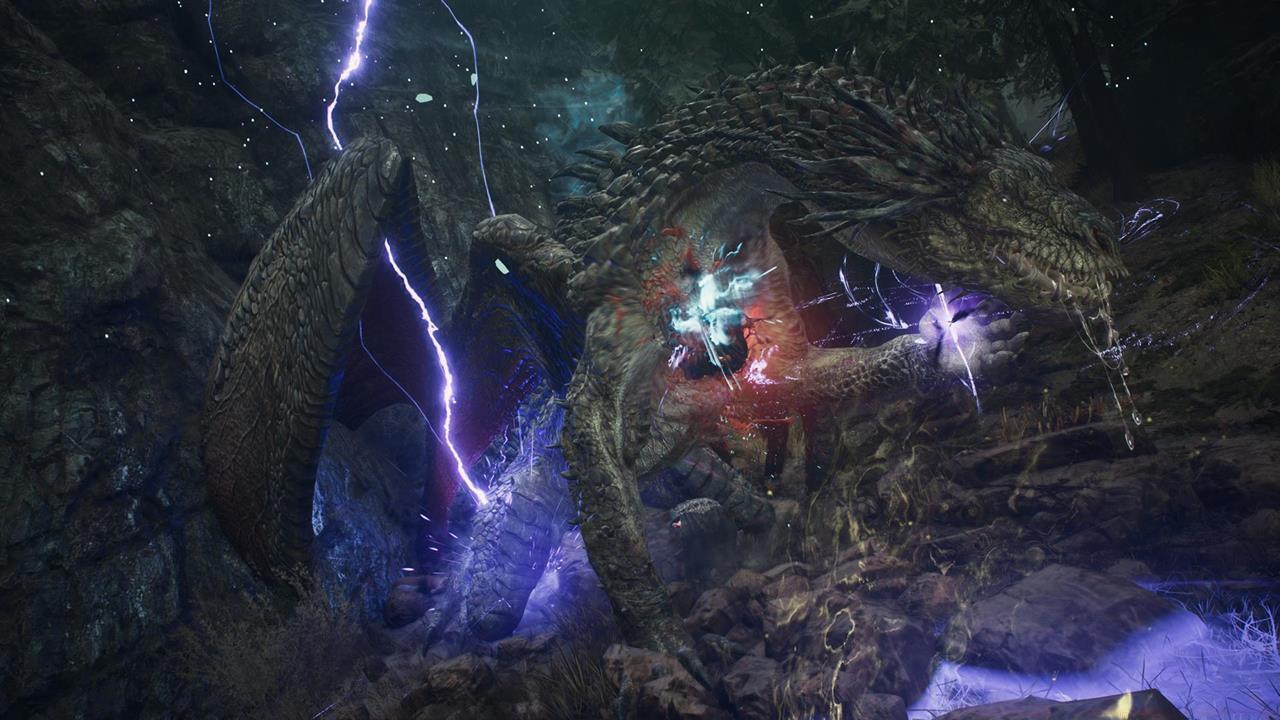
Be careful when Dragons breathe fire or cast lightning.
Strategic weak spot targeting significantly enhances combat effectiveness against these formidable opponents. Different dragon variants exhibit distinct vulnerability patterns:
- Green Dragons – Their chest cavity illuminates to expose pulsating heart weak points for massive damage amplification.
- Red Dragons – Display pustulent growth clusters across their anatomy that serve as secondary damage multipliers.
Our comprehensive vocation tier analysis identifies several exceptional choices for dragon engagements. The Thief vocation dominates with Skull Splitter delivering rapid weak spot strikes. Sorcerers unleash devastating area spells including Maelstrom and Meteoron for overwhelming magical assault. The Magick-Archer can sacrifice health to fire Martyr’s Bolt, generating projectile storms that shred targets instantly. Mystic Spearhands deploy Mirour Vestige to establish protective barriers safeguarding the entire party. Finally, the Warfarer enables unprecedented versatility by equipping all non-ultimate abilities across vocations.

Climb up a Dragon’s chest and stab it repeatedly in the heart.
Defeated dragons yield varying Wyrmslife Crystal quantities based on engagement outcome. Allowing escape typically nets only 1-2 crystals, while achieving full elimination rewards 10-20 units per engagement.
Wyrmslife Crystals serve dual critical functions in the endgame progression. Initially, you must deliver 15 crystals to Ambrosius for his legendary weapon fabrication, advancing the main narrative into its concluding phases—details we preserve for your discovery experience.
Additionally, these crystals function as exclusive currency for transactions with the Dragonforged, whom Ambrosius directs you to locate. Available merchandise includes:
- Ferrystone – Enables instant transportation to established Portcrystals; priced at 3 WLC.
- Portcrystal – A reusable fast travel marker deployable anywhere outdoors; costs 20 WLC. Consult our Portcrystal locations guide for comprehensive deployment strategies.
- Unmaking Arrow – Delivers instant lethal results against any target, though the game automatically saves upon usage. Exclusive to Archer vocation practitioners; requires 8 WLC.
The Dragonforged additionally provides premium gear enhancement services, maximizing weapon and armor potential through WLC expenditure. Note that items must first reach upgrade level 3 via standard blacksmith services before accessing these upgrades.
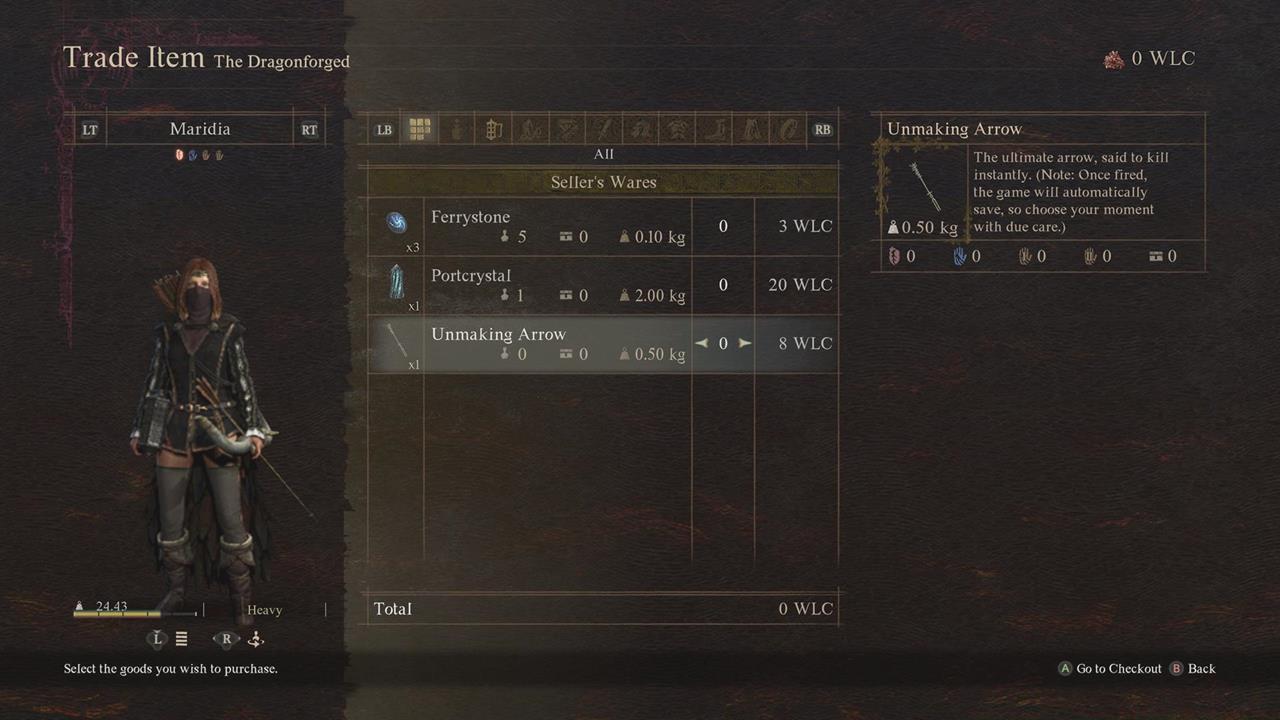
You can buy a few goodies from the Dragonforged.
Action Checklist
- Complete Flickering Shadows quest to unlock Wyrmslife Crystal objectives
- Visit all seven dragon spawn locations with appropriate combat preparation
- Master weak spot targeting and ability counters for maximum crystal yields
- Optimize vocation selection and skill rotations based on dragon variant
- Trade crystals with Dragonforged for exclusive items and gear enhancements
No reproduction without permission:SeeYouSoon Game Club » Dragon’s Dogma 2 – Dragons And Wyrmslife Crystals Guide Master Dragon combat strategies and maximize Wyrmslife Crystal acquisition in Dragon's Dogma 2