TL;DR
- Boss health bars include multiple segments represented by pips – plan for extended battles
- Each creature has unique weak spots: Cyclops eyes, Golem glyphs, Griffin wings during escape
- Advanced variants (Gore versions) exhibit enhanced behaviors and require adapted strategies
- Proper vocation selection and Maister technique acquisition dramatically improve success rates
- Environmental positioning and climbing mechanics provide critical combat advantages
GameSpot may receive revenue from affiliate and advertising partnerships for sharing this content and from purchases through links.
The treacherous lands of Dragon’s Dogma 2 teem with colossal beasts that demand strategic thinking and precise execution. These monumental encounters test your combat prowess through devastating area attacks and health pools that require sustained offensive pressure. While intimidating, mastering these battles yields exceptional rewards including rare crafting materials and unique equipment. This comprehensive guide provides battle-tested strategies for overcoming every major creature encounter.
Throughout your adventures, you’ll face diverse boss-class monsters with distinct attack patterns and vulnerability locations. Random encounters can occur during travel, including surprise attacks while utilizing oxcart transportation. Each adversary features specific weak points to target, along with armored iterations and more aggressive “gore” subspecies that intensify the challenge.
Critical to success is understanding the multi-tiered health system: the visible bar represents only the current segment, while adjacent pips indicate remaining health phases. This structure necessitates endurance-focused approaches and resource management. We strongly recommend diversifying your vocation arsenal and acquiring ultimate abilities from Maisters. For optimal class selection, consult our comprehensive vocational tier ranking to identify the most effective specializations for these demanding encounters.

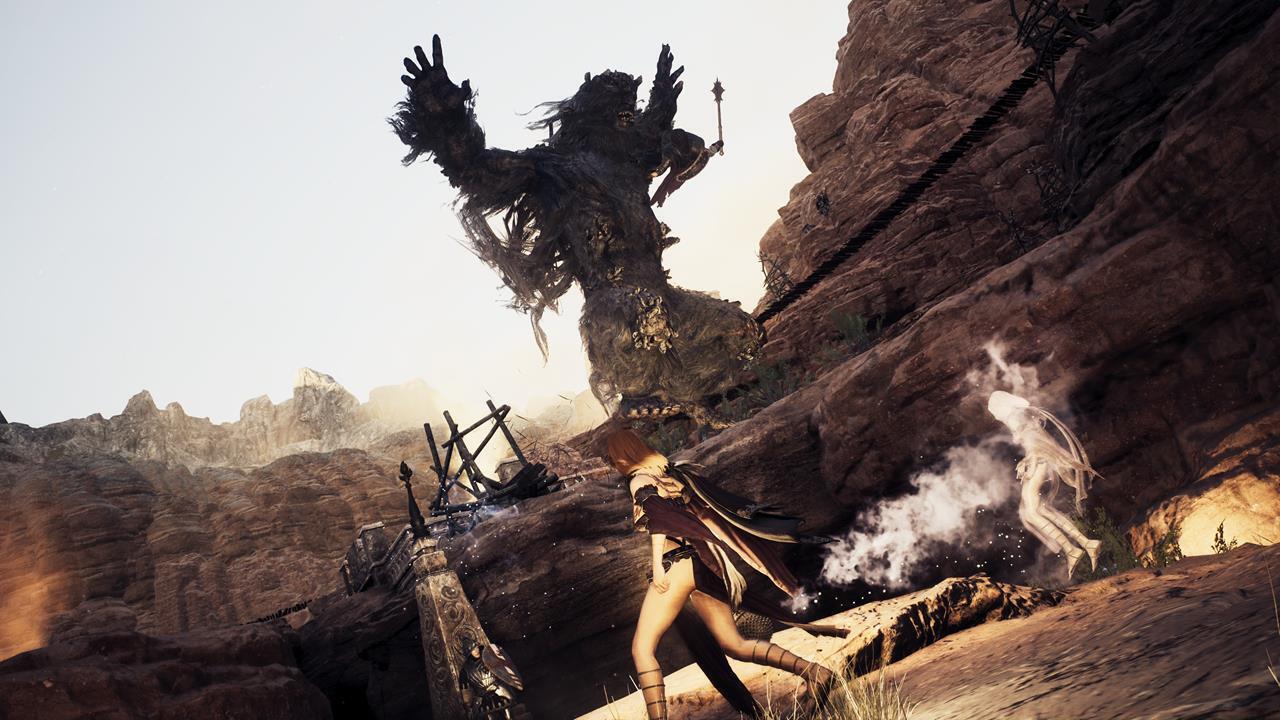
The Medusa/Gorgon serves as your inaugural elite monster encounter during the campaign’s introductory sequence, though this initial meeting doesn’t constitute a genuine combat test. For veterans seeking greater challenges, locating her hidden sanctuary presents a formidable confrontation. Despite her sluggish movement, the petrification gaze gradually transforms targets within its effective radius to stone. Detailed tactical approaches are available in our dedicated Medusa/Gorgon combat manual.
Cyclops emerge as the first standard boss opponents in Dragon’s Dogma 2. Initial encounters typically occur while exploring the picturesque grasslands north of Melve. Drawing from mythological knowledge, their ocular vulnerability remains their critical weakness. Employ ranged archery to strike the eye directly or ascend the creature to deliver precise cranial attacks.
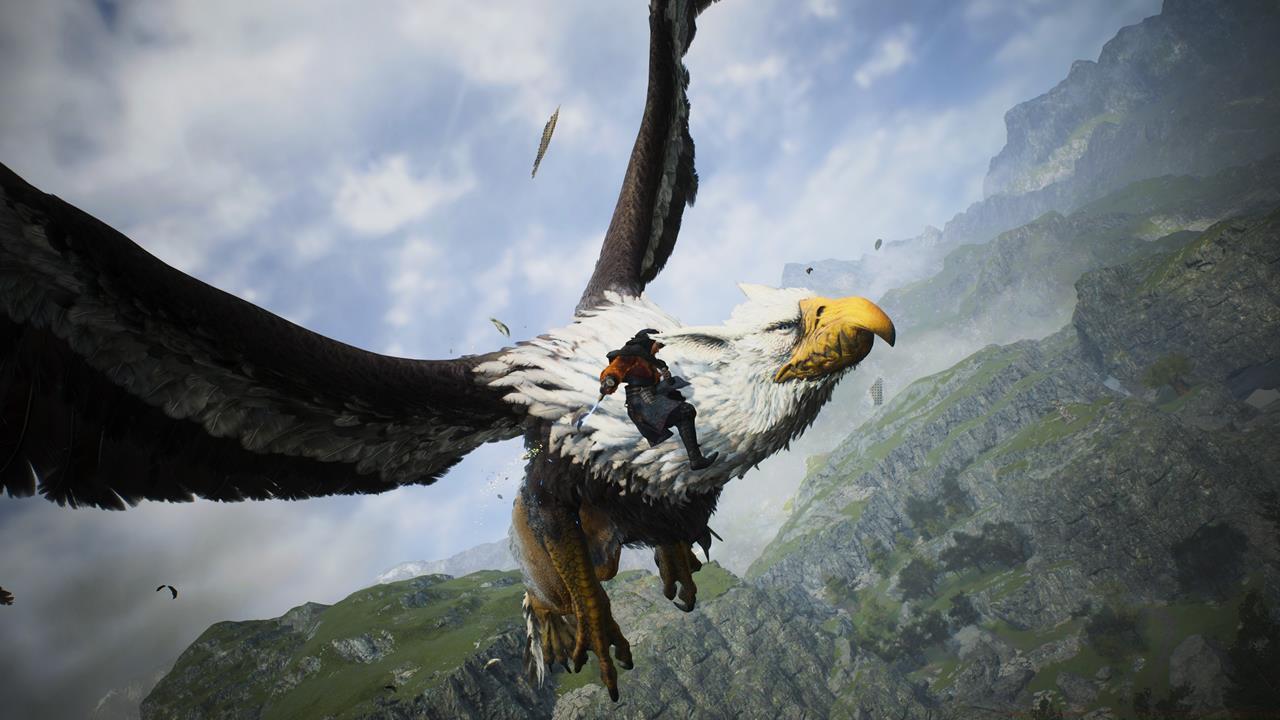
Griffins represent frequently encountered aerial bosses, with their expansive shadows heralding imminent engagement. Evade their diving assaults and ground-based thrashing maneuvers. Notably, these creatures will flee when severely wounded, and subsequent regional sightings likely involve the same individual you previously battled. Advanced tactics include mounting escaping Griffins and maintaining offensive pressure during flight sequences, though maintaining grip is paramount given the lethal descent potential.
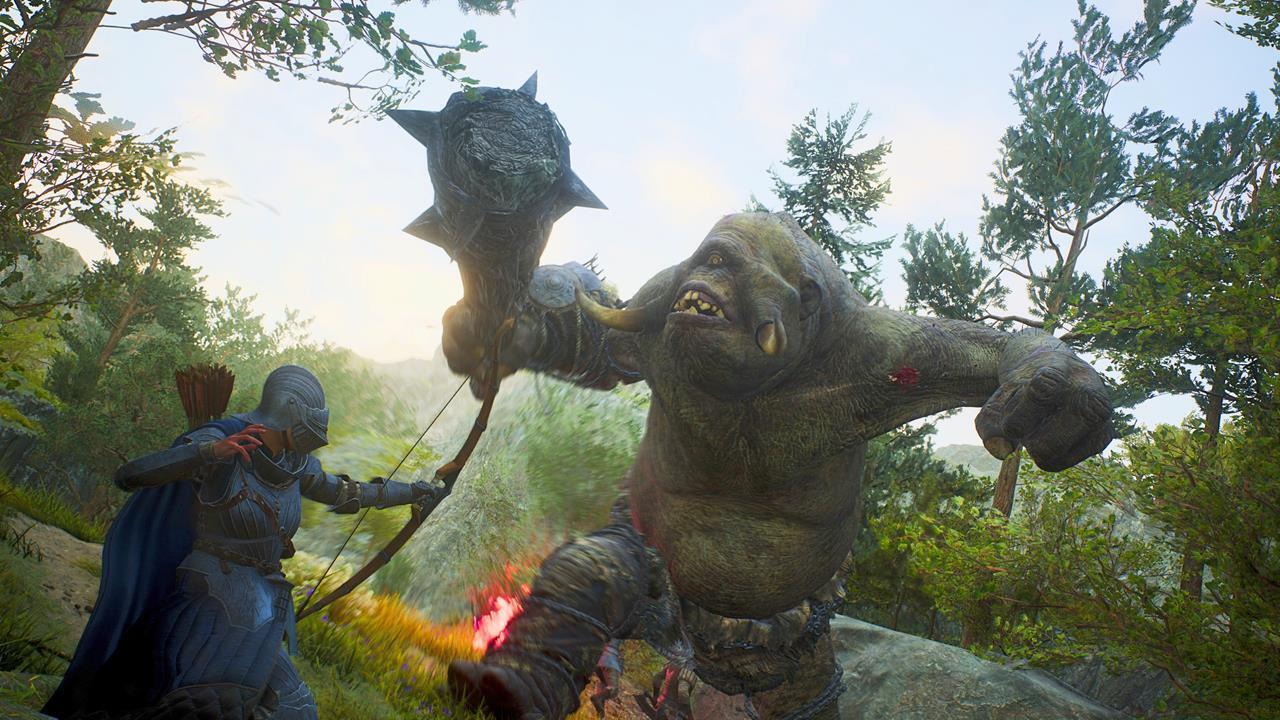
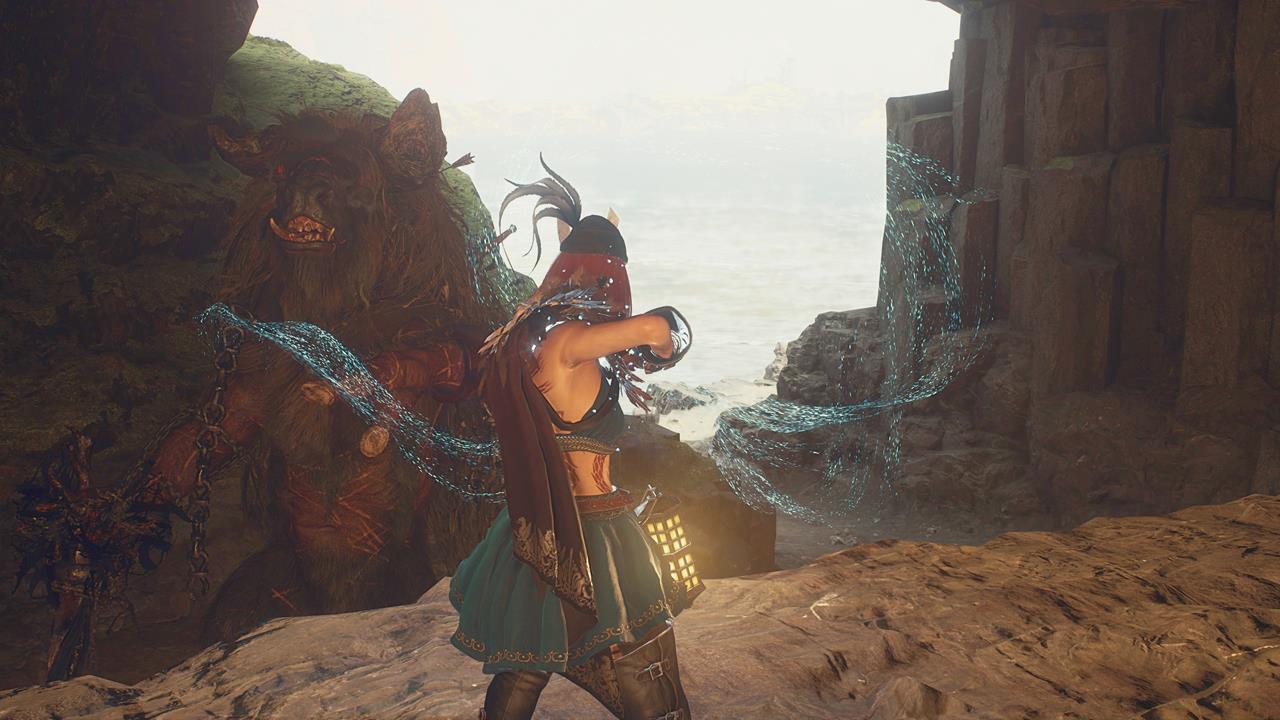
Ogres embody brutal combatants capable of delivering catastrophic damage through deliberate, powerful strikes. Both standard and grim iterations utilize grappling techniques to crush adventurers and their pawn companions. The Grim Ogre subspecies demonstrates enhanced cliff-clinging behavior compared to regular variants, frequently followed by plunging assaults on targets below.
Minotaurs and their disheveled relatives present substantial threats. While sustained head strikes inflict significant damage, their devastating charge attacks demand constant vigilance. Our observations indicate Minotaurs provide distinctive loot compared to other bosses, frequently yielding Ferrystones alongside standard material rewards.
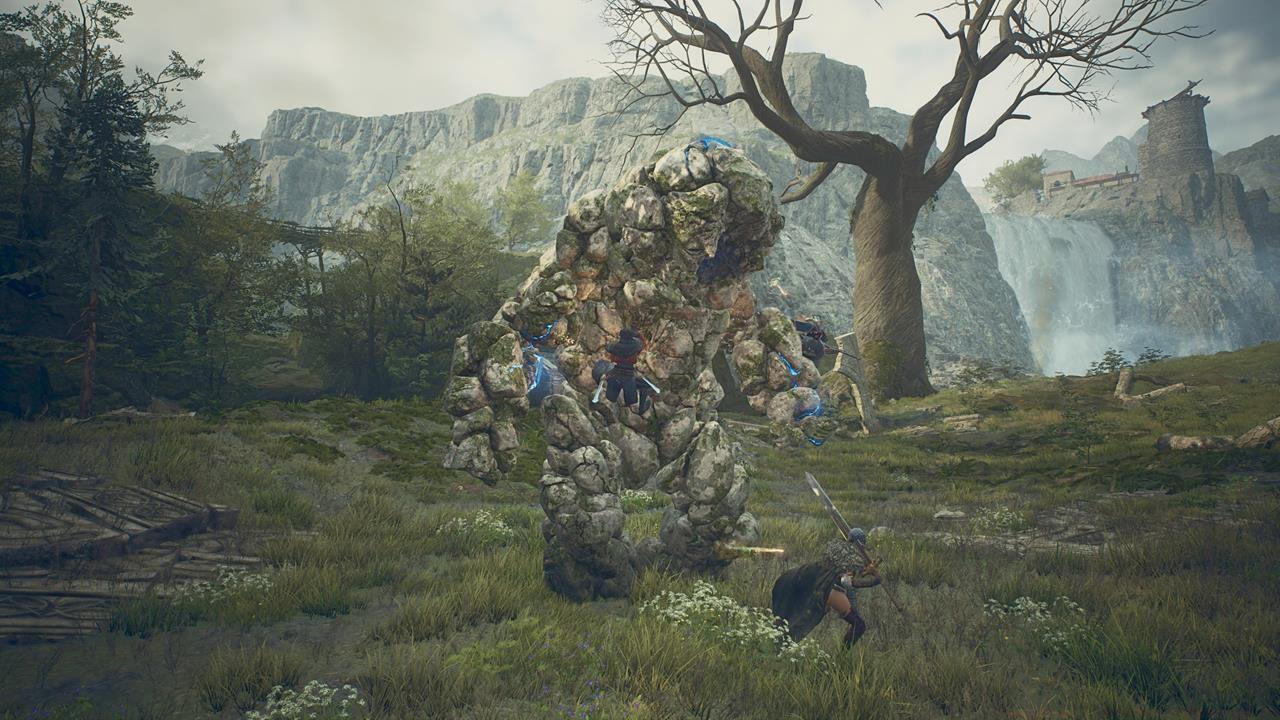
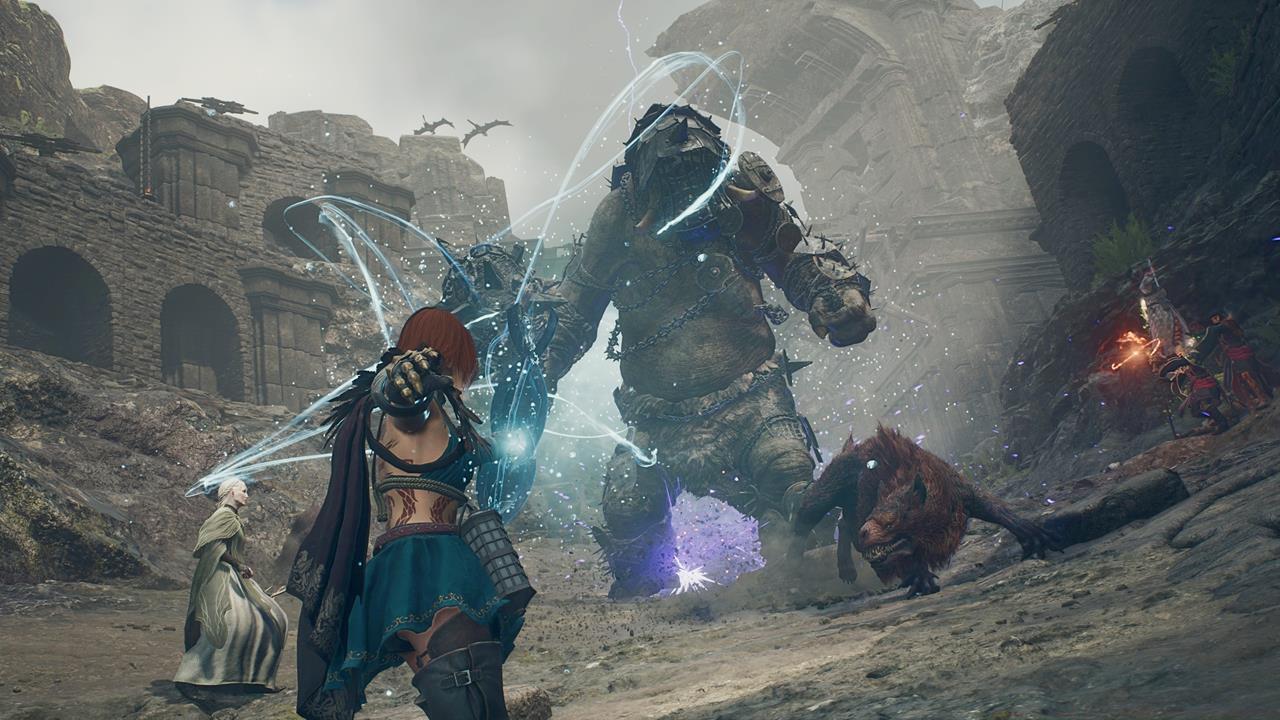
Golems execute painfully slow yet immensely powerful offensive maneuvers. Although their attacks are easily avoided, they demonstrate near-invulnerability except when striking specific vulnerability points. These weaknesses manifest as luminous blue sigils on cranial, torso, and limb regions. Prioritize attacking illuminated glyphs to systematically reduce their health reserves.
Mastering climbing mechanics proves essential for maximizing damage output against larger adversaries. Time your ascents during attack recovery phases and utilize terrain features for cover during preparatory positioning. Elevated surfaces provide advantageous angles for targeting cranial weak points while minimizing exposure to ground-based assaults.
Environmental awareness separates competent fighters from master hunters. Utilize cliff edges to limit enemy approach vectors and force predictable movement patterns. Dense vegetation can obscure line-of-sight against projectile-based enemies, though beware of environmental hazards that may impede movement during critical evasion moments.
Optimize your party composition by balancing vocational synergies. Include at least one ranged specialist for consistent weak point damage and a support vocation for sustain during prolonged engagements. For comprehensive party building strategies, reference our Class Guide to create complementary ability combinations.
Advanced players should focus on animation cancellation techniques and stamina management during climbing sequences. Conserve stamina reserves for emergency evasion and prioritize dismounting before complete depletion to avoid fatal falls.
Action Checklist
- Analyze boss health pips to determine battle duration and resource allocation
- Identify and prioritize weak points during initial engagement phase
- Practice climbing timing on smaller enemies before attempting boss ascents
- Acquire at least two Maister techniques for your primary vocation
- Optimize party composition with complementary vocations before major encounters
No reproduction without permission:SeeYouSoon Game Club » Dragon’s Dogma 2 – All Boss Creatures And Monsters Master Dragon's Dogma 2 boss battles with expert strategies, weak spot analysis, and advanced combat techniques