TL;DR
- Glamtone tests unlock post-game and require specific outfit combinations for Banandium Gems
- Each location features unique fashion themes from gold accessories to animal prints and aquatic gear
- Coordinate both Donkey Kong and Pauline outfits for multi-character challenges
- Complete all six fashion tests to maximize your gem collection and unlock special rewards
- Strategic outfit collection saves time and eliminates trial-and-error frustration
GameSpot may receive revenue from affiliate and advertising partnerships for sharing this content and from purchases through links.
While smashing through terrain defines core gameplay in Donkey Kong Bananza, the Glamtone fashion tests introduce a sophisticated style-based challenge system. These evaluations demand careful outfit coordination rather than brute force, testing your fashion sense alongside traditional platforming skills.
Glamtone characters materialize across various layers after completing the main campaign, each presenting unique aesthetic criteria for earning precious Banandium Gems. Though they provide thematic hints, the exact combinations often require experimentation—making comprehensive guides essential for efficiency.
Successfully navigating these fashion challenges not only rewards you with collectibles but also enhances character customization options. Understanding the underlying pattern recognition system can transform frustrating trial-and-error into strategic outfit planning.

Located prominently on the elevated scaffolding structure in Baboomtown Square, this initial Glamtone test focuses on metallic luxury aesthetics. The evaluation demands specific gold-themed accessories that convey wealth and sophistication.
Essential components include the Golden Necklace, Gilded Wristwear, and Shimmering Crown—each obtainable through specific layer exploration or mini-game completion. The Golden Necklace typically appears in treasure chests near waterfall areas, while Gilded Wristwear often requires puzzle solving in ancient ruins.
Pro tip: Complete gold-themed challenges in sequential order, as some accessories serve as prerequisites for others. Average completion time ranges from 15-25 minutes depending on your existing inventory.
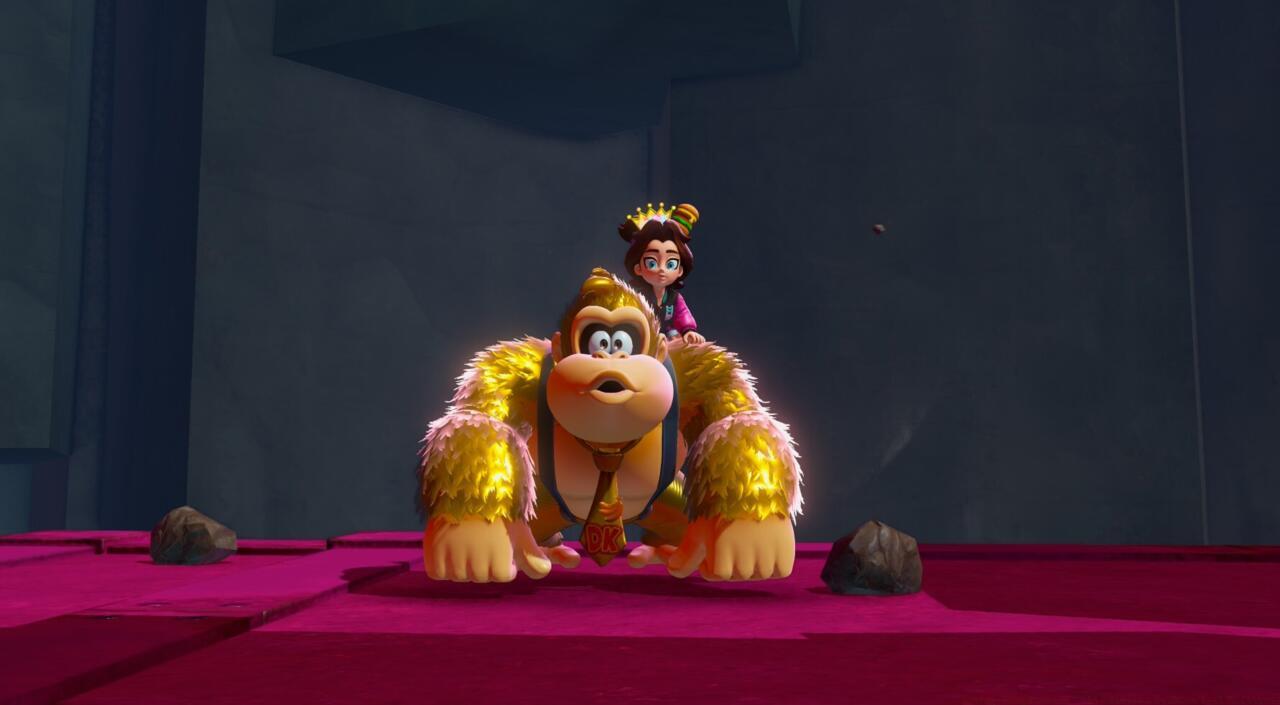
Positioned adjacent to the dramatic sinkhole at Ingot Isle’s terminus, this assessment introduces multi-character coordination. Both Donkey Kong and Pauline must embody the golden luxury theme through complementary yet distinct outfits.
For Donkey Kong, prioritize the Aureate Headpiece and Gilded Gauntlets, while Pauline requires the Golden Tiara and Shimmering Gown. This represents the first test requiring synchronized character styling.
Common mistake: Attempting to use identical pieces across both characters. The system rewards complementary coordination rather than duplication. Expect to spend 20-30 minutes gathering the necessary components if starting from scratch.
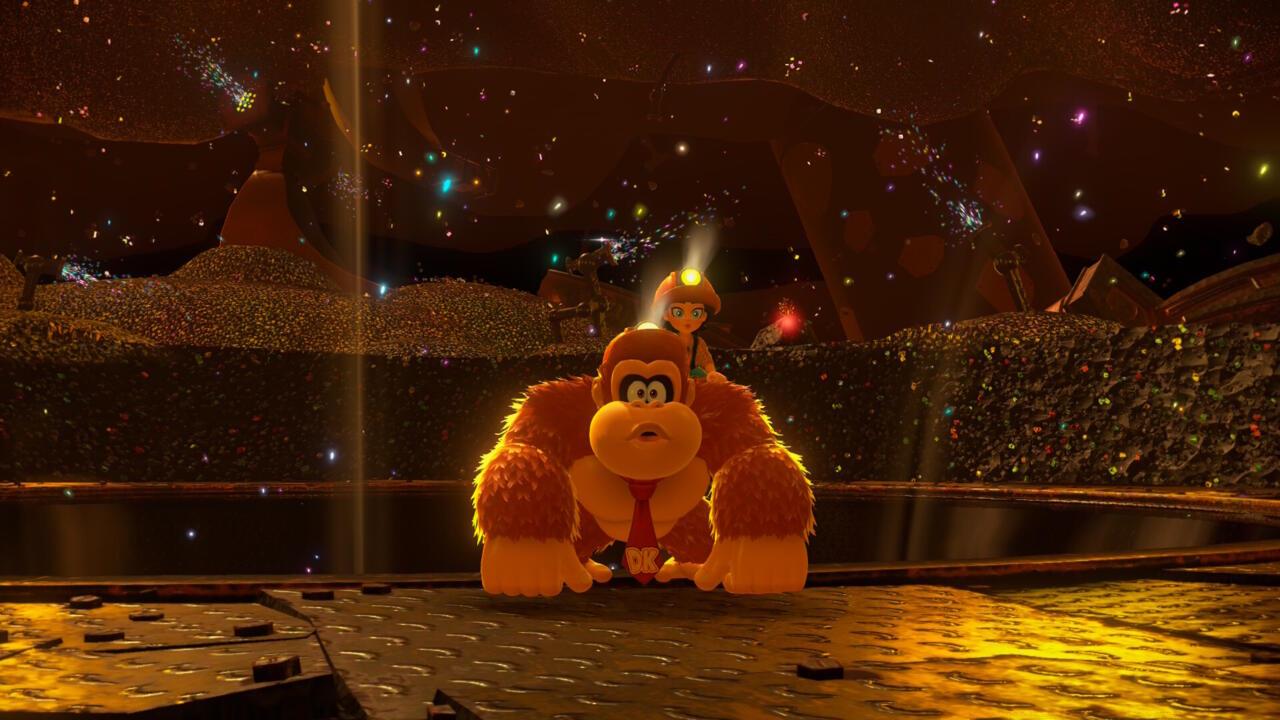
Along the Forest Path approaching the Forest Layer, this Glamtone emphasizes practical protection through headgear diversity. The challenge tests your ability to assemble cohesive helmet combinations that balance style and functionality.
Required equipment includes the Crusader Helm, Viking Headpiece, and Samurai Kabuto. Each helmet offers distinct aesthetic qualities while maintaining the protective theme.
Strategic insight: Some helmets provide minor gameplay benefits beyond fashion, offering slight defense boosts in specific environments. This dual-purpose approach makes helmet collection particularly valuable for completionists.
Perched atop the iconic Big Watermelon Memorial at the map’s center, this evaluation celebrates primal patterns through sophisticated animal print coordination. The test demands understanding of pattern hierarchy and color synchronization.
Essential patterns include Leopard Spot Armor, Zebra Stripe Vest, and Tiger Pattern Leggings.
Advanced technique: Mix patterns strategically rather than using a single animal theme. The system rewards creative pattern blending that maintains visual cohesion while demonstrating fashion expertise.

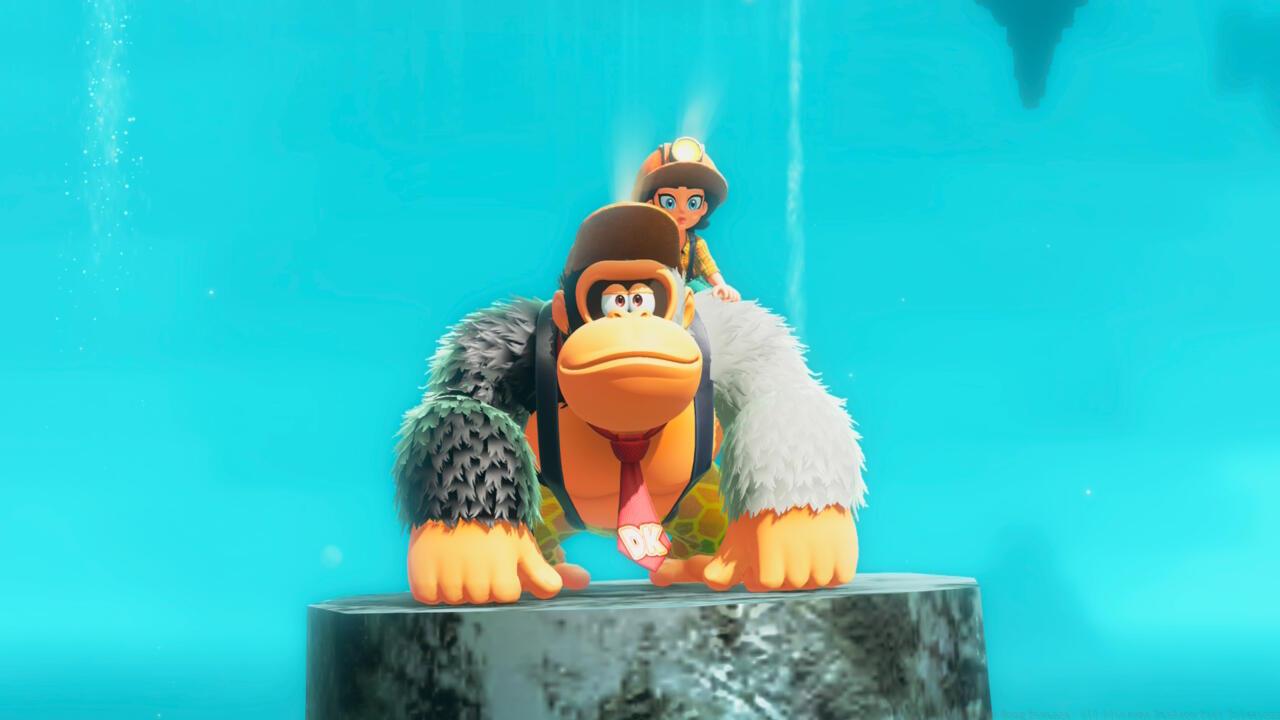
Stationed beside the layer-concluding sinkhole, this aquatic-themed challenge introduces moisture-based aesthetics. Both characters must embody water-inspired fashion through specific dampness-indicating accessories.
Required gear includes the Sailor’s Cap, Aquatic Amulet, and Neptune’s Trident for Donkey Kong, while Pauline requires the Mermaid Tiara and Ocean Pearl Necklace.
Performance note: While purely cosmetic, properly coordinated aquatic outfits can enhance swimming animation sequences, providing subtle visual rewards beyond the primary Banandium Gem.
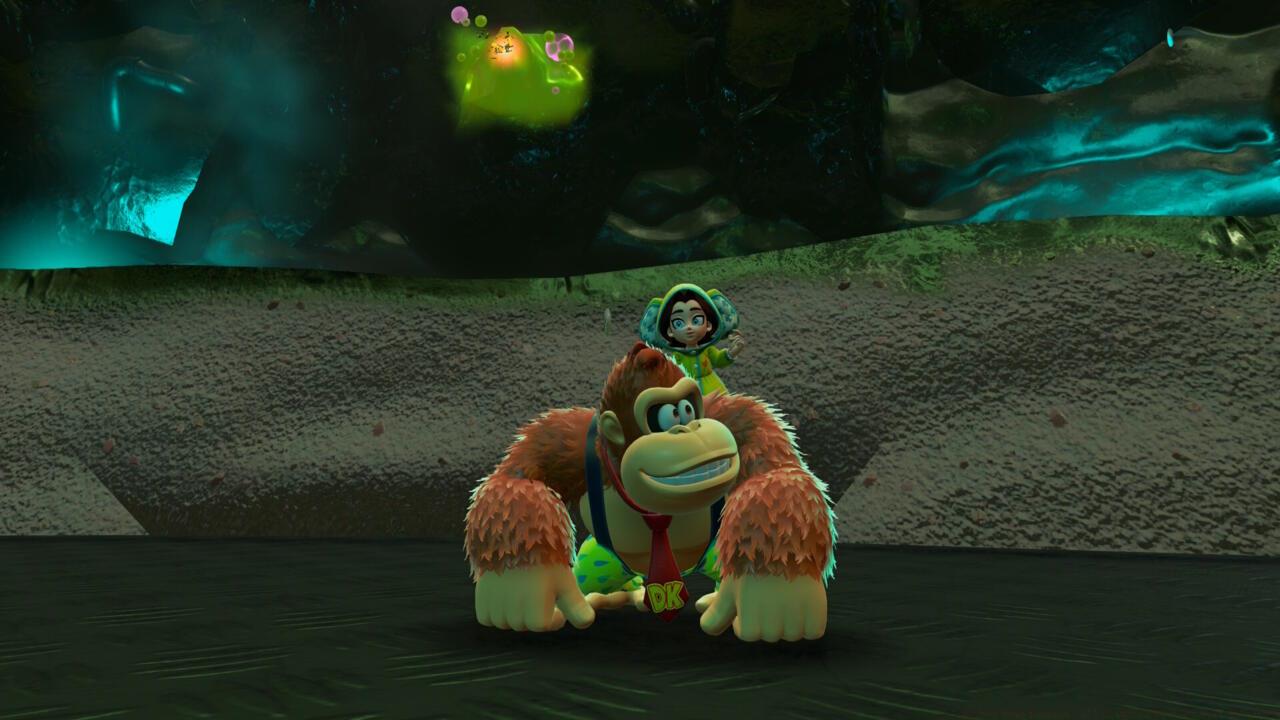
The culminating fashion challenge at Feast Layer demands perfect outfit synchronization between Donkey Kong and Pauline. This test evaluates your mastery of color theory, style matching, and character-specific fashion principles.
Essential coordination includes the Royal Doublet set, Harmonious Headwear, and Synchronized Accessories that create visual harmony between the characters.
Completion reward: Beyond the standard Banandium Gem, perfect synchronization unlocks exclusive color palette options for both characters, representing the pinnacle of fashion achievement in Donkey Kong Bananza.
For comprehensive gameplay assistance, consult our Complete Guide for advanced strategies and mechanics explanations.
Action Checklist
- Complete main campaign to unlock Glamtone appearances
- Collect all Donkey Kong and Pauline outfits from various layers
- Navigate to Baboomtown Square (SL5) for initial gold-themed test
- Coordinate multi-character outfits at Ingot Isle Cave-In (SL10)
- Progress through remaining layers in recommended order for optimal efficiency
No reproduction without permission:SeeYouSoon Game Club » Donkey Kong Bananza: All Glamtone Fashion Test Solutions Master Glamtone fashion tests in Donkey Kong Bananza with complete outfit solutions and strategy guide