TL;DR
- Legendary difficulty scales dynamically with fireteam size – solo and team play are equally challenging
- Maintain distance and use cover strategically to survive overwhelming enemy encounters
- Suppression grenades and Arbalest are game-changers against Hive Lightbearers
- Rocket launchers provide essential burst damage for eliminating priority targets quickly
- The Glaive offers versatile offense and defense capabilities when mastered properly
Destiny 2’s Witch Queen expansion introduces a revolutionary approach to campaign difficulty with its Legendary mode, designed to test even the most experienced Guardians. This challenging experience transforms standard story missions into intense tactical engagements that demand strategic thinking and precise execution.
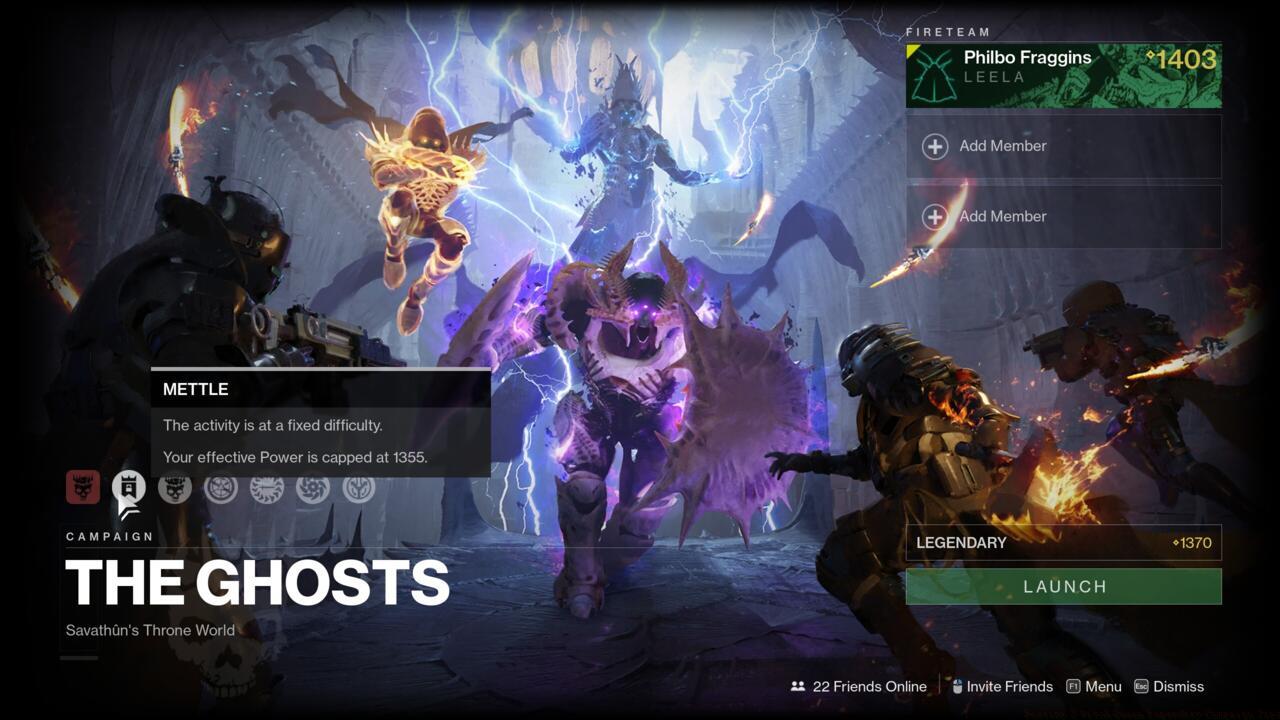
The adjustable difficulty system represents one of the most significant innovations in Destiny 2’s campaign design. While the standard campaign delivers an engaging narrative experience with rich lore exploration, the Legendary difficulty elevates combat encounters to create truly memorable battles. The enhanced challenge level perfectly balances difficulty and satisfaction, making confrontations with Lightbearer Hive warriors feel like genuine survival scenarios where every decision matters.
Before embarking on the Legendary campaign, understanding its core mechanics is crucial for success. The dynamic difficulty scaling adjusts enemy strength and numbers based on your fireteam composition, meaning larger teams face proportionally tougher opposition. This ensures that cooperative play doesn’t trivialize the experience while maintaining balanced challenge regardless of player count.
Strategic weapon selection forms the foundation of Legendary campaign success. Prioritize firearms that enable effective engagement from protected positions, as the expansive battle arenas frequently swarm with coordinated enemy assaults. Pulse rifles and scout rifles excel at thinning enemy ranks from safety, providing crucial breathing room during intense firefights.
Enemy resilience in Legendary difficulty requires committed elimination rather than suppression tactics. Unlike standard gameplay where you can stagger opponents temporarily, Legendary enemies maintain offensive pressure until completely neutralized. This necessitates weapons with reliable range and damage output that allow tactical repositioning during extended engagements.
Exotic weapons receive substantial buffs in PvE activities, dramatically increasing their effectiveness against standard combatants. Among the extensive exotic arsenal, Arbalest stands out as particularly indispensable for its shield-penetrating capabilities. The kinetic linear fusion rifle demolishes enemy shields with single precision shots while delivering massive critical damage against priority targets.
For maximum damage output against formidable opponents, rocket launchers provide the essential firepower needed. Weapons like Gjallarhorn excel at rapidly eliminating high-threat enemies including Ogres and Lightbearers before they can overwhelm your position. Strategic heavy weapon deployment often determines success in challenging encounters where swift target elimination is paramount.

Void abilities can allow you to suppress the abilities of other enemies, including Hive Lightbearers–even if they’re using their Super attacks.
Void 3.0 revolutionizes subclass customization by breaking traditional class boundaries, allowing unprecedented ability combinations. Suppression grenades become universally accessible across all classes, providing crucial tactical advantages against the most dangerous adversaries.
These specialized grenades prove exceptionally effective against Hive Lightbearers, capable of instantly neutralizing their abilities including active Super attacks. This suppression effect dramatically reduces enemy lethality while creating valuable windows for aggressive plays or strategic repositioning.

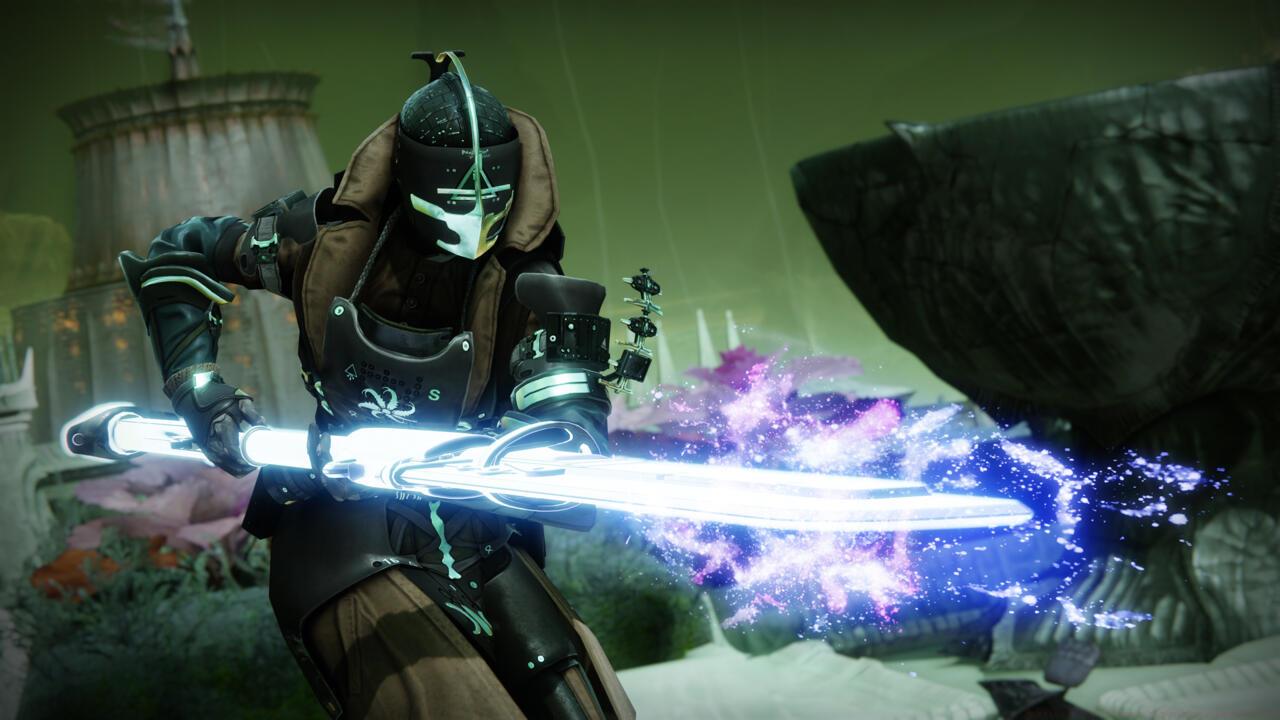
The Glaive is a gun, a melee weapon, and a shield, so use it to its full potential.
The Glaive represents Destiny 2’s newest weapon category, offering unprecedented versatility in combat situations. This hybrid weapon delivers effective melee damage at close range while providing energy projectile attacks for mid-range engagements.
Many players overlook the Glaive’s defensive capabilities, particularly its energy shield function. This protective barrier generates mobile cover during intense firefights, enabling strategic advancement or retreat under heavy enemy fire. Master Glaive usage requires understanding its charge mechanics – the shield activates after landing successful attacks, with duration indicated by the crosshair meter. Proper management of this resource can mean the difference between survival and defeat in critical moments.
Adopting an aggressive mindset often yields better results than cautious play in Legendary difficulty. The campaign design encourages calculated risk-taking, with death serving as a learning opportunity rather than failure. Repeated attempts against challenging encounters build familiarity with enemy patterns and arena layouts, gradually improving performance through experience.

You get lots of infusion materials throughout the Legendary campaign, so boost your favorite gear and keep your level up.
The campaign provides abundant infusion materials, enabling consistent gear upgrades throughout your progression. This resource availability encourages experimentation with different weapon combinations and armor configurations without penalizing players for investing in preferred equipment.
Rally Banners offer completely free resource replenishment at mission start points. These invaluable tools restore ammunition, ability energy, and Super charge, ensuring you begin each encounter fully prepared. Always deploy a banner when available – the cost-free benefits significantly impact mission success rates.

If you’re close to the Power level cap anyway, you can skip spending time messing with your gear.
Understanding power level caps helps optimize gear management efficiency. If your current equipment already approaches the maximum effective level, excessive infusion becomes unnecessary. This understanding allows focused attention on tactical execution rather than constant equipment optimization.
Mission-specific loadout adjustments dramatically improve performance in specialized scenarios. Different encounters may favor specific weapon types, elemental damage, or ability combinations based on enemy composition and arena design.
Class-specific abilities provide unique advantages when properly utilized. Each Guardian class offers distinct tactical options that can be leveraged against particular enemy types or in specific combat situations. Mastering these specialized capabilities often provides the edge needed to overcome particularly challenging sections.
Action Checklist
- Deploy Rally Banner at every mission start point for free resources
- Visit Ikora Rey in the Tower to acquire Suppression grenades for your class
- Test weapon combinations in standard difficulty before Legendary attempts
- Practice Glaive shield activation timing in controlled environments
- Analyze mission briefings to pre-plan loadouts against expected enemy types
No reproduction without permission:SeeYouSoon Game Club » Destiny 2 Witch Queen Legendary Campaign Tips Master Destiny 2's Legendary Witch Queen campaign with expert strategies for survival and success
