TL;DR
- Complete all six transponder placements across Nessus to triangulate Saint-14’s Ghost signal
- Use environmental landmarks and map coordination for precise beacon positioning
- Expect 45-60 minutes completion time with proper route optimization
- Saint-14’s Ghost requires careful exploration in the final signal zone
- Avoid common mistakes like incomplete triangulation or missed spawn triggers
GameSpot may receive revenue from affiliate and advertising partnerships for sharing this content and from purchases through links.
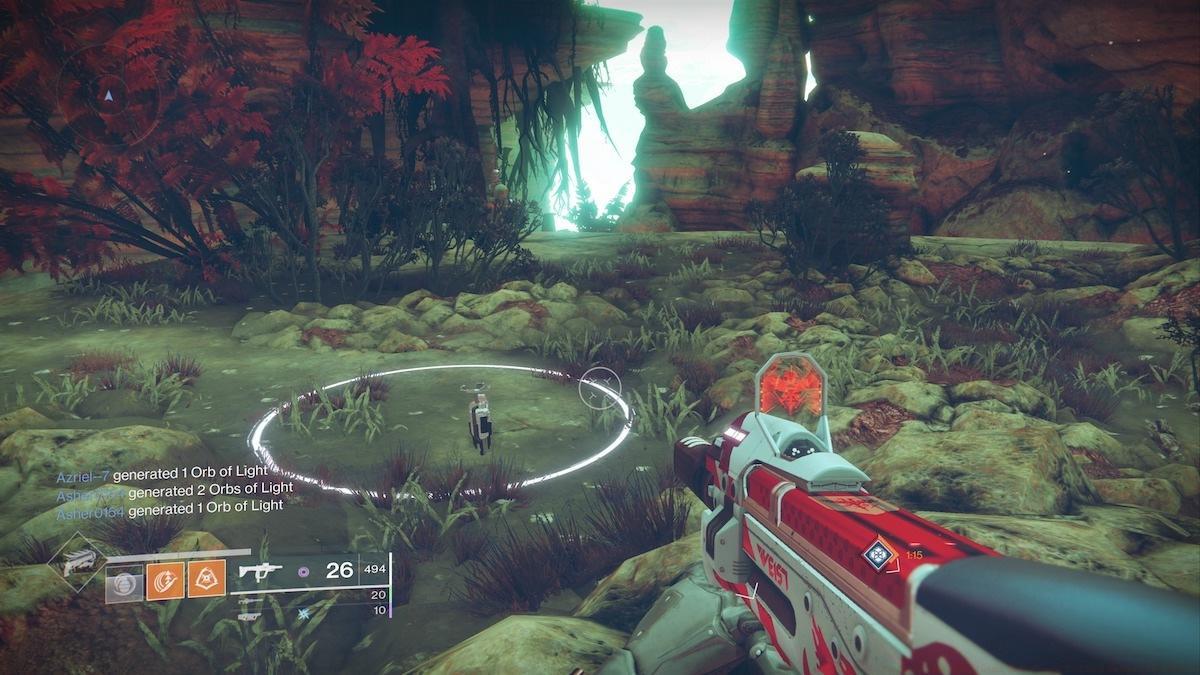
During the second week of Destiny 2’s Season of Dawn, Guardians continue their temporal intervention mission to prevent Saint-14’s tragic demise at Vex hands. This legendary Titan’s narrative, previously confined to lore entries, becomes actively playable through Mercury’s Sundial activity. Players now collaborate with Osiris to pinpoint the exact moment of Saint-14’s fatal encounter and alter historical outcomes.
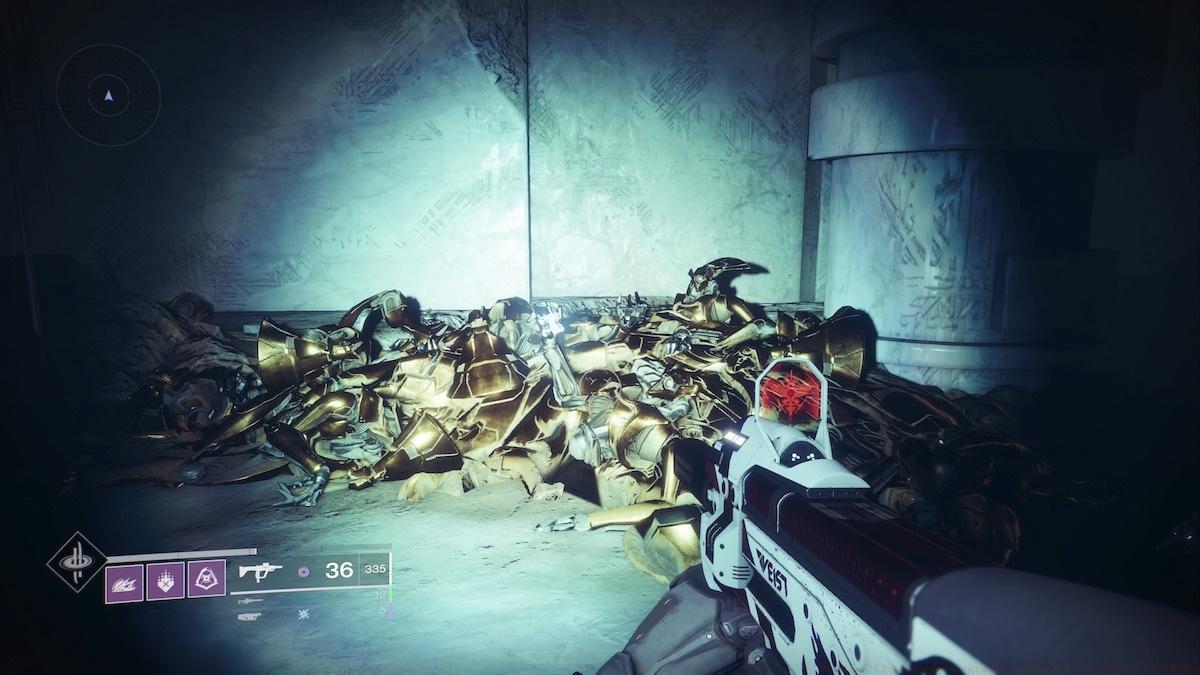
The initial phase involved dismantling Vex transformers—distinctive white cubic structures dispersed across multiple planetary surfaces. Your current objective shifts to deploying transponder beacons throughout Nessus, creating a signal triangulation network to locate Saint-14’s missing Ghost companion.
While your navigation map indicates general transponder zones, identifying precise deployment positions presents navigational challenges. Strategic beacon placement follows triangulation principles—each transmitter must establish clear line-of-sight with others for optimal signal strength. Proper positioning ensures accurate Ghost location data.
Successful triangulation requires visiting all six designated areas in any sequence. However, experienced players recommend starting from Exodus Black and progressing clockwise around the map to minimize backtracking. Each transponder activation takes approximately 2-3 minutes including travel time between locations.

Common errors include incomplete triangulation sequences and imprecise beacon placement. Ensure each transponder fully deploys with visual and audio confirmation before moving to the next location. For comprehensive gameplay strategies, consult our Complete Guide to mission optimization techniques.
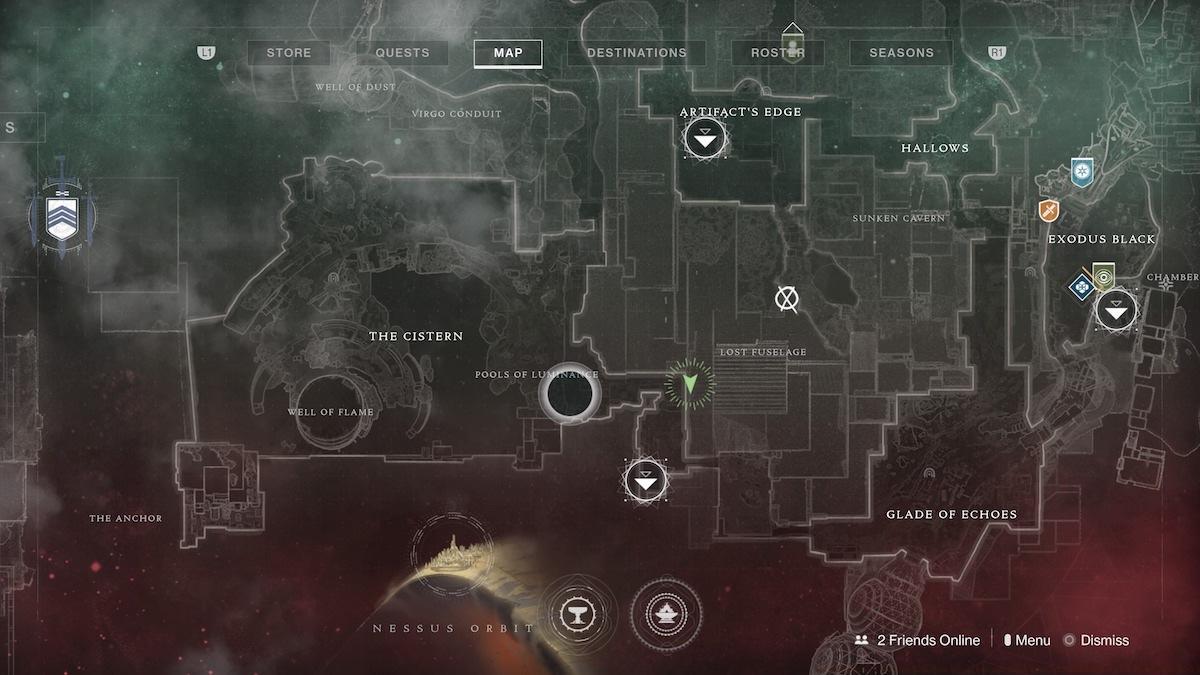
Navigate these six precise transponder positions on Nessus for successful signal triangulation:
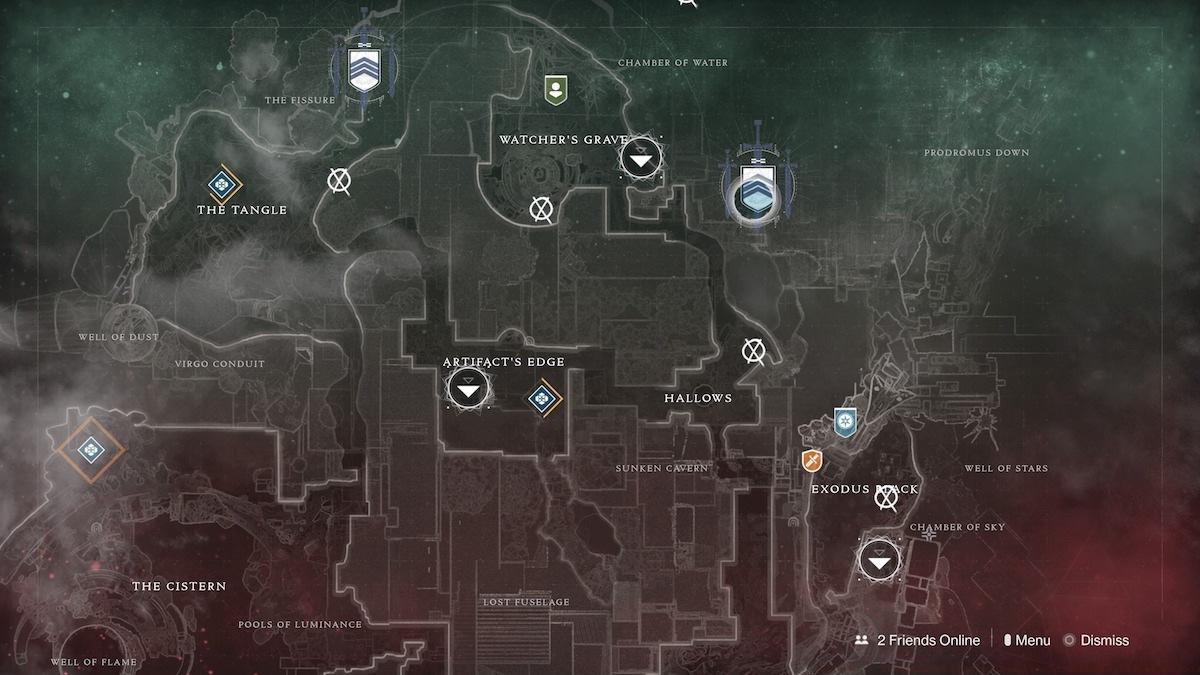
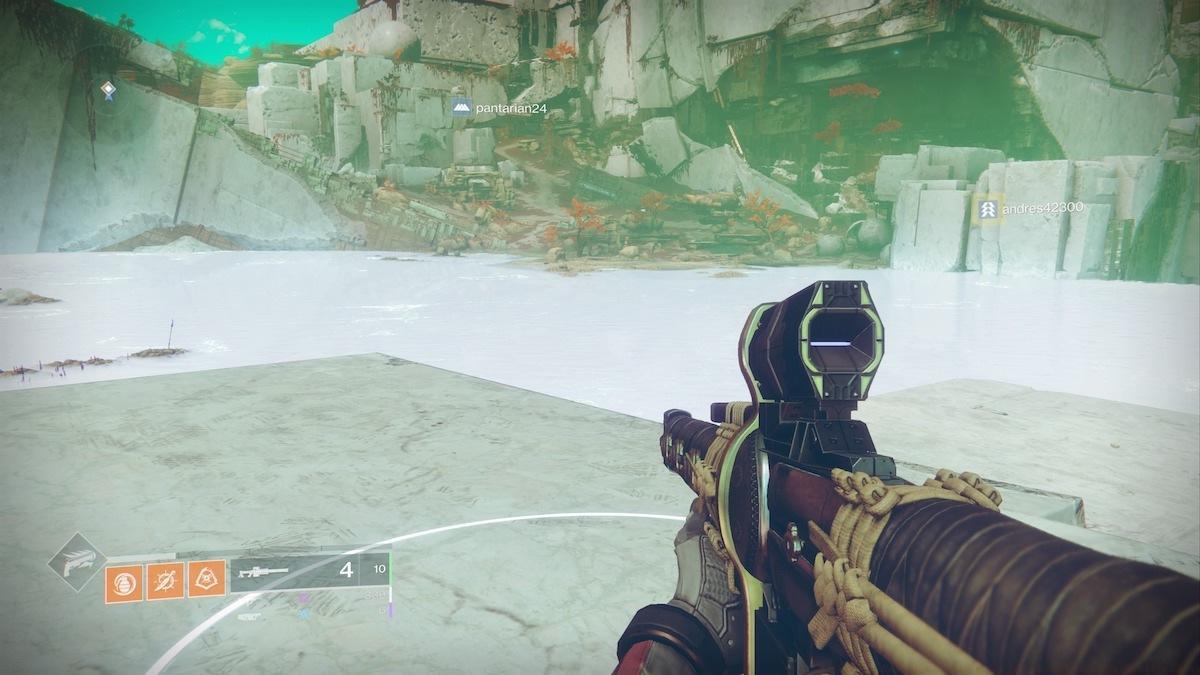
Exodus Black – Elevated Rock Formation: From the landing zone, proceed toward the crashed ship wreckage. Locate the prominent rock outcrop northwest of Failsafe’s terminal. The transponder deploys on the flat stone surface overlooking the surrounding area.
The Hallows – Wall Overlook Position: Enter the cavernous zone and ascend to the upper ledges along the eastern perimeter. The beacon mounts on a rocky shelf providing panoramic views of the ongoing combat below.
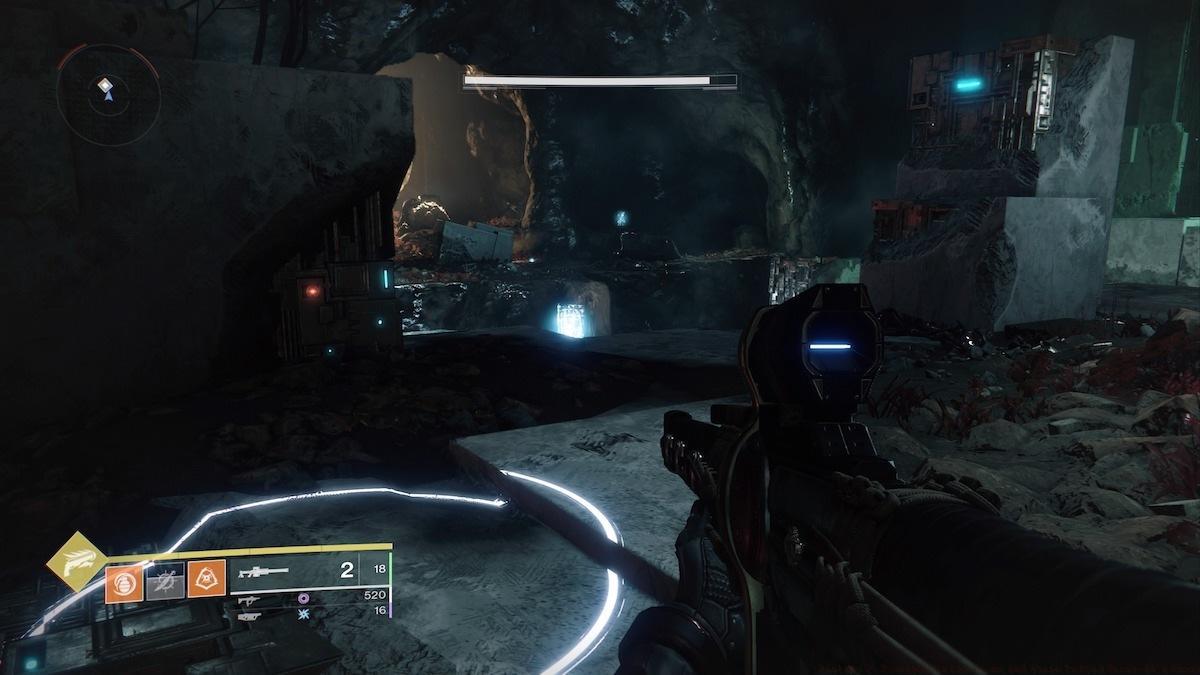
Watcher’s Grave – Perimeter Edge: Travel to the area’s northern boundary near the Vex construction sites. Position the transponder along the cliff edge facing the central structures for optimal signal transmission.
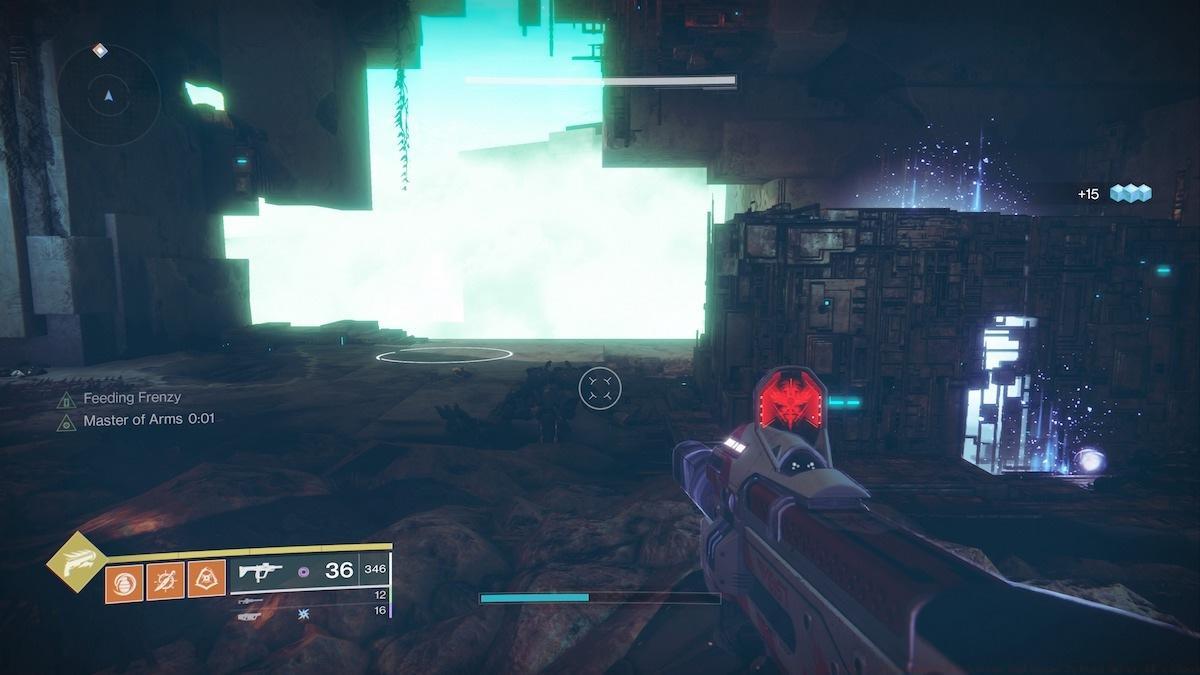
Chamber of Water – Deep Interior: This challenging location requires navigating through narrow passages to reach the rearmost chamber. The transponder installs near the water’s edge in the final room.
The Tangle – Insight Terminus Approach: Follow the path leading toward the Insight Terminus strike entrance. The beacon positions on a rocky outcropping before the final descent to the strike zone.
Cistern – Vex Milk Reservoir: Navigate to the large circular pool of radiolarian fluid. The transponder mounts on a platform overlooking the milky lake, often requiring elimination of nearby Vex patrols.
Advanced players should coordinate transponder placement with public event timing to maximize efficiency. For weapon loadout recommendations during these engagements, see our Weapons Unlock guide for optimal gear selection.
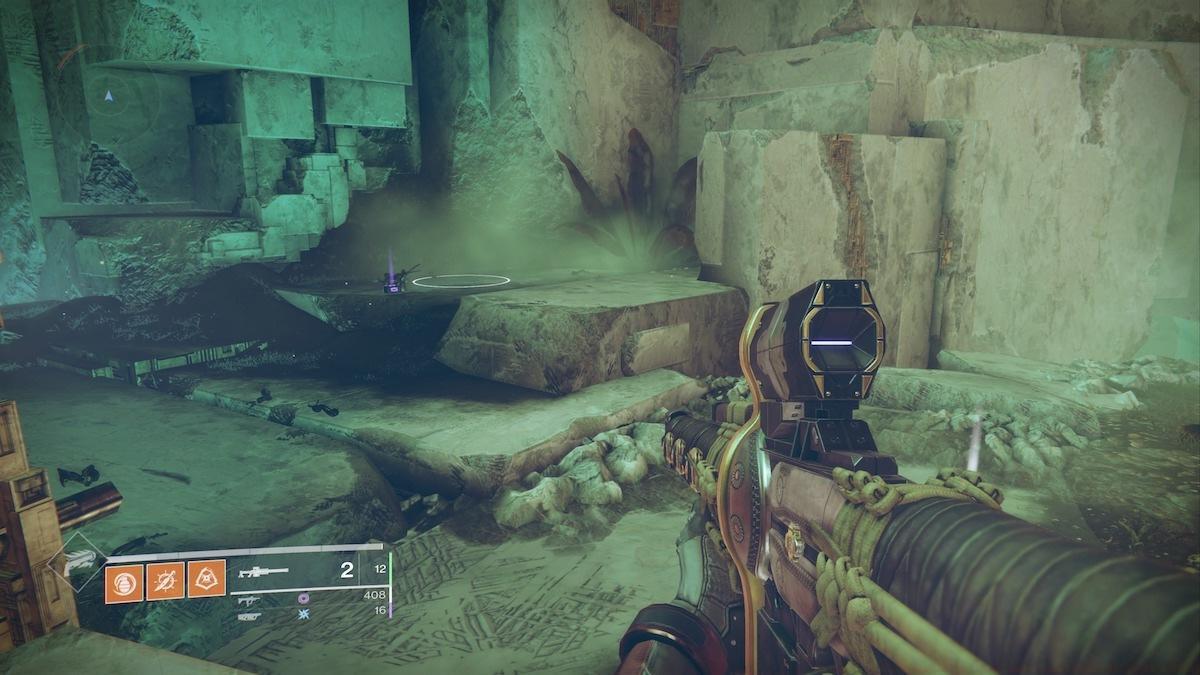
After deploying all six transponders, the triangulation network activates, revealing Saint-14’s Ghost location through enhanced signal tracking. The Ghost resides in a previously inaccessible sector now revealed by completed beacon alignment.
Navigate to the triangulated coordinates where you’ll discover the Ghost in a protected enclave. The recovery sequence triggers a brief cinematic revealing crucial story elements about Saint-14’s final moments.
Successful Ghost retrieval completes this story segment and unlocks additional Season of Dawn narrative content. Proper class selection significantly impacts mission efficiency—consult our Class Guide for optimal character builds.
Destiny 2 News And Guides
Action Checklist
- Deploy transponder at Exodus Black rock formation northwest of Failsafe
- Install beacon on The Hallows eastern wall ledge overlooking combat zone
- Position transmitter along Watcher’s Grave northern cliff edge
- Navigate Chamber of Water interior to place beacon at rearmost position
- Mount transponder on The Tangle rocky outcropping before Insight Terminus
- Deploy final beacon at Cistern platform overlooking Vex milk lake
- Follow triangulated signal to Saint-14’s Ghost location
No reproduction without permission:SeeYouSoon Game Club » Destiny 2: Transponder Locations And Where To Find Saint-14’s Ghost Complete guide to finding Nessus transponder locations and Saint-14's Ghost in Destiny 2 Season of Dawn