TL;DR
- Defiant Battlegrounds combines Cabal combat with Ascendant Realm exploration across three distinct phases
- Strategic loadout selection and enemy prioritization dramatically impact completion speed and success rates
- Mastering the Balefire mechanics and shield-breaking orbs is essential for final boss encounters
- Reward quality varies significantly between direct launch and playlist versions
- Average completion time ranges from 12-20 minutes depending on team coordination and difficulty
Destiny 2’s latest seasonal offering introduces Defiant Battlegrounds, a dynamic three-player matchmade experience that merges tactical Cabal warfare with supernatural dimension-hopping. This activity represents Bungie’s continued evolution of seasonal content, blending familiar combat mechanics with innovative environmental puzzles and boss encounters that challenge both individual skill and team coordination.

Guardians can access Defiant Battlegrounds through two primary methods with distinct difficulty scaling. The standard version is directly selectable from the EDZ destination map, providing a more accessible entry point for learning mechanics. For seasoned fireteams seeking greater challenges and improved rewards, the advanced playlist located in the HELM offers heightened enemy density, tougher bosses, and additional mechanics. The HELM’s war table also features specialized bounties that can only be completed within this activity, offering bonus reputation and gear incentives.
Pro Tip: Always collect HELM bounties before starting your session, as many require specific enemy types or mechanics that are easily missed without proper planning. The playlist version typically provides 30-40% better loot quality but requires approximately 25% more time to complete.
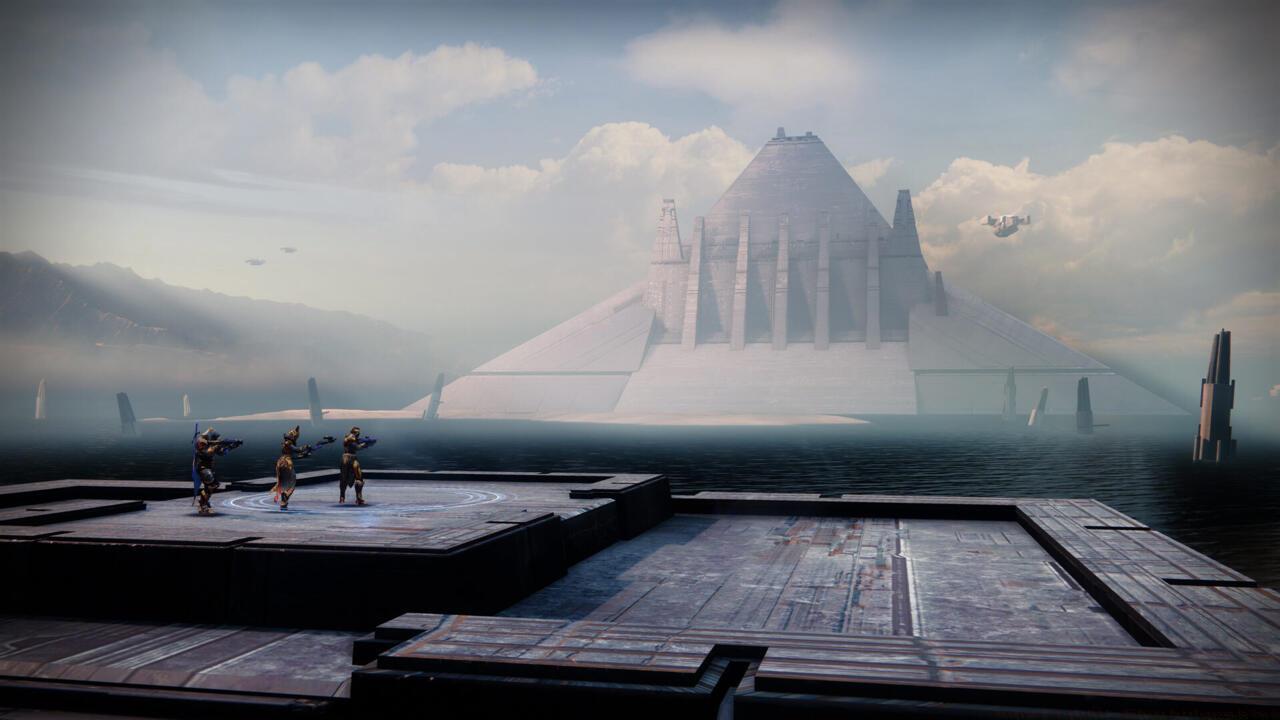
The initial combat phase pits your fireteam against the Shadow Legion’s frontline forces in a straightforward but intense firefight. This segment serves as both warm-up and gear testing ground, allowing teams to establish rhythm before encountering more complex mechanics.
Loadout preparation is crucial here—equip weapons that excel against Cabal shields and consider seasonal artifact mods that provide damage bonuses against specific enemy types. Weapons with explosive payload or area-of-effect capabilities shine against war hounds and grouped infantry, while precision tools handle commanders efficiently. After clearing the initial wave, you’ll be directed to a strategic platform where Mara Sov’s bestowed powers enable Ascendant Realm access.

Common Mistake: Many players waste heavy ammunition on basic troops early in this phase. Conserve your power weapons for the more demanding encounters ahead, particularly the boss fights that feature multi-phase health bars and shield mechanics.
Advanced teams can shave 2-3 minutes off completion time by designating one player for add-clear while others focus on high-value targets. Coordinate supers to maintain momentum rather than saving them for emergency situations.
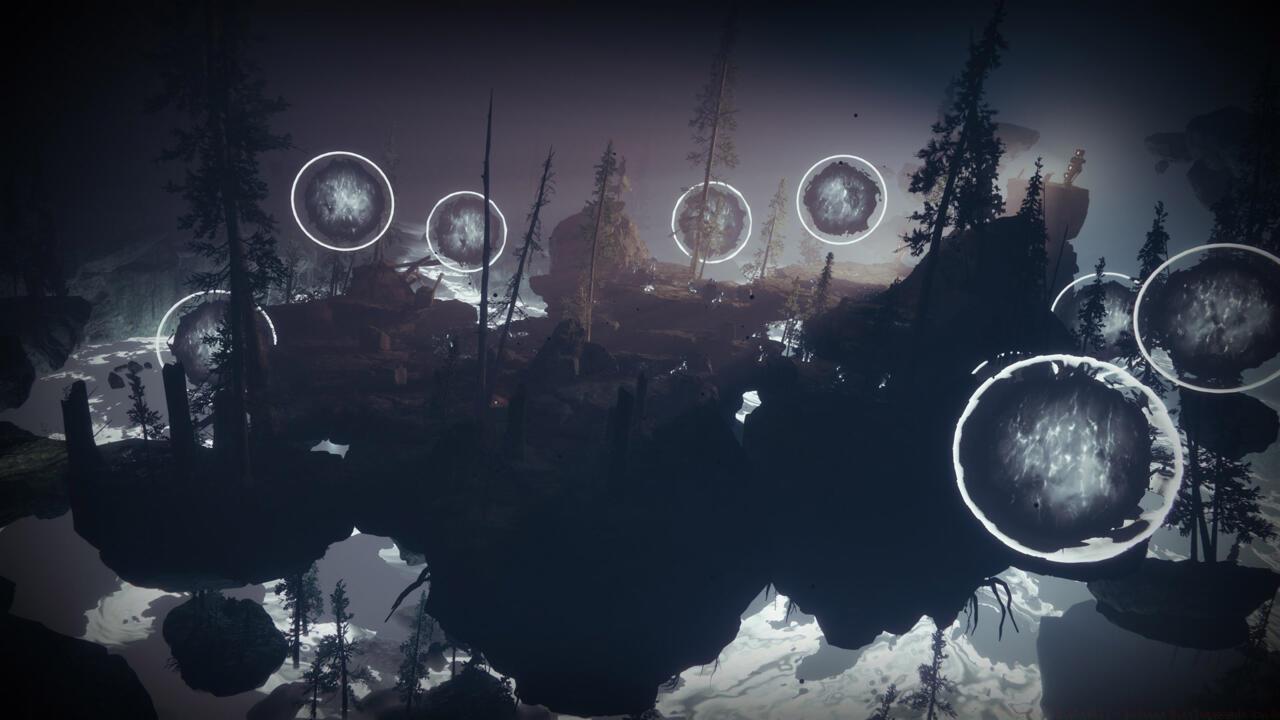
Transitioning into the Ascendant Realm introduces environmental hazards and Taken adversaries that require different tactical approaches. This eerie dimension features floating platforms, deadly traps, and the signature Taken blights that must be dismantled to progress. The atmospheric change isn’t just cosmetic—enemy behavior and attack patterns shift significantly in this realm.
Your primary objectives here involve clearing Taken forces while systematically destroying blights to empower your Guardian’s Balefire capabilities. The blights serve dual purposes: they’re both obstacles to remove and resources to harness for the upcoming boss confrontation. Maintain constant awareness of your surroundings, as Taken traps can quickly eliminate unprepared Guardians.
The dimensional gauntlet culminates in a boss encounter against Exomida, Taken of the Witness. This formidable foe employs a three-phase health bar with two shield activations that require immediate blight destruction. Coordinate with your team to assign blight duty while others maintain boss damage pressure.

Mechanics Deep Dive: Exomida’s shield phases trigger at 66% and 33% health thresholds. The blights that spawn during these phases appear in fixed locations, allowing experienced teams to pre-position for faster breaks. Each shield break stuns the boss, creating extended damage windows for your heaviest weapons.
Optimal strategy involves saving supers for after shield breaks when the boss is vulnerable. Well-timed supers during these windows can eliminate an entire health segment, dramatically reducing encounter duration.
Emerging from the Ascendant Realm deposits your fireteam directly into a Cabal prison complex, initiating the final rescue operation. The Shadow Legion warden presents the most mechanically complex challenge of the activity, requiring precise execution of multiple systems simultaneously.
This encounter introduces the suppression field mechanic, which periodically damages Guardians outside safe zones. The Balefire locations in the room center provide both protection through the Safeguarded buff and the means to break the warden’s impenetrable shields.
When the warden activates his shields, your team must locate and eliminate a marked Taken Wizard to obtain Taken Essence. Transport this essence to an active Balefire to transform it into a shield-breaking orb. Three successful orb impacts will disable the warden’s defenses, creating critical damage opportunities.
Advanced Coordination: Designate roles before the encounter begins: one player focuses on wizard elimination, another handles orb transportation, while the third maintains add control and boss damage.
At the two-thirds health mark, the warden relocates to an elevated position, requiring activation of a secondary Balefire location. The process repeats with increased enemy density and additional mechanics, testing your team’s endurance and adaptability.
Optimization Tip: The Safeguarded buff lasts exactly 8 seconds—time your movements between Balefires strategically rather than remaining stationary. Mobility exotic armor like St0mp-EE5 or Transversive Steps significantly improve survival rates during suppression field phases.
Successfully defeating the warden completes the prison break narrative and unlocks the activity’s reward chests.
Defiant Battlegrounds offers differentiated reward structures based on your entry method, creating meaningful choices between time investment and loot quality. Understanding these systems enables efficient farming for specific gear targets.
Directly launching the activity from the EDZ map provides automatic world pool armor and weapon drops upon completion. This method favors speed runs and bounty completion but offers less targeted loot acquisition.
The playlist version accessed through HELM features a dedicated reward chest with improved drop rates for seasonal weapons and high-stat armor. The chest requires a few seconds to spawn after the warden’s defeat, so avoid rushing to the activity end screen.
Farming Strategy: For optimal efficiency, complete three playlist runs weekly for pinnacle rewards, then focus on direct launches for bounty completion and material farming.
Seasonal challenges often require multiple Defiant Battleground completions—plan these during weeks with favorable modifiers to minimize time investment. The activity typically takes 12-15 minutes for coordinated teams and 18-20 minutes for matchmade groups.
Pro Insight: The most time-efficient approach involves running the playlist version until you’ve obtained your desired seasonal weapons, then switching to direct launches for remaining objectives.
For comprehensive loadout planning that complements your Defiant Battlegrounds strategy, consult our BF6 Weapons Unlock Guide for weapon synergy strategies.
Action Checklist
- Collect HELM bounties and check weekly modifiers before starting
- Equip Cabal-effective weapons and area-of-effect gear for Phase 1
- Coordinate team roles for boss encounters (blight duty, add control, boss damage)
- Execute Ascendant Realm navigation with trap awareness and blight prioritization
- Master Balefire mechanics and shield-breaking orb transportation
- Complete three weekly playlist runs for pinnacle rewards
No reproduction without permission:SeeYouSoon Game Club » Destiny 2: Lightfall – Defiant Battlegrounds Guide Master Destiny 2's Defiant Battlegrounds with advanced strategies, boss tactics, and reward optimization
