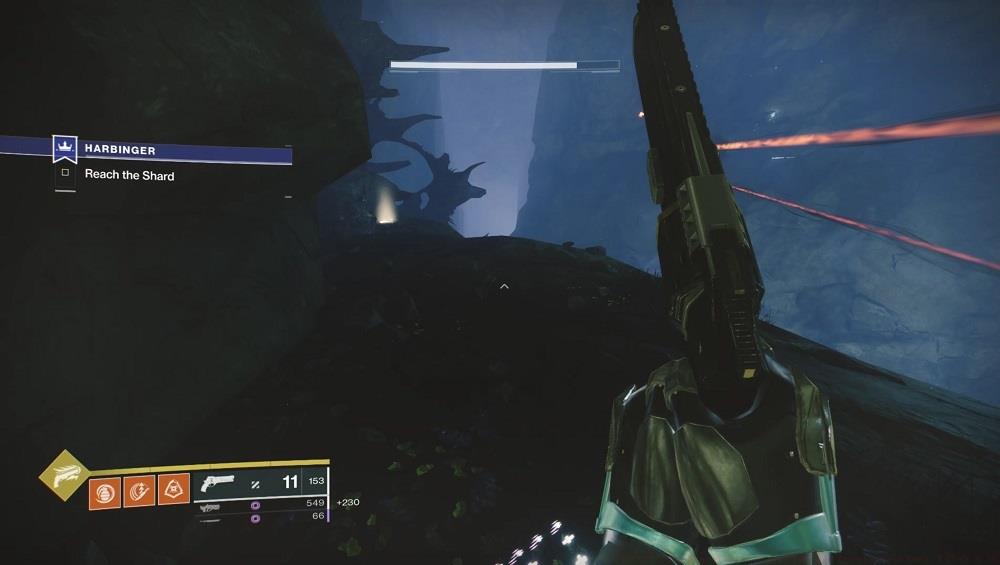
TL;DR
- Five Paracausal Feathers are hidden throughout the Harbinger mission with weekly rotation
- Finding all feathers contributes significantly to unlocking the Radiant Accipiter Exotic ship
- Each feather requires specific navigation and environmental interaction techniques
- Complete collection provides approximately 37 feathers toward the 100 needed for Bird of Prey
- Mission remains available despite Season of the Hunt conclusion
Destiny 2’s challenging Harbinger Exotic mission contains five elusive Paracausal Feathers that dedicated Guardians can discover during their run. Successfully locating all these mystical items significantly advances your progress toward obtaining the prestigious Radiant Accipiter, an Exotic spacecraft that showcases your exploration prowess. While the Season of the Hunt has concluded, this demanding activity persists within the game, offering ongoing opportunities for feather collection and Hawkmoon weapon rolls.
The feather placement rotates on a weekly basis, creating dynamic hunting experiences that require fresh strategies each reset. Our comprehensive investigation has meticulously mapped every current feather position within the EDZ’s Reservoir region, providing you with precise navigation instructions. Each discovery contributes substantially to your overall Paracausal Feather count, accelerating your journey toward exotic rewards.
Successfully completing the Harbinger mission grants you new perk combinations for the formidable Hawkmoon hand cannon, while finishing the Bird of Prey triumph by accumulating 100 feathers unlocks the distinctive Radiant Accipiter vessel. Fortunately, vanquishing major adversaries during the mission yields additional feathers, and uncovering the concealed specimens further boosts your tally. Expect to accumulate roughly 37 feathers during a single complete run if you successfully locate every hidden feather this week.
The most accessible feather resides precisely at the center of the combat arena where you encounter the Taken Centurion emissary. Maintain heightened awareness of the elevated walkway structures crisscrossing the chamber, as this prominent location often escapes notice during intense firefights.
Upon reaching the Reservoir sector, you’ll access a substantial chamber housing multiple turbines, containing all three of Savathun’s emissary forces. Inflict sufficient damage on each emissary to trigger their retreat deeper into the complex, necessitating pursuit and elimination. The Taken Centurion emissary occupies an expansive azure-colored room featuring interconnected catwalks. Identify the feather positioned atop the central catwalk platform within this chamber.
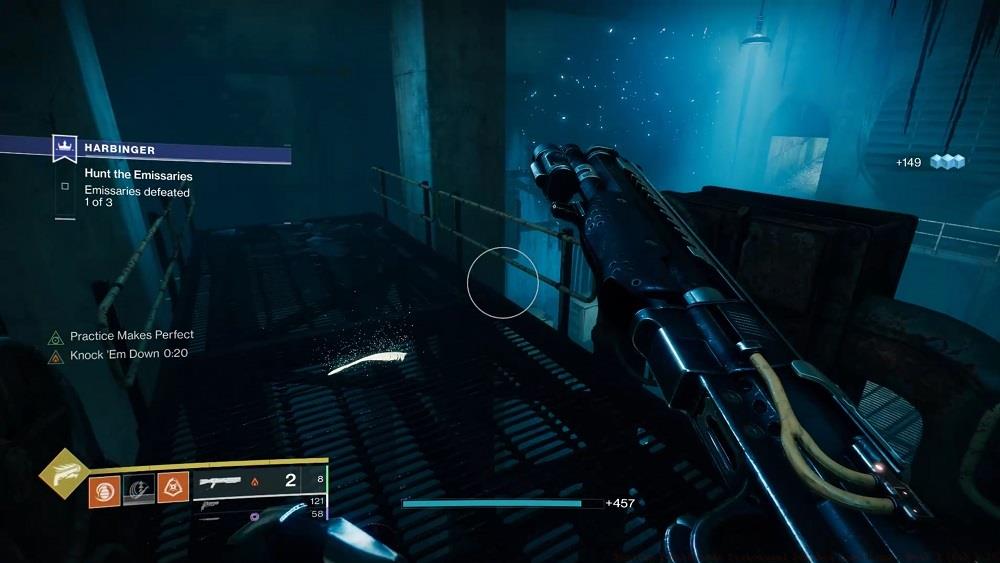
Strategic positioning: The central catwalk feather offers clear visibility but requires careful platform navigation during combat.
Pro Tip: Clear the room of minor adversaries before feather collection to avoid interruption. The elevated position provides tactical advantage but leaves you exposed to enemy fire.
This secondary feather presents greater discovery challenge, concealed within a deteriorated chain-link enclosure. Identify the illuminated crimson control mechanism depicted here to activate the cage opening sequence.
After locating and eliminating the Taken Wizard emissary, proceed through the chamber exit that descends via an inclined ramp. Upon entering the subsequent area containing Taken Goblins, scan the walls for a glowing red indicator. This signifies an interactive switch mechanism that, when activated, unlocks the opposing chain-link cage housing the third feather.
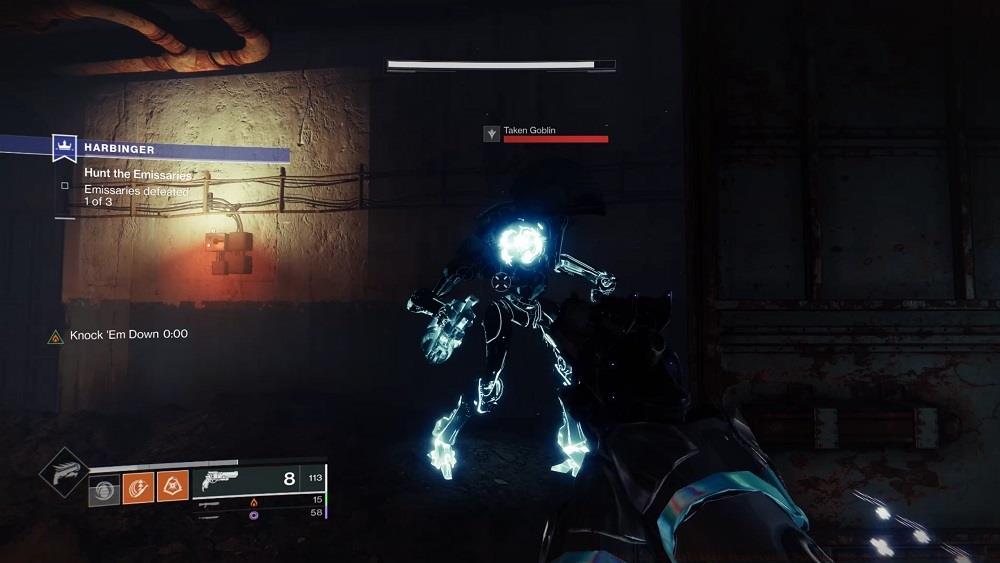
Environmental puzzle: The red switch activation requires precise positioning and often goes unnoticed during combat transitions.
Common Mistake: Many Guardians rush past this interactive element while pursuing retreating enemies. Pause momentarily after defeating the Wizard to systematically scan the chamber perimeter.
When you arrive at the cylindrical chamber featuring water at its base and substantial corroded machinery adhering to the walls, ensure you ascend to the maximum achievable elevation to locate the feather.
You’ll encounter the Taken Captain emissary within a compact chamber connected to a circular cistern structure. Continue ascending within this space toward a narrow quarter-circular catwalk positioned at the summit, where the feather rests upon a storage container.
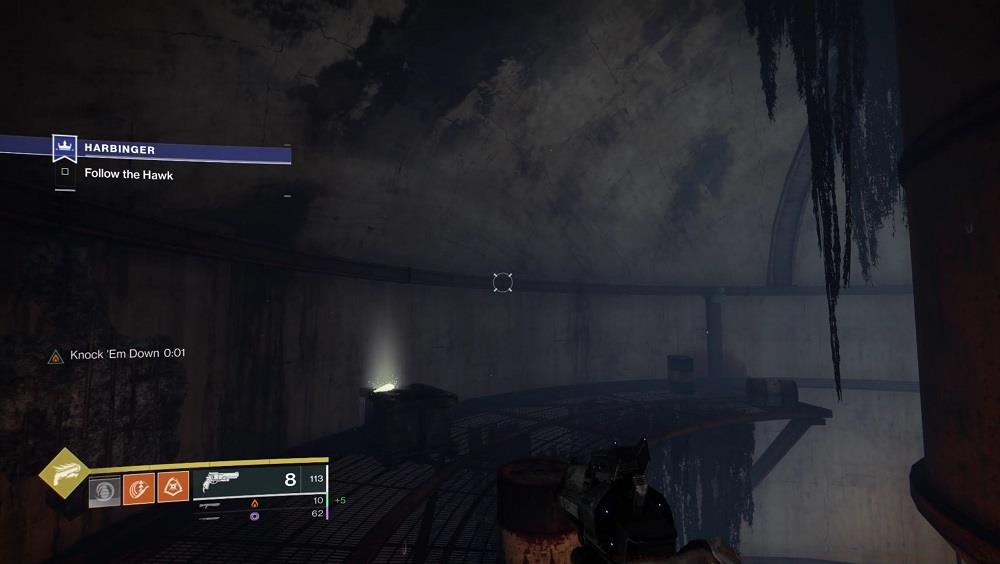
Vertical challenge: This feather demands extensive platform climbing and precise jump timing to reach the elevated position.
Advanced Technique: Utilize movement abilities like Hunter triple jump or Warlock glide to efficiently reach the highest platforms without falling into the water below.
Your traversal path through the Hallowed Rift region should guide you to this illuminated platform beneath an overhead catwalk; search for the feather before progressing further.
Transition point: This feather marks a critical junction between combat areas, making it easy to overlook during rapid advancement.
Strategic Timing: Collect this feather immediately when spotted, as backtracking through the Hallowed Rift proves challenging once you’ve progressed beyond this point.
Navigate along the ledge situated to the right of the boss chamber entrance to discover the ultimate feather. Its position around the corner creates initial visibility challenges that require deliberate exploration.
Final discovery: The last feather’s concealed placement tests your thoroughness before the culminating battle.
Completion Strategy: Systematically check both sides of the boss room entrance corridor, as the feather placement varies slightly between weekly rotations.
Action Checklist
- Clear Centurion room then scan central catwalk for first feather
- After defeating Wizard, locate red switch to unlock cage containing second feather
- Ascend to highest platform in cistern room for third feather
- Check illuminated platform in Hallowed Rift before progressing
- Explore right-side ledge near boss entrance for final feather
No reproduction without permission:SeeYouSoon Game Club » Destiny 2 Harbinger Paracausal Feather Locations – Week 1 (Feb 9-16) Complete guide to finding all five Paracausal Feathers in Destiny 2's Harbinger mission with expert strategies