TL;DR
- Communication Towers provide limited-range UAV detection for $1,500 with 60-second cooldowns
- Eight strategic tower locations offer map-wide coverage for enemy intelligence gathering
- Audio pulses alert nearby players, requiring strategic timing and positioning for optimal use
- Advanced tactics include baiting enemies and combining with heartbeat sensors for maximum effectiveness
- Master tower usage requires balancing risk versus reward and coordinating with team positioning
Call of Duty: Warzone’s evolving Rebirth Island introduces Communication Towers as part of the Rebirth Reinforced event, providing tactical intelligence gathering capabilities that can shift battle outcomes.
Following the Season 2 Reloaded visual enhancements, Rebirth Island continues its transformation through ongoing community-driven events. The initial phase introduced Weapon Trade Stations, while the subsequent community achievement unlocked these powerful Communication Towers after players collectively exchanged 190 million weapons by March 30th.
These strategic installations function as localized UAV detection systems, revealing enemy positions within their operational radius. At just $1,500 per activation, they offer substantial cost efficiency compared to standard UAV killstreaks priced at $6,000. Players can repeatedly utilize towers provided they maintain sufficient in-game currency, though each use triggers a mandatory 60-second cooldown period.
Critical strategic consideration: active towers emit distinct pulsating audio signatures that alert nearby opponents to their operation. This auditory warning introduces calculated risk when deploying tower capabilities, yet simultaneously provides valuable counter-intelligence when adversaries employ towers to track your squad’s movements.
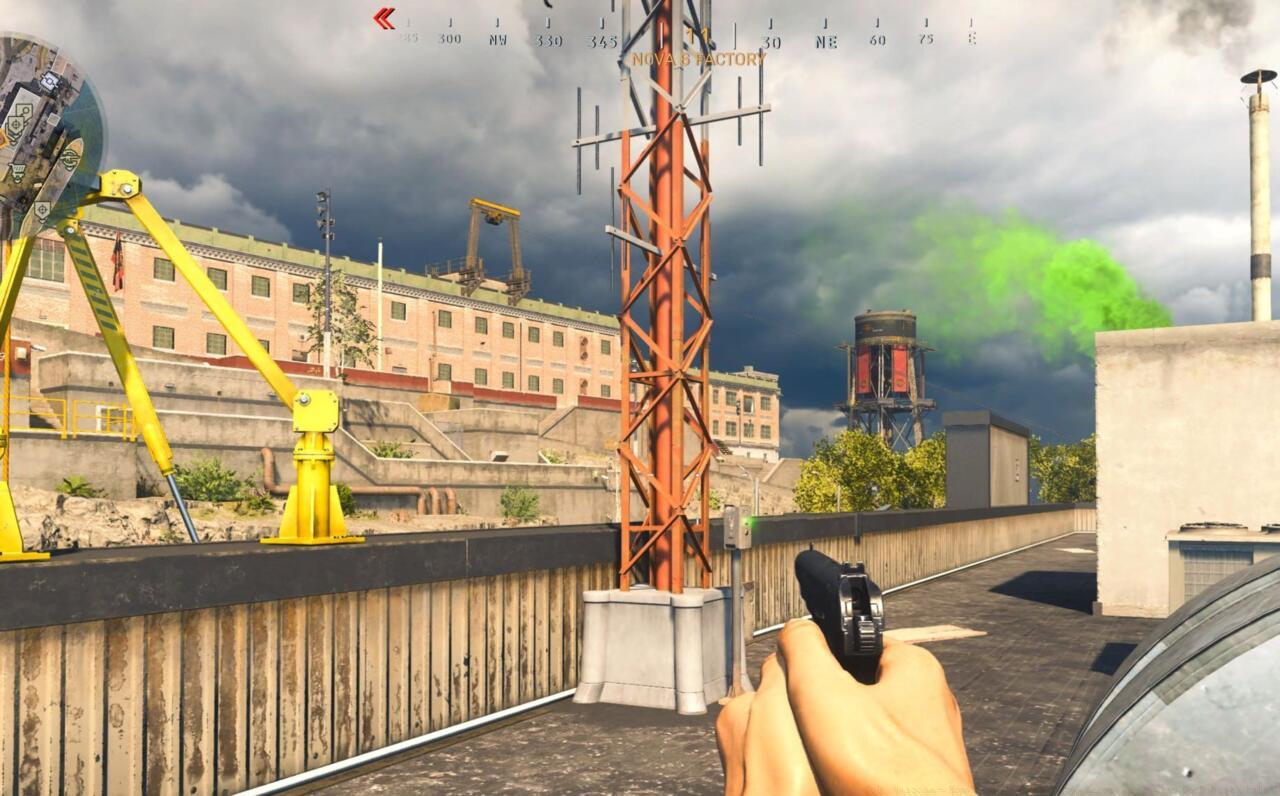
Strategic vantage point: Nova 6 Factory rooftop communication tower offers elevated positioning with broad visibility
Eight strategically positioned Communication Towers provide comprehensive coverage across Rebirth Island’s diverse terrain. Understanding their exact placements enables superior map control and tactical positioning.
Stronghold Base Tower: Situated at the foundation of the Stronghold tower structure, this placement offers coverage over the central compound area and adjacent pathways.
Headquarters Rooftop Tower: Positioned atop the Headquarter building’s main tower, this elevated installation provides extensive visibility across multiple key locations.
Additional tower positions include strategic points at Bioweapons, Control Center, Living Quarters, Prison Block, Chemical Engagements zone, and Security Area. Each location serves specific tactical purposes for different playstyles and squad compositions.
For players seeking comprehensive battlefield mastery, our Complete Guide offers foundational strategies applicable across multiple game modes.
Advanced positioning strategy: Towers located near high-traffic areas like Prison Block and Living Quarters provide more frequent detection opportunities but also attract greater enemy attention. Balance tower usage between high-risk/high-reward locations and safer, less frequented positions based on your squad’s current situation and loadout capabilities.
Mastering Communication Tower implementation requires moving beyond basic usage to sophisticated tactical applications that maximize their intelligence-gathering potential while minimizing associated risks.
Team coordination elevates tower effectiveness significantly. Designate one squad member as “intelligence specialist” responsible for tower activations while others maintain defensive positions. This division of labor prevents entire teams being vulnerable during activation sequences.
Counter-tower tactics become essential when opponents utilize these systems. The distinct pulsating audio provides approximately 3-5 seconds warning before detection begins, allowing skilled players to either reposition outside detection range or prepare ambushes for approaching enemies.
Optimal loadout configuration for tower-focused play includes suppression weapons for ranged engagements, tactical equipment for area denial, and Weapons Unlock strategies that complement intelligence-gathering approaches. Consider pairing tower usage with heartbeat sensors for overlapping detection coverage.
Advanced baiting strategy: Intentionally activate a tower to draw enemy attention, then position your squad in ambush locations along predictable approach routes. This turns the tower’s inherent risk into a strategic advantage.
For specialized role optimization, consult our comprehensive Class Guide for tailored loadout recommendations that maximize tower synergy.
Common tactical error: Over-relying on towers without maintaining situational awareness. Remember that tower detection has limited range and won’t reveal enemies outside its operational radius. Always maintain traditional scanning and positioning discipline alongside technological advantages.
Action Checklist
- Scout tower locations during initial drop and early game rotation
- Coordinate with squad to maintain security during tower activation sequences
- Time tower usage with circle movements for maximum intelligence value
- Practice identifying tower audio cues to detect enemy usage and counter appropriately
- Integrate tower intelligence with other detection tools like UAVs and heartbeat sensors
No reproduction without permission:SeeYouSoon Game Club » CoD: Warzone – How To Find And Use Communication Towers On Rebirth Island Master Rebirth Island's Communication Towers for tactical advantage and enemy detection strategies