TL;DR
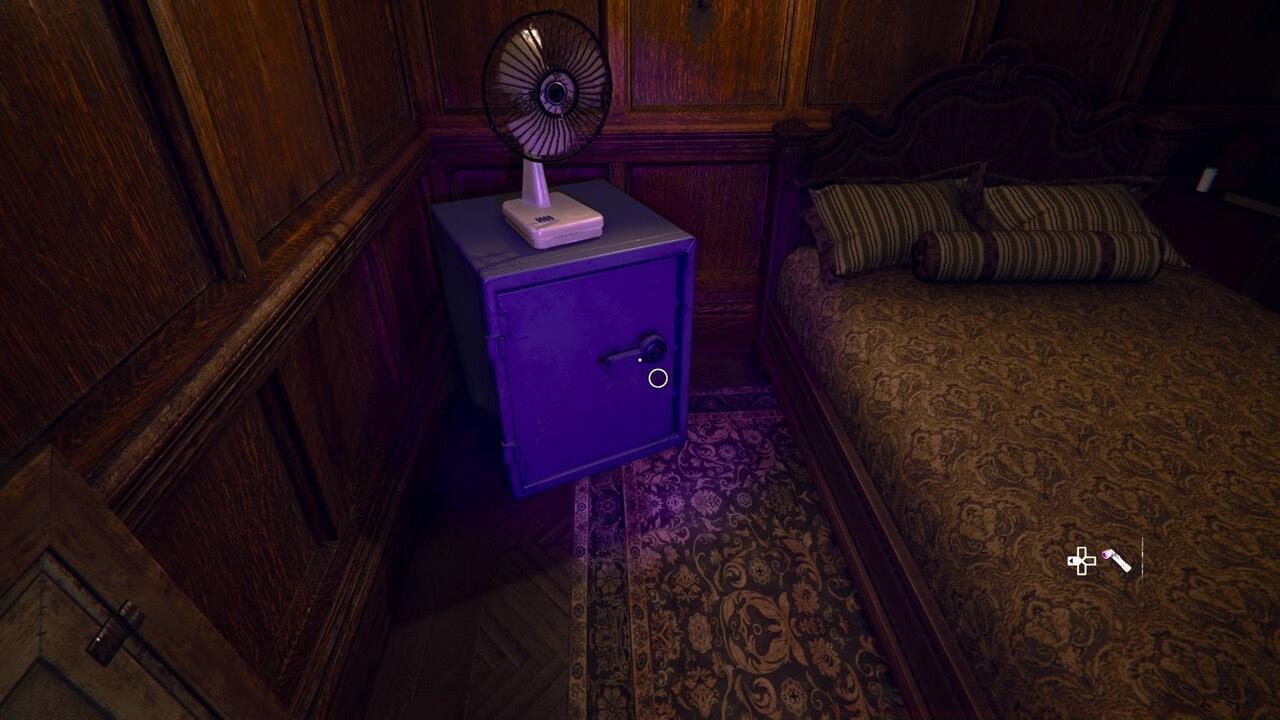
- Each mission contains one safe requiring radio frequency tuning instead of traditional combinations
- Signal strength indicators guide you to hidden radios near each safe location
- Master the oscilloscope minigame by matching waveforms to reveal combination numbers
- Strategic infiltration paths avoid detection while accessing restricted safe areas
- Safes provide substantial cash rewards and mission-critical equipment upgrades
GameSpot may receive revenue from affiliate and advertising partnerships for sharing this content and from purchases through links.
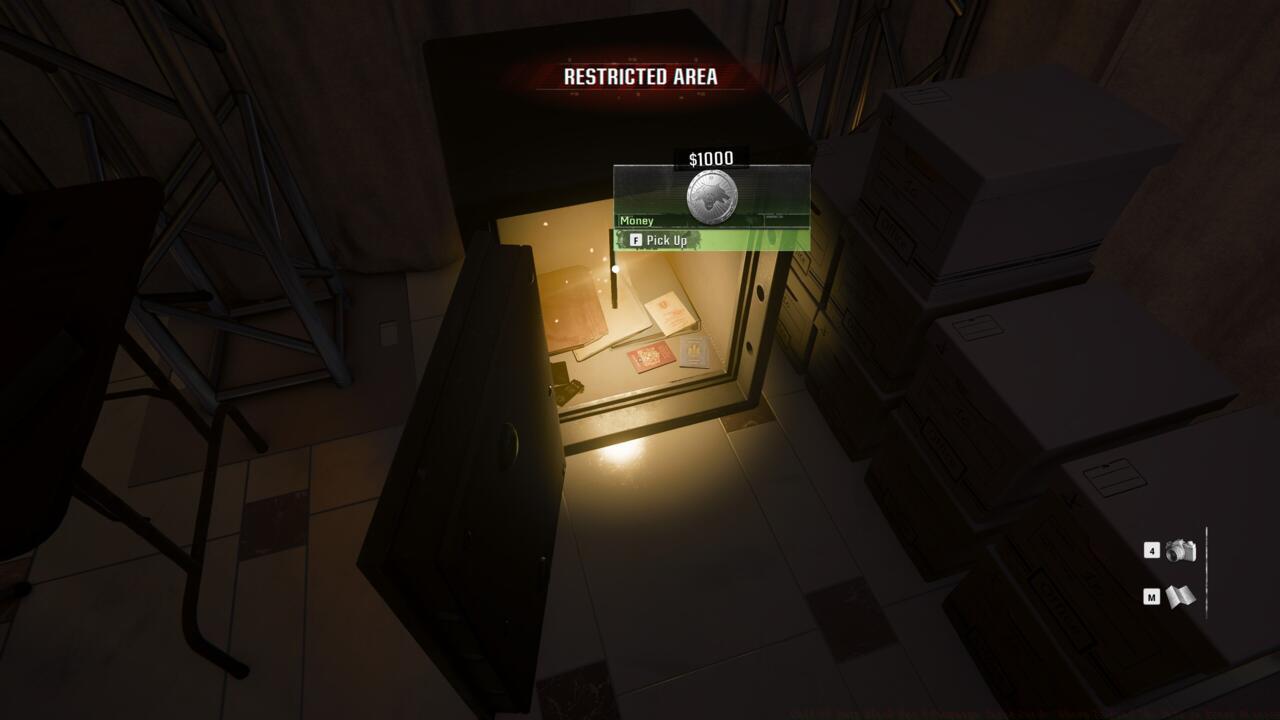
Throughout your Call of Duty: Black Ops 6 campaign progression, accumulating currency becomes essential for purchasing character enhancements and tactical advantages. Unlike scattered cash pickups that provide minimal funds, each mission contains a single secure container offering substantial monetary rewards alongside mission-specific gear. Successfully accessing these containers significantly boosts your operational capabilities.
This comprehensive guide details every secure container position across all nine primary operations, including specialized techniques for deciphering their security protocols.
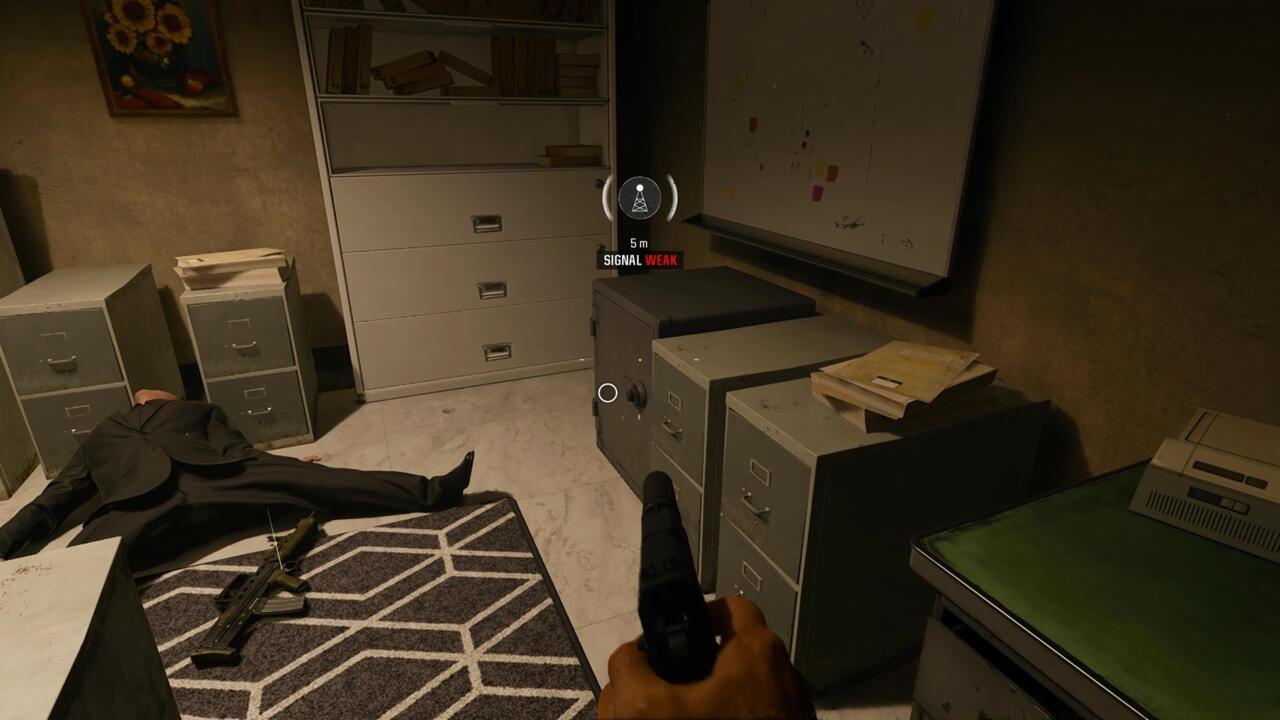
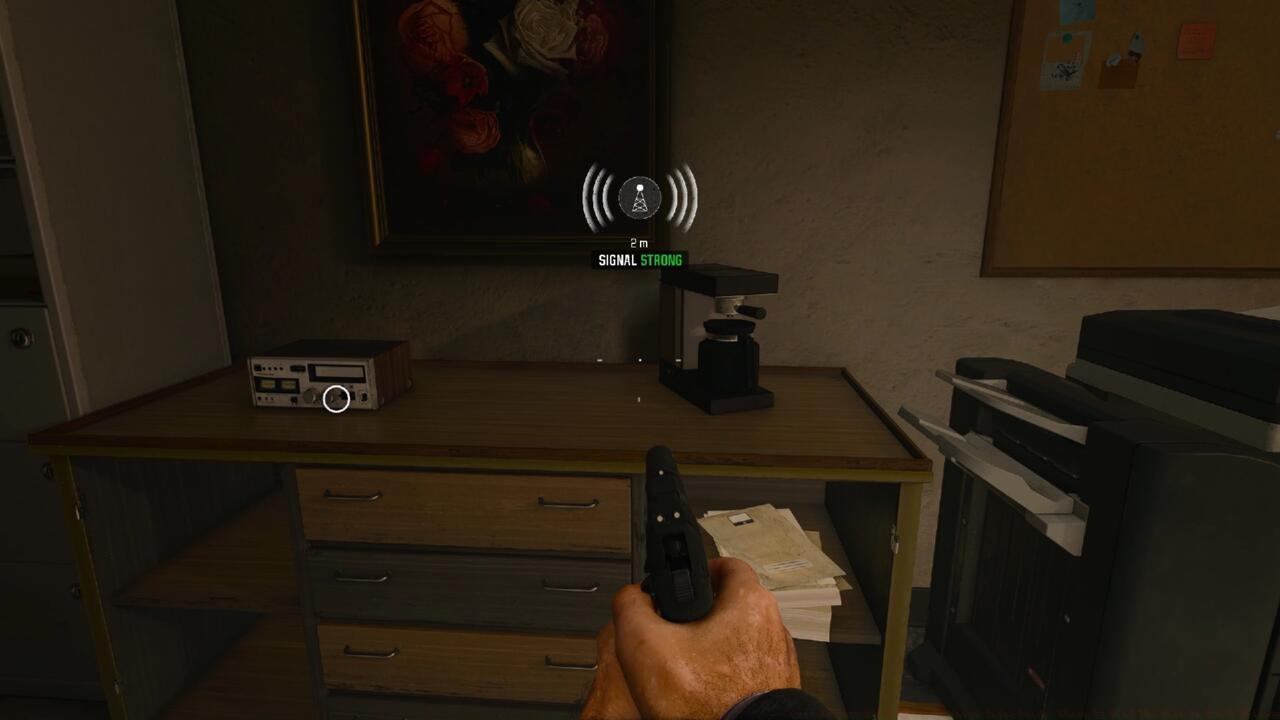
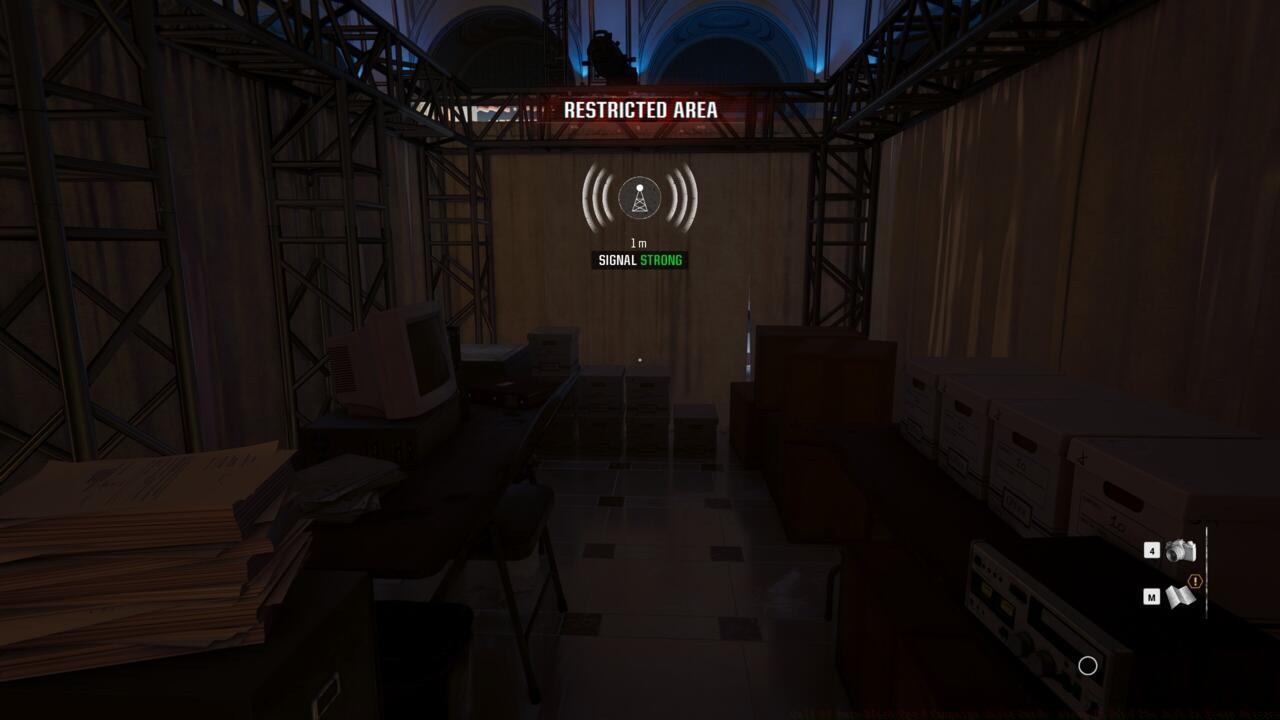
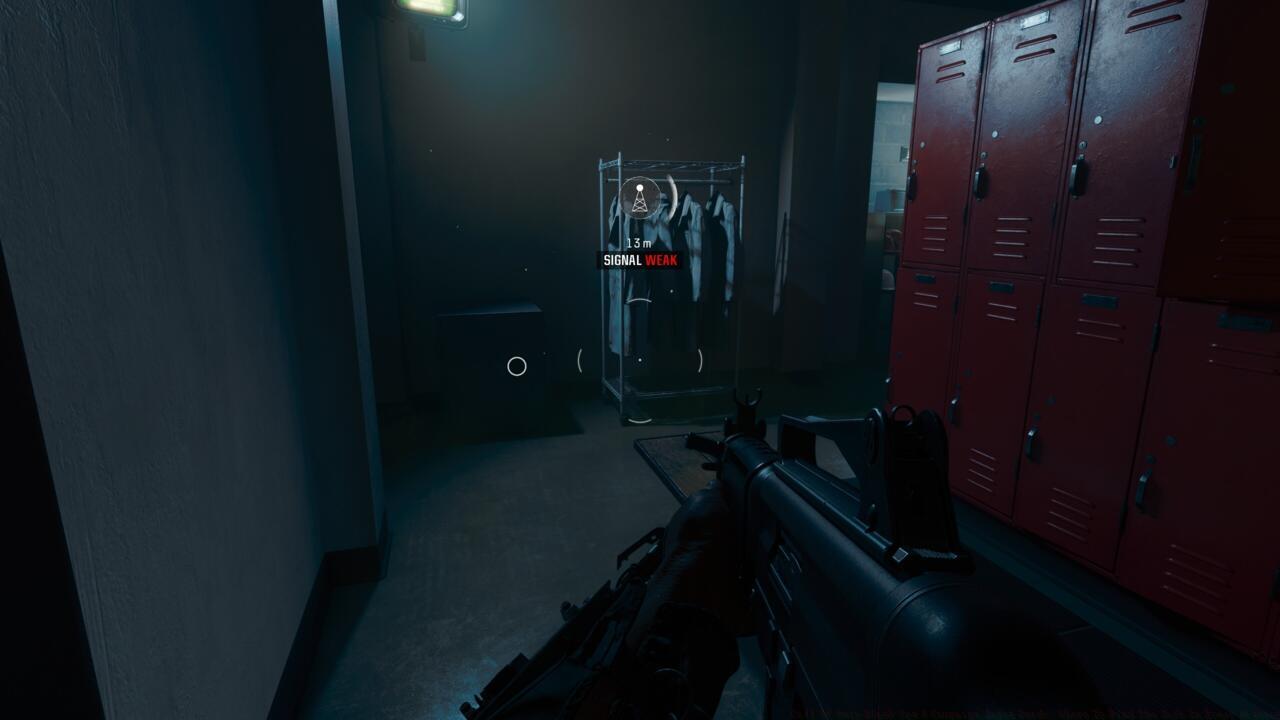
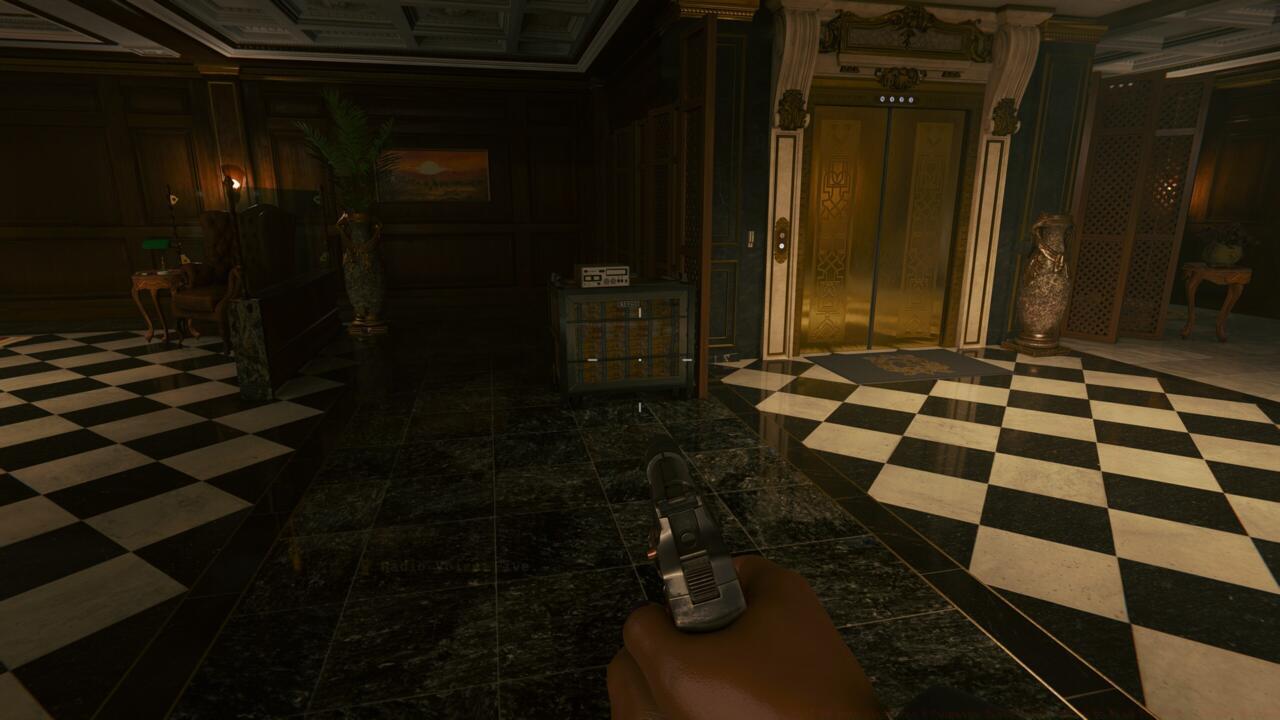
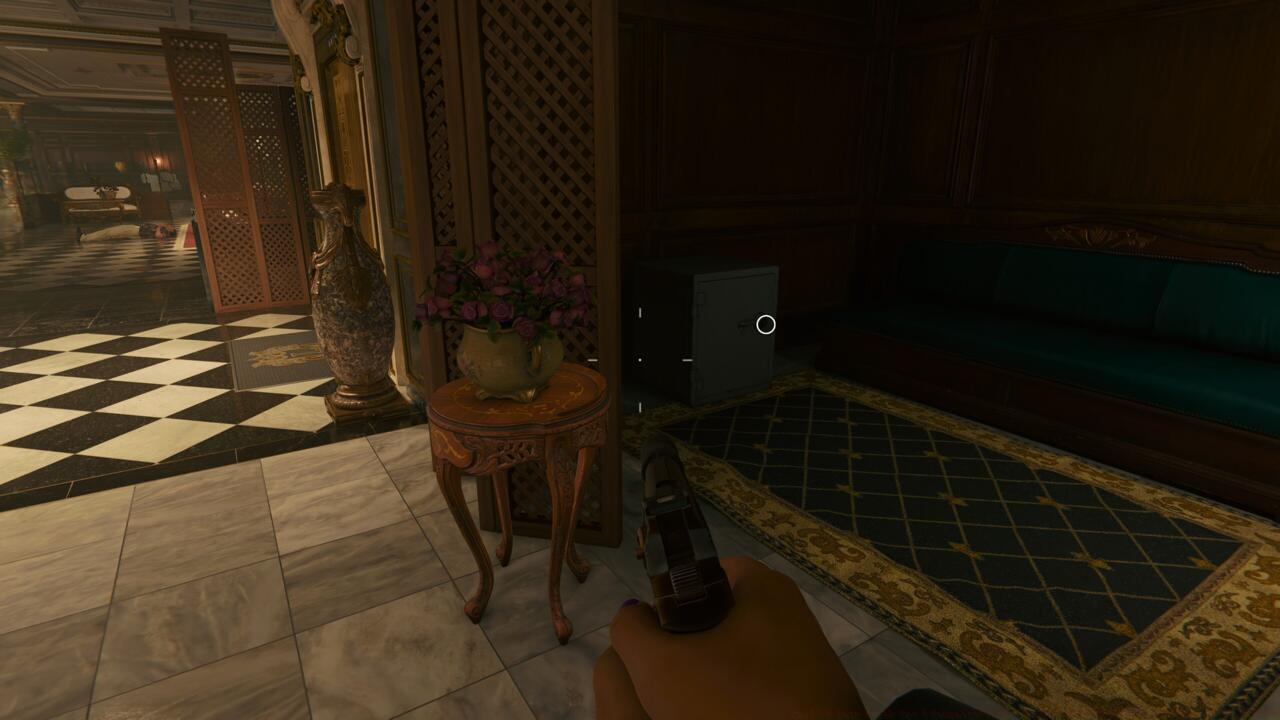
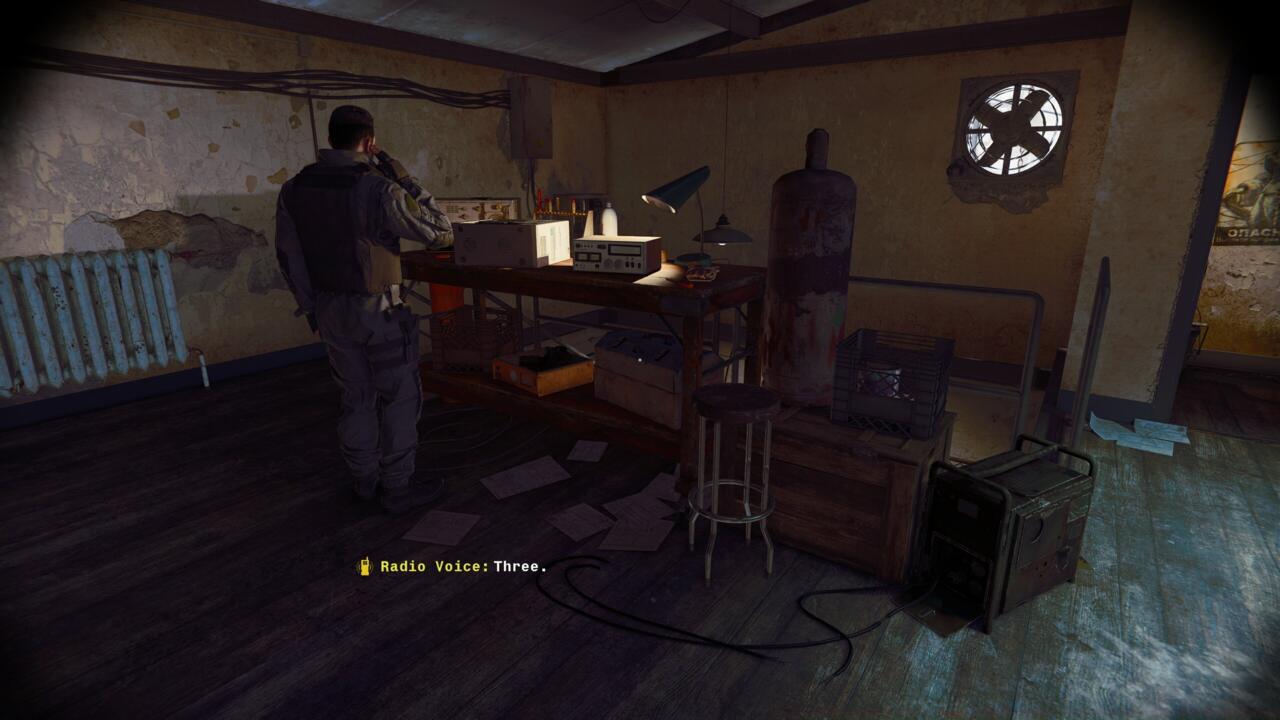
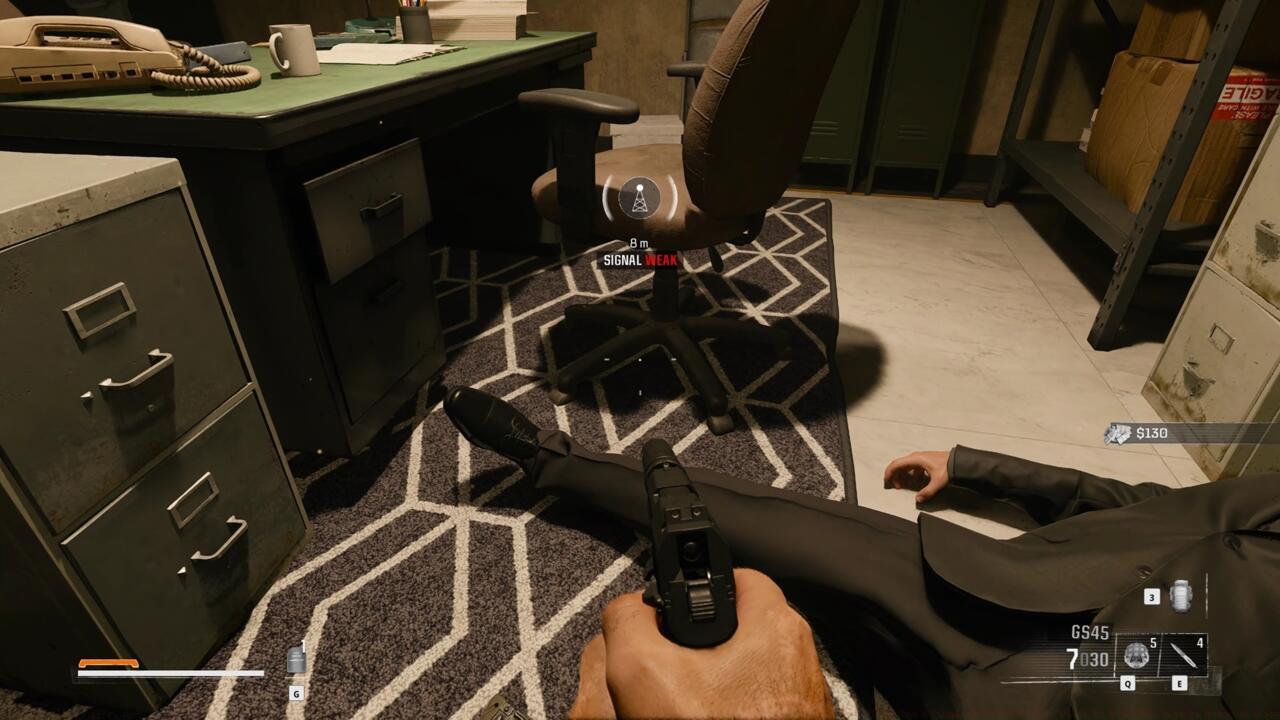
Traditional gaming security mechanisms typically involve locating written access codes on nearby documents. Black Ops 6 introduces sophisticated electronic security systems requiring radio frequency decryption. These transmission devices are strategically positioned near each secure container’s vicinity.
When approaching an active transmission device, your interface displays real-time signal intensity readings. This detection system progresses through weak, medium, and strong indicators as you narrow down the source location. The target device appears as a metallic enclosure featuring control interfaces, becoming interactive at close proximity.
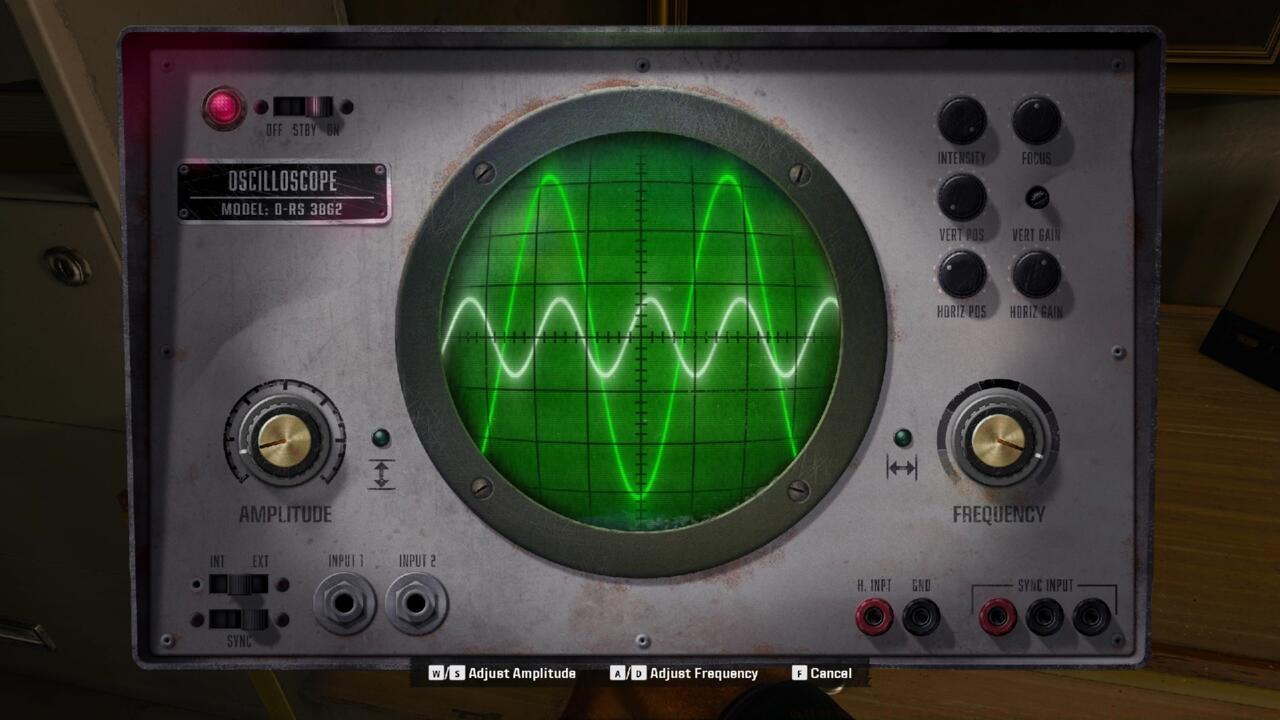
Engaging the transmission device initiates a waveform synchronization challenge where you must calibrate an oscilloscope display. This involves precisely adjusting wave amplitude and frequency parameters until achieving pattern alignment. Successful synchronization triggers an audio transmission verbally delivering the numerical sequence required for container access.
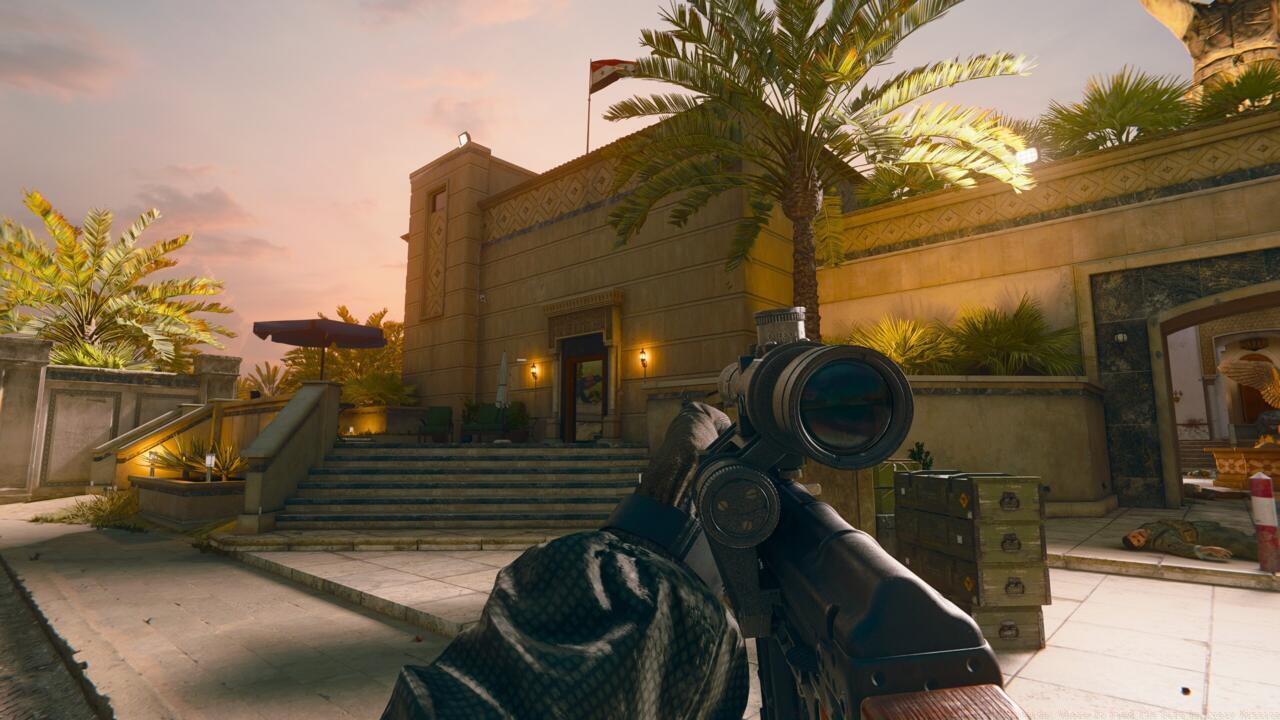
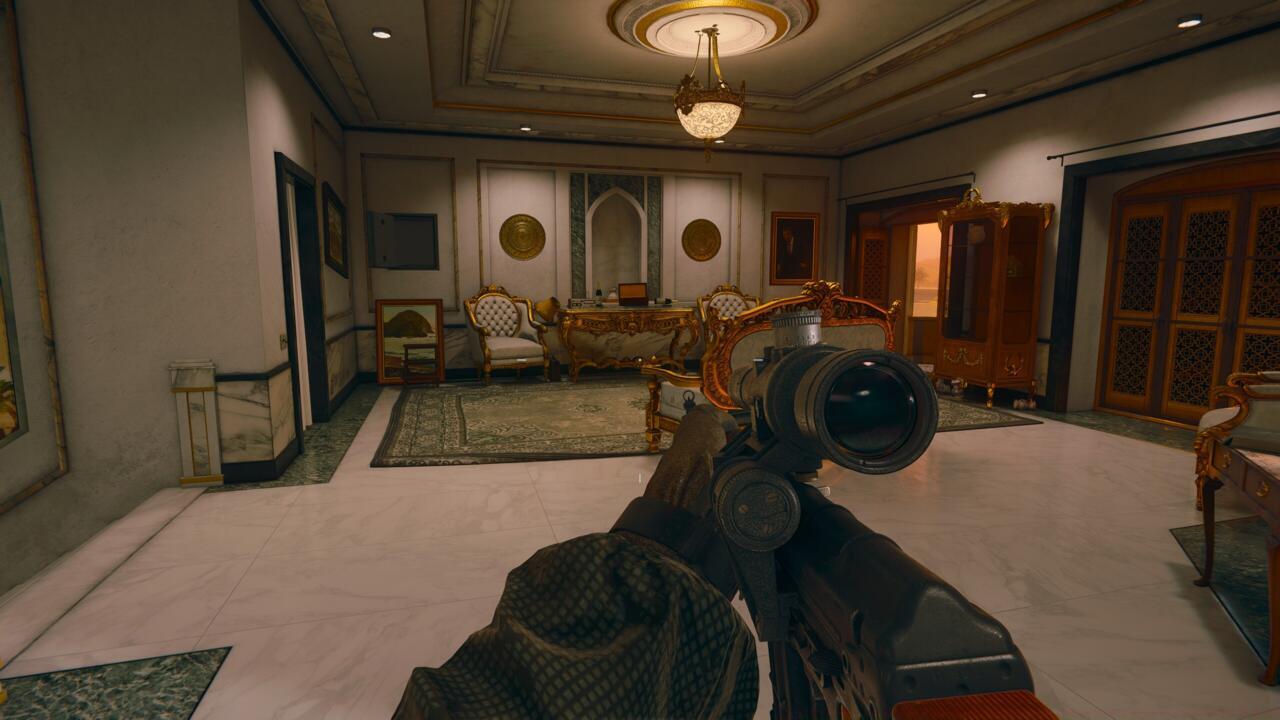
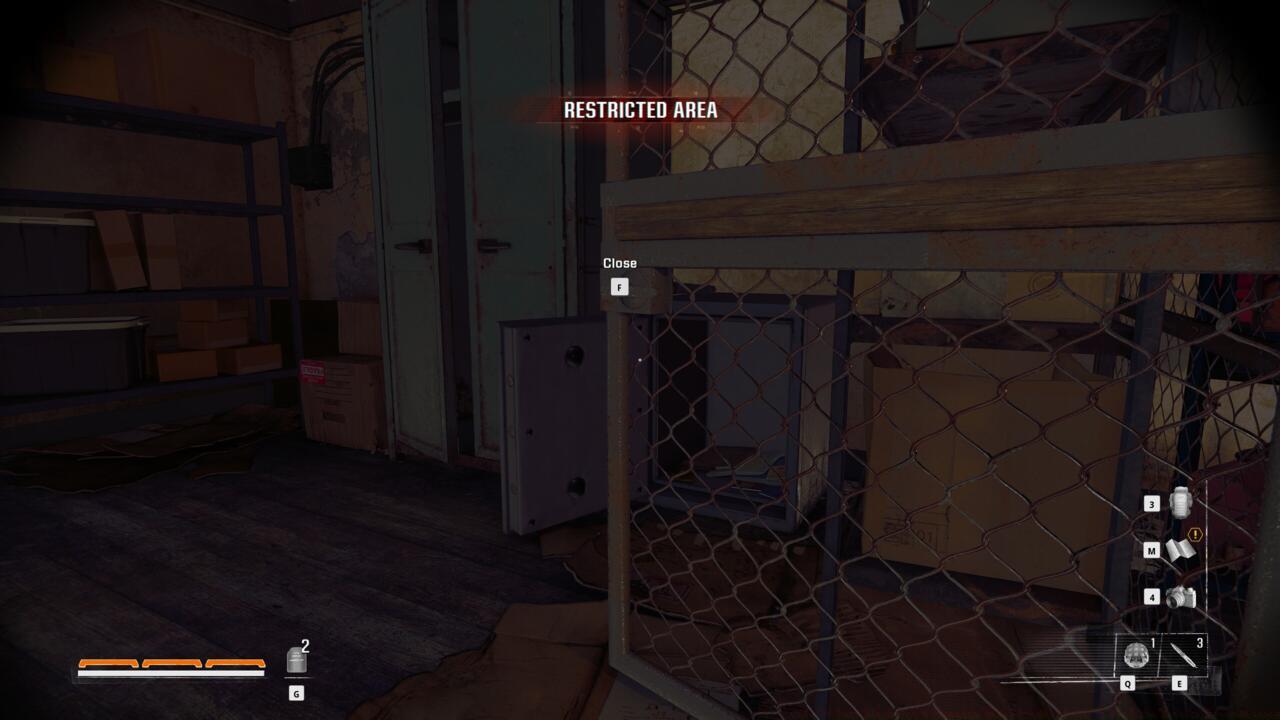
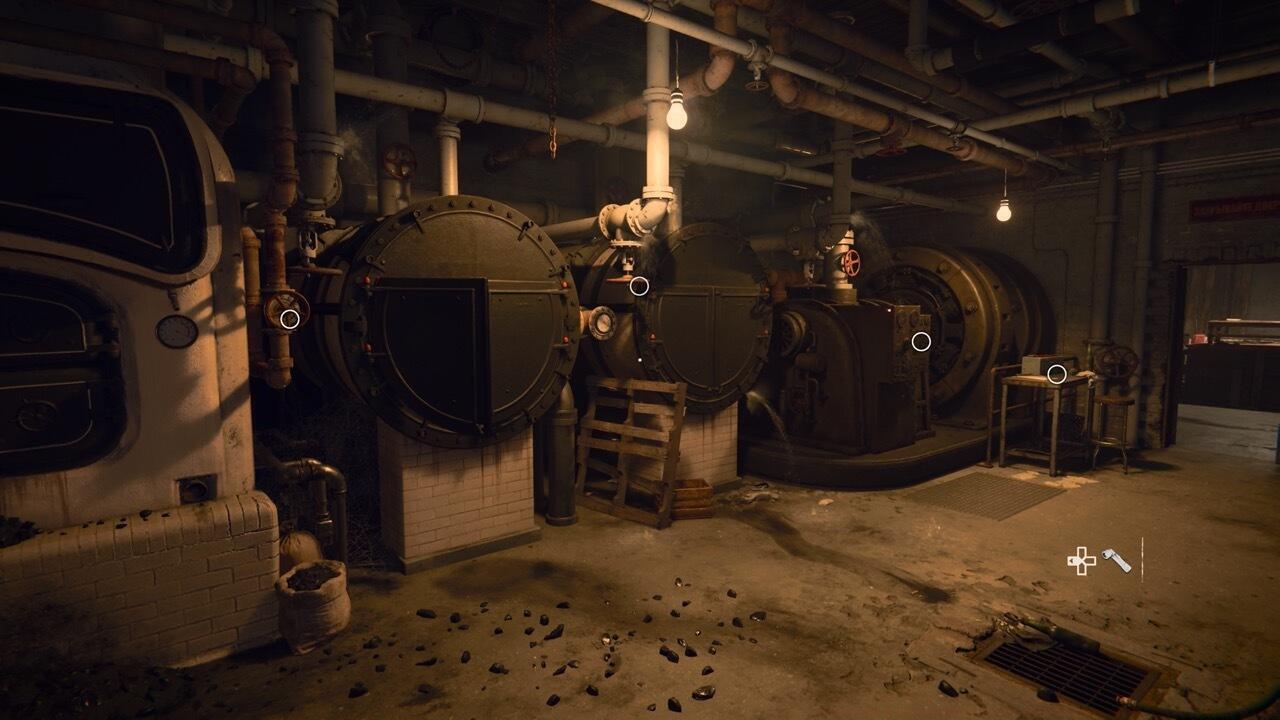
The operation focused on recruiting operative Sev, designated Blood Feud, represents your initial mission after establishing the secure facility and engaging the Pantheon organization. The secure container appears during the mission’s second phase, following your rendezvous with Sev and transportation to an establishment hosting Guild leadership. Your objective involves infiltrating this location and reaching the protected chamber on the upper level. An optimal infiltration route involves circling left around the building’s perimeter and utilizing an alleyway access point containing a ventilation shaft for covert entry.
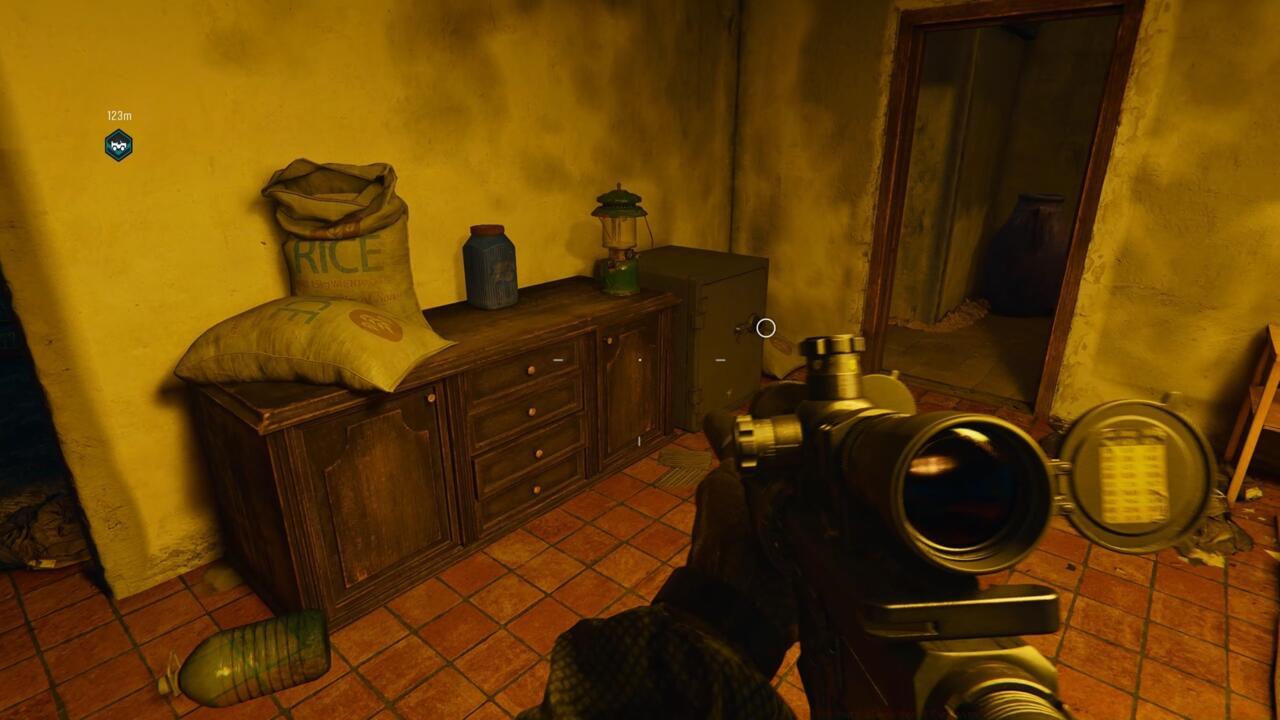
Following the ventilation pathway to its terminus reveals two chambers—an administrative office containing two Guild personnel in conversation, and a sanitation facility with an individual performing hygiene routines. Descend into either area (maintaining concealment proves simpler beginning from the sanitation facility) and proceed toward the administrative office. The secure container rests against the wall right of the office work surface, with the transmission device positioned on a table adjacent to the doorway, beside a beverage preparation appliance.
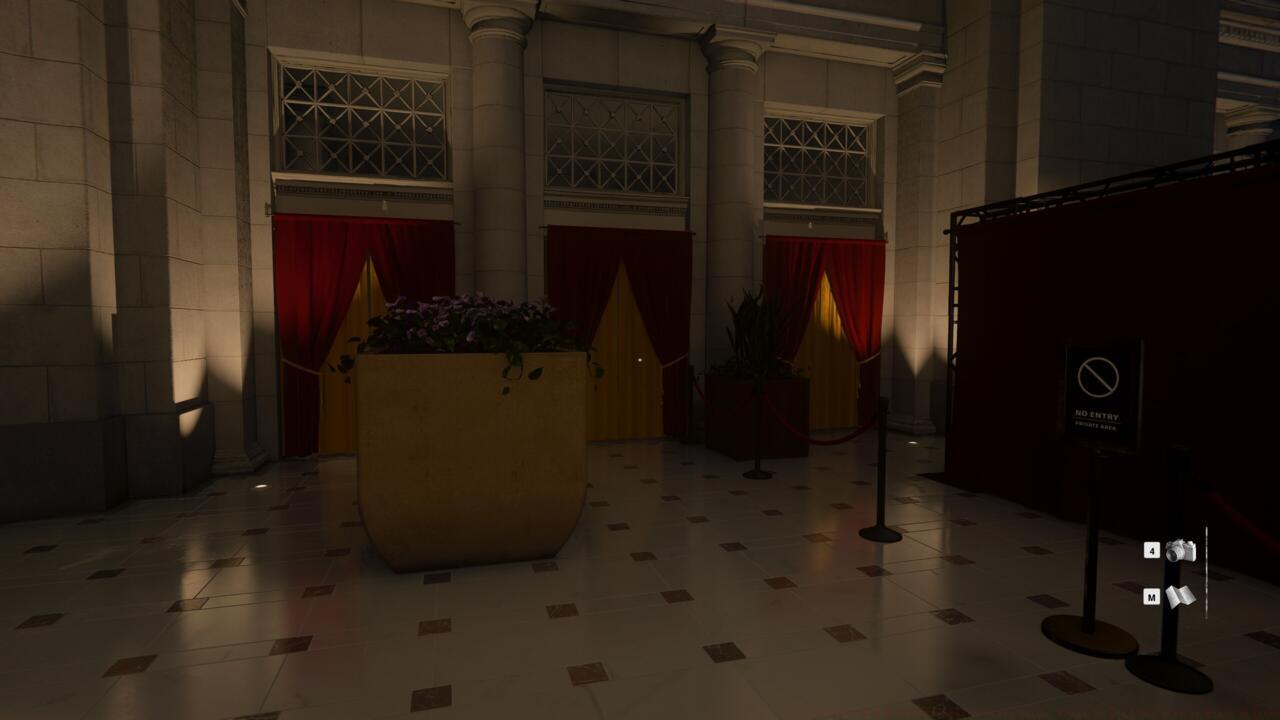
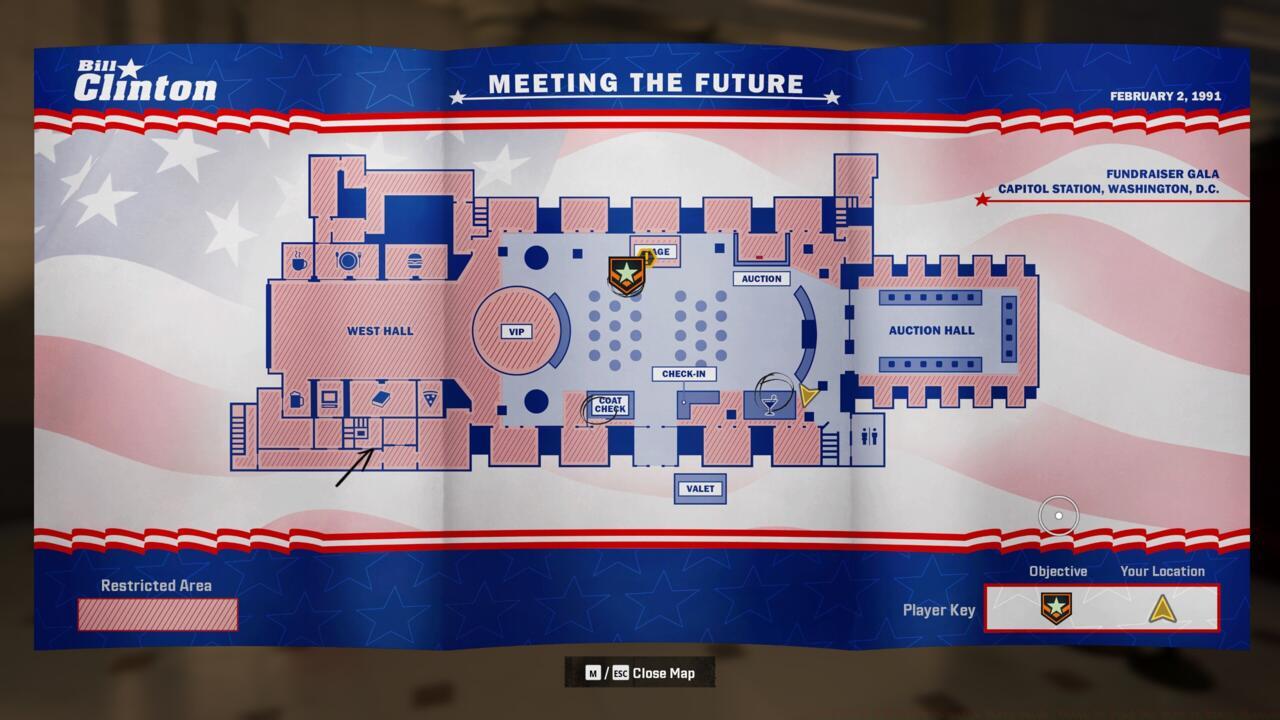
The secure container in Most Wanted, the mission transporting you to a political campaign gathering to access a concealed intelligence facility, presents significant location challenges. Access demands covert penetration into restricted celebration areas with security patrols, potentially requiring neutralization of several personnel. The container resides within a limited access zone encircled by light barriers preventing direct approach. Alternative routing necessitates navigating around the structure’s rear section, moving stealthily through prohibited sectors while bypassing multiple guards.
Initiate your approach from the banquet hall’s southeastern corner to discover the pathway leading to the container. You’ll identify metallic decorative barriers extending along the rear partition; these barriers provide concealment from security personnel and access to cordoned-off sections. Within this corner, traversing the metallic barriers grants entry to the restricted zone immediately behind the service counter.
Pro Tip: When navigating restricted areas, time your movements between guard patrol patterns. Most security personnel follow predictable routes that create 15-20 second windows for advancement. For those interested in broader tactical approaches, our Complete Guide offers comprehensive stealth mechanics.
The Hunting Season operation features a village environment where the secure container requires map awareness. Located within a structure bearing identification markers, this container demands environmental navigation skills. The transmission device typically positions within visual range of the container itself.
In The Cradle mission, the secure container placement involves vertical navigation. Often positioned on elevated levels or within structural frameworks requiring climbing or alternative access routes. The transmission device might be separated from the container, requiring broader area exploration.
Emergence presents environmental challenges where the secure container integrates with mission geography. Strategic positioning often leverages natural cover or architectural elements. The rewards from these containers can significantly enhance your Weapons Unlock progression through additional customization options.
High Rollers introduces social stealth mechanics where the secure container resides within populated environments. Blending with non-hostile characters becomes essential while locating the transmission device.
Ground Control operations feature the secure container within transportation facilities. The transmission device typically positions near operational areas like information desks or security checkpoints.
Under The Radar emphasizes aerial insertion and requires careful environmental scanning. The secure container often hides in less obvious locations that reward thorough exploration.
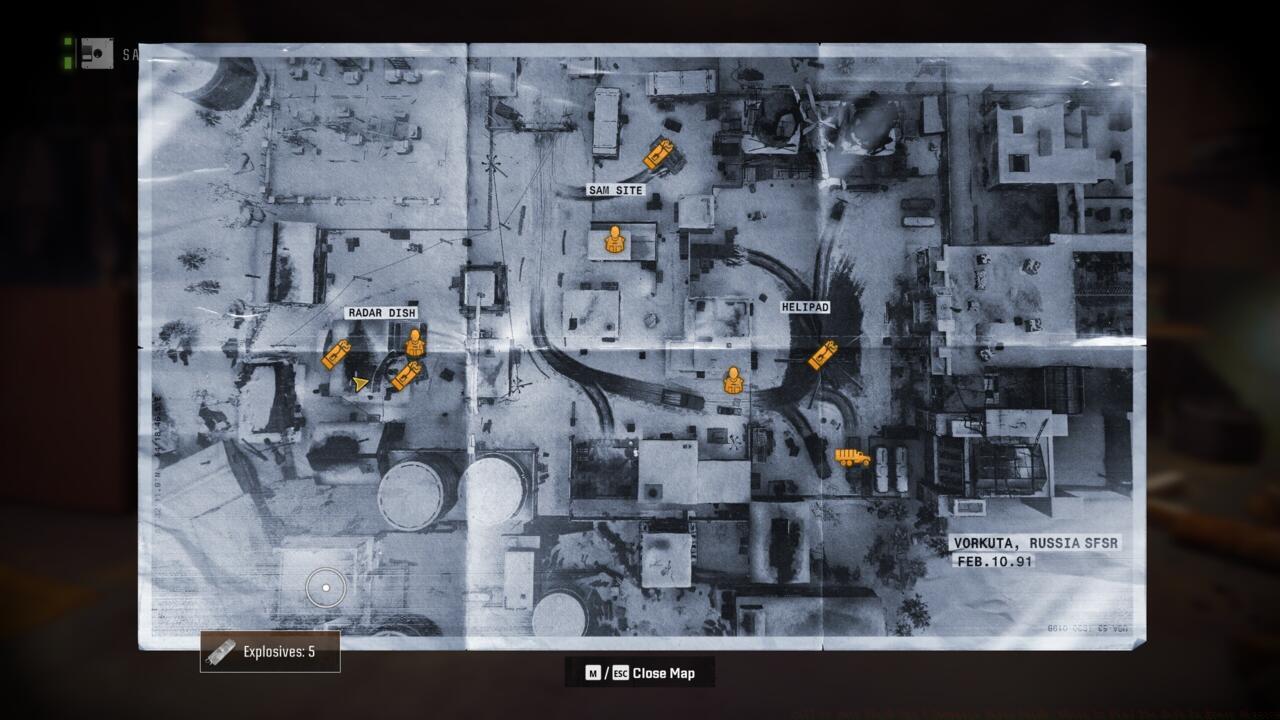
The Safe House mission concludes the campaign with a final secure container challenge. This often involves complex environmental puzzles or multiple step processes to access. Successfully navigating these final challenges provides optimal rewards for your Class Guide specialization and endgame preparation.
Common Pitfalls to Avoid: Many players mistakenly rush the oscilloscope minigame, resulting in failed synchronization. The key lies in methodical adjustments—focus on amplitude first, then frequency, making small incremental changes rather than large sweeps. Additionally, avoid triggering alarms near restricted areas; once detected, security reinforcement often blocks container access entirely.
Advanced Optimization: Experienced players can reduce safe cracking time by 40-60% through strategic approaches. Memorize radio locations to minimize search time, and practice the waveform minigame to develop muscle memory. For missions with multiple infiltration routes, always choose paths offering both concealment and direct container access.
Time Management: Allocate 3-5 minutes per mission specifically for safe location and access. The investment consistently pays dividends through enhanced equipment and currency accumulation.
Strategic Priority: While mission objectives remain primary, securing container rewards significantly impacts subsequent mission performance. The accumulated funds enable superior weapon modifications and tactical enhancements.
Action Checklist
- Scan mission areas for signal strength indicators, moving systematically to locate transmission devices
- Master oscilloscope minigame: adjust amplitude first, then frequency in small increments
- Memorize optimal infiltration routes for each mission to minimize detection risk
- Time movements between guard patrol patterns in restricted areas
- Allocate mission budget: 3-5 minutes dedicated solely to safe location and access
No reproduction without permission:SeeYouSoon Game Club » Call Of Duty Black Ops 6 Campaign Safes Guide: Where To Find The Safe In Every Mission Master Black Ops 6 safe cracking with advanced radio frequency puzzles and strategic location guides