Expert strategies for clearing Genshin Impact’s Luna II Spiral Abyss with optimized team compositions and battle tactics
Understanding the Luna II Spiral Abyss Challenge
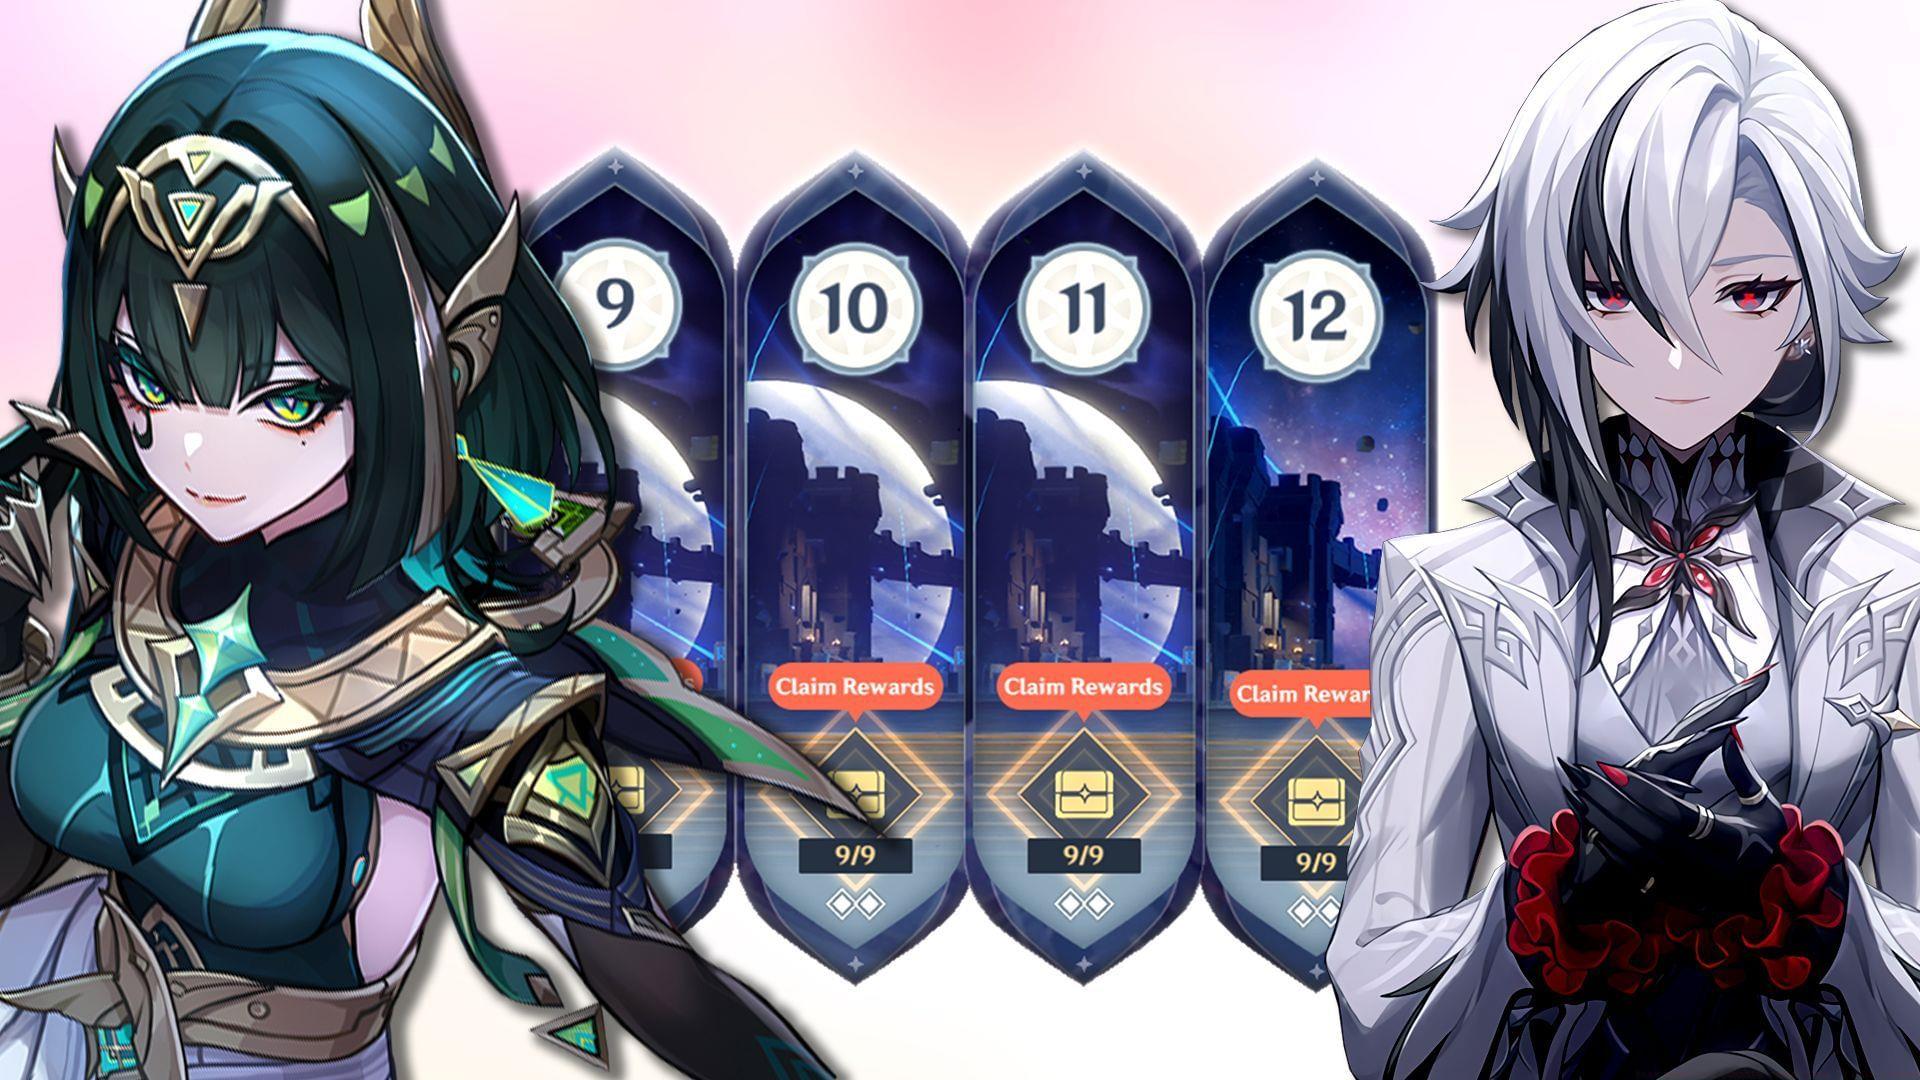
The latest Genshin Impact Luna II update introduces a fresh Spiral Abyss rotation featuring challenging new enemy combinations across Floors 11 and 12. Players will encounter formidable opponents including Wayob Manifestations, various Lawachurl types, the resilient Battle-Scarred Rock Crab, Frostnight Herra, Wilderness Exiles, and the classic Primo Geovishap. While several of these foes present minimal difficulty, others demand precisely optimized team configurations that leverage the specific Ley Line abnormalities and Abyssal Moon enhancements to overcome tight time constraints.
Currently, Bond of Life mechanics remain exclusive to only two playable characters—Arlecchino and Clorinde. However, successfully navigating the Abyss doesn’t mandate including these specific units. Well-invested damage dealers from other elemental categories can achieve comparable clearing performance with proper team synergy and execution.
Strategic team selection becomes paramount when tackling the current Spiral Abyss iteration in Genshin Impact’s Luna II version. Understanding elemental interactions and enemy attack patterns significantly impacts clearing efficiency.
Floor 11: Elemental Mastery Optimization Teams
Floor 11’s Ley Line Disorder provides a substantial Elemental Mastery enhancement to your entire party, making characters who scale with or benefit from EM particularly effective. Reaction-focused compositions typically outperform traditional attack-scaling teams in this environment.
Recommended team configurations for conquering Floor 11 include:
Both halves of Floor 11 respond well to focused single-target damage specialists. Chamber 3 introduces Frostarm and Stonehide Lawachurls with elemental shields that Pyro and Geo units can dismantle rapidly. However, bringing specific counter elements isn’t strictly necessary if your primary damage dealers possess sufficient investment to eliminate these enemies before shield mechanics become problematic.
Also read: Arlecchino C1 vs R1: Which one should you pull for in Genshin Impact Luna II?
Advanced players should prioritize perfecting skill rotations to maximize damage windows. Proper energy management ensures burst availability for each chamber transition, while positioning techniques can group enemies effectively for area-of-effect damage.
Floor 12: Advanced Team Building Strategies
Spiral Abyss Floor 12 introduces two distinct Ley Line Disorders that heavily influence team composition choices:
These buffs clearly indicate optimal team directions: the first half strongly favors Dendro-Hydro combinations capable of generating enhanced Bloom and Lunar-Bloom reactions, while the second half perfectly accommodates Arlecchino, whose primary damage source comes from Pyro-infused normal attacks. Alternative Pyro units like Mavuika also perform admirably in the second half with proper support.
Effective team options for Floor 12 include:
The first half’s Chamber 1 features the Battle-Scarred Rock Crab, essentially requiring Bloom or Lunar-Bloom teams for optimal performance. Strategic Dendro application to the boss’s Stoneborne Seeds enables stunning opportunities and brings it within melee range. When confronting Frostnight Herra in Chamber 2, triggering Lunar reactions during its Fury charge phase (Gloomveiled state) neutralizes its elemental properties upon stunning.
The second half imposes no rigid elemental requirements and accommodates various single-target specialists. Shield support becomes particularly valuable when utilizing Arlecchino as primary damage, preventing interruption during her normal attack sequences and maximizing damage potential.
Also read: Genshin Impact Imaginarium Theater November 2025: Enemies, buffs, and best characters
Advanced Combat Techniques and Optimization
Mastering advanced combat mechanics significantly improves Spiral Abyss clearing consistency and speed. Proper rotation sequencing ensures optimal elemental application and damage windows, while energy funneling techniques maintain burst availability across chamber transitions.
Common mistakes include misjudging enemy spawn patterns and improper skill timing against boss mechanics. The Battle-Scarred Rock Crab requires precise Dendro application timing to capitalize on vulnerability phases, while Frostnight Herra demands careful observation of its Fury bar progression to maximize damage during stunned states.
For advanced optimization, consider these techniques:
Shield characters provide exceptional value beyond mere protection—they enable uninterrupted attack sequences for fragile damage dealers and can trigger beneficial elemental resonances. Zhongli’s universal resistance shred particularly enhances team damage output regardless of elemental composition.
Follow Sportskeeda for more Genshin Impact news, updates, and guides.
No reproduction without permission:SeeYouSoon Game Club » Best teams for Genshin Impact Luna II Spiral Abyss Expert strategies for clearing Genshin Impact's Luna II Spiral Abyss with optimized team compositions and battle tactics