Master the RPD in Black Ops Cold War with this optimized low-recoil loadout and tactical strategies
Why the RPD Deserves Your Attention
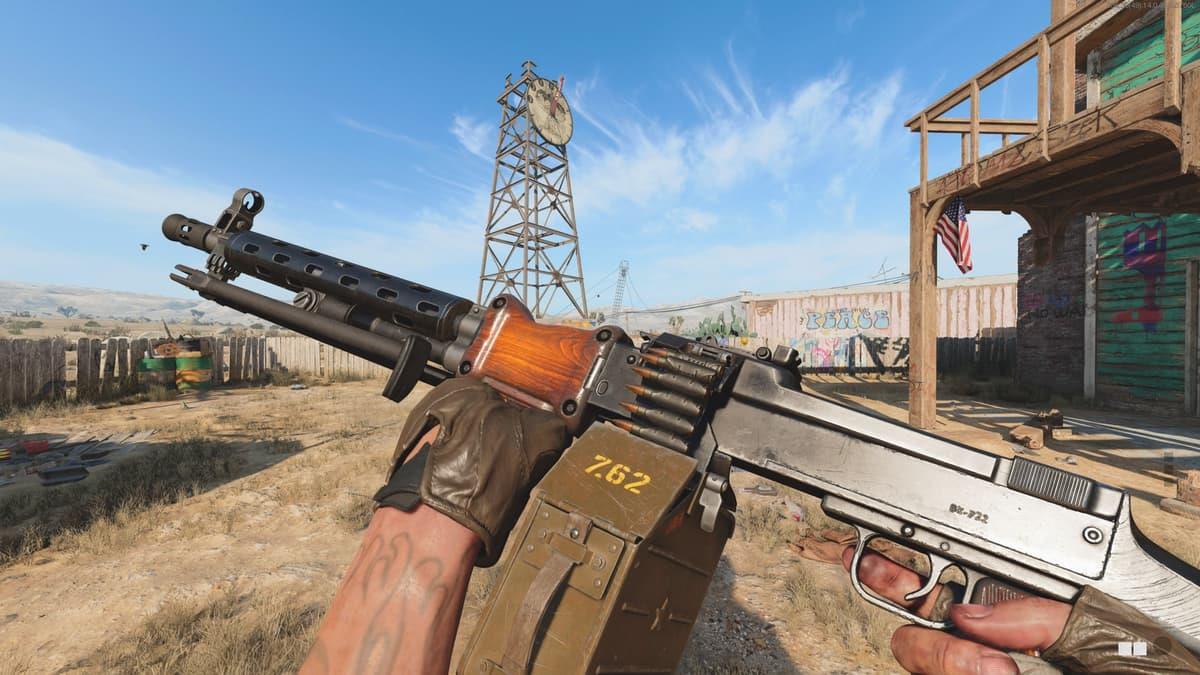
While often overlooked in favor of assault rifles and SMGs, the RPD in Black Ops Cold War offers a unique combination of firepower and precision that can dominate matches when properly configured. This guide reveals how to transform this underrated LMG into a recoil-controlled powerhouse capable of shredding opponents at medium ranges.
What makes the RPD special is its ability to maintain a high rate of fire while achieving near-assault rifle levels of control through smart attachment choices. The weapon’s 7.62mm rounds pack serious stopping power that few opponents can withstand in sustained firefights.
Light machine guns require a different playstyle than most Black Ops Cold War weapons. While the Stoner 63 previously dominated the meta, recent balance changes have opened opportunities for the RPD to shine. The key is building around its strengths – incredible sustained fire capability and best-in-class bullet penetration – while mitigating its mobility weaknesses through tactical positioning and attachment selection.
Attachment-by-Attachment Optimization
Core Attachment Configuration
- Muzzle: Muzzle Brake 7.62 (Unlocks at level 10) – The straightforward +12% vertical recoil control makes this essential for beam stability
- Barrel: 20.3″ Task Force Barrel (Level 38) – Transforms the RPD into a damage monster with +25% effective range at the cost of 15% magazine capacity
- Underbarrel: Spetsnaz Grip (Level 25) – The 30% horizontal recoil reduction is non-negotiable for predictable spray patterns
- Magazine: VDV 125 RND Fast Mag (Level 44) – Compensates for barrel penalties while cutting reload time by 20%
- Handle: Spetsnaz Field Grip (Level 49) – Counters the ADS speed penalty from our magazine choice
- Field Upgrade: Field Mic – Essential for holding power positions where this loadout excels
 Activision
Why No Optic?
The RPD’s iron sights are remarkably clean compared to other LMGs. While the Millstop Reflex could be added for long-range engagements, it’s generally unnecessary and would cost an attachment slot better used elsewhere. Test in private matches first if considering optics.
Pro Play Strategies and Common Pitfalls
Positioning Like a Pro
This RPD build excels when holding medium-range angles where its recoil control and damage output shine. Ideal positions include:
- Headglitches on Satellite’s dune areas
- Garage overlook on Crossroads Strike
- Bunker windows on Armada Strike
Recoil Mastery Techniques
While attachments do most of the work, perfect your technique:
- Fire in 8-10 round bursts beyond 40 meters
- Pull down slightly harder to the right (horizontal recoil bias)
- Pre-aim at chest level to let recoil climb to headshots
When to Avoid the RPD
This setup struggles in close quarters against SMGs and in wide-open areas against tactical rifles. Switch classes when playing maps like Nuketown or facing sniper-heavy teams.
Complementary Loadouts and Resources
Best Warzone SMG loadouts in Season 1
Best Assault Rifle loadouts in Black Ops 6 Season 5
Best Black Ops 6 quickscoping loadout and class setup
No reproduction without permission:SeeYouSoon Game Club » Best RPD Black Ops Cold War loadout: Class, attachments, setup & perks Master the RPD in Black Ops Cold War with this optimized low-recoil loadout and tactical strategies