TL;DR
- Furina excels as sub-DPS with HP-draining summons that build Fanfare stacks for team-wide damage boosts
- Golden Troupe artifact set is optimal for off-field damage, while Marechaussee Hunter suits C6 on-field playstyles
- Prioritize HP%, Crit stats, and Energy Recharge (140-160% ER recommended) for balanced performance
- Team compositions benefit from Fontaine characters who manipulate HP, creating powerful synergy effects
- Energy management is crucial – use Favonius Sword or ER sands if substats are insufficient
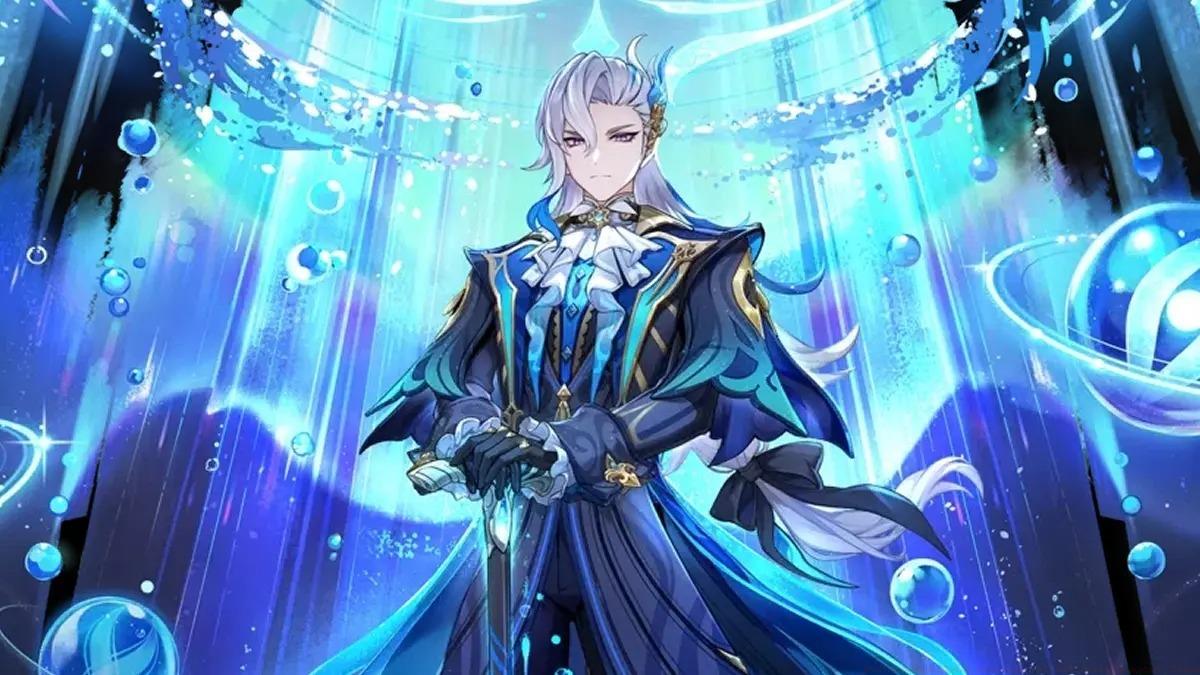
Mastering the Hydro Archon Furina requires understanding her unique dual-role capabilities that redefine team support dynamics in Genshin Impact. This comprehensive build guide delivers actionable strategies for optimizing her artifact choices, weapon selection, and team compositions to unleash her full potential.
Furina’s combat effectiveness stems from her ability to function as both a substantial off-field damage dealer and a versatile team enhancer through innovative HP manipulation mechanics. Her kit introduces a fresh approach to team synergy that rewards strategic health management.

As a sub-DPS specialist, Furina deploys summoned Hydro creatures that deliver consistent damage while she remains off-field. Her gameplay innovation lies in the ability to switch between damage-dealing and healing summons, providing unprecedented flexibility in combat situations. This dual-form system allows players to adapt to different encounter requirements seamlessly.
The core mechanic driving Furina’s effectiveness involves her summons gradually draining party members’ HP during attacks. Her ultimate ability transforms this health fluctuation into Fanfare stacks, which substantially amplify both damage output and healing received by your entire team. This creates a powerful feedback loop where HP changes directly translate to combat advantages.
Fontaine’s character roster particularly benefits from Furina’s presence, as many utilize HP-draining mechanics that synergize perfectly with her Fanfare accumulation system. This compatibility positions her as a potential meta-shifting addition to team compositions.
The Golden Troupe artifact set emerges as Furina’s premier choice for maximizing her off-field damage contribution. This specialized set provides a 20% Elemental Skill damage boost with its two-piece bonus, while the four-piece effect delivers an additional 25% skill damage increase plus a further 25% enhancement when the character remains off-field. This perfectly aligns with her primary combat pattern of deploying summons then switching out.
For main stat optimization, prioritize HP% on the sands piece due to Furina’s HP-scaling nature. The goblet slot offers flexibility between HP% and Hydro DMG Bonus, with HP% generally providing more consistent performance while Hydro DMG may offer higher damage ceilings in optimized setups. The circlet should focus on either Crit Rate or Crit DMG, aiming for at minimum 60% Crit Rate to ensure reliable critical hits.
Substat selection demands careful attention to Energy Recharge requirements, which typically range between 140-160% depending on team composition and weapon choice. Crit Rate, Crit DMG, and HP% represent the secondary priorities that will determine your overall damage output potential.
When Energy Recharge proves challenging through substats alone, consider alternative solutions like equipping Favonius Sword or switching to an Energy Recharge sands piece, particularly if it possesses superior substats. This balancing act between damage and energy needs represents one of the key optimization challenges when building Furina.
For players who obtain Furina’s final constellation (C6), her playstyle transforms significantly. At this power level, she gains Hydro infusion for her normal attacks and enhanced on-field capabilities. In such scenarios, the Marechaussee Hunter set becomes a compelling alternative, especially if you plan to utilize her as a primary damage dealer.
Furina’s signature weapon, Splendor of Tranquil Waters, stands unparalleled for maximizing her performance. This five-star sword provides substantial Crit DMG while uniquely enhancing her Elemental Skill damage whenever HP fluctuations occur. The weapon further boosts her Max HP when party members experience health changes, creating perfect synergy with her core mechanics.
Beyond her signature option, several alternative weapons deliver strong performance. The Favonius Sword offers exceptional Energy Recharge support while generating bonus energy particles for teammates. Festering Desire remains a solid free-to-play choice for its skill damage enhancement, particularly for players who obtained it during past events.
Energy management represents a critical consideration in weapon selection. If your artifact substats fail to provide sufficient Energy Recharge, prioritizing weapons with ER main stats or passive effects becomes essential for maintaining consistent burst uptime.
Weapon choice should align with your overall stat distribution goals. If your artifacts already provide ample Energy Recharge, you can focus on weapons that enhance damage output through Crit stats or HP bonuses. This decision point requires evaluating your overall build completeness and team energy generation capabilities.
Furina’s team composition potential shines brightest when paired with Fontaine characters who actively manipulate their HP levels. These synergies create rapid Fanfare stack accumulation, dramatically amplifying team-wide damage and healing effectiveness. Understanding these interactions is crucial for maximizing her support capabilities.
Optimal team rotations should strategically time health fluctuations to coincide with Furina’s burst window. This maximizes Fanfare stack generation during damage phases, transforming what might seem like a drawback into a significant combat advantage.
Common optimization mistakes include neglecting Energy Recharge requirements or misaligning health manipulation with burst timing. Ensure your team can consistently generate Furina’s burst on cooldown while coordinating HP changes for optimal stack generation.
Advanced players should experiment with varying the timing and intensity of health fluctuations based on encounter requirements. Some situations may benefit from gradual HP drainage, while others might leverage sudden health shifts for rapid stack accumulation.
Team building should also consider how Furina’s dual-form capability can adapt to different combat scenarios. Her healing summons provide valuable sustainability in challenging content, while her damage summons excel in speed-focused encounters.
Action Checklist
- Farm Golden Troupe domain for optimal 4-piece set with HP%, Crit, and ER substats
- Prioritize Energy Recharge to 140-160% range before focusing on Crit stats
- Test team rotations to align HP fluctuations with Furina’s burst duration
- Balance HP% vs Hydro DMG goblet based on your overall stat distribution
- Experiment with different weapon options based on your Energy Recharge needs
No reproduction without permission:SeeYouSoon Game Club » Best Genshin Impact Furina Build: Artifacts, Weapons, Teams Master Furina's unique HP-draining mechanics to maximize team damage and healing potential in Genshin Impact