TL;DR
- Master redeployment mechanics with strategic timing for multiple respawns
- Optimize class selection with Engineer and Assault for maximum versatility
- Prioritize weapon upgrades and ammo conservation throughout matches
- Coordinate squad roles and save heavy vehicles for final circle engagements
- Navigate firestorm boundaries aggressively while maintaining tactical positioning
GameSpot may receive revenue from affiliate and advertising partnerships for sharing this content and from purchases through links.
Electronic Arts has officially launched Redsec, the highly anticipated battle royale expansion for Battlefield 6 that merges the franchise’s signature large-scale combat with survival mechanics. Unlike traditional Battlefield 6 multiplayer modes, Redsec introduces persistent threat systems where the deadly firestorm progressively constricts the battlefield across Fort Lyndon’s expansive terrain. This creates dynamic combat scenarios that demand both tactical positioning and aggressive engagement timing.
Whether you’re experiencing Battlefield 6 for the first time or transitioning from established modes like Conquest, understanding Redsec’s unique systems is crucial for survival. Our comprehensive guide delivers seven essential strategies that will transform beginners into competitive players capable of securing consistent victories.
For deeper exploration of Battlefield 6’s evolving ecosystem, consult our detailed analysis of Season 1 weapon balancing, new map layouts, and the inaugural battle pass progression system.
Modern battle royale conventions have been integrated into Redsec’s design philosophy, featuring multiple redeployment opportunities throughout each match. Your initial elimination grants one automatic respawn after approximately thirty seconds, deploying you via parachute above your squad’s current position. Critical warning: you’ll return completely unequipped, losing all previously acquired gear and weapon attachments.
Once your complimentary redeploy is exhausted, squad revival depends exclusively on Redeploy Tower activation. These strategic locations enable repeated teammate returns but carry significant auditory risks that can compromise your position to nearby enemies.
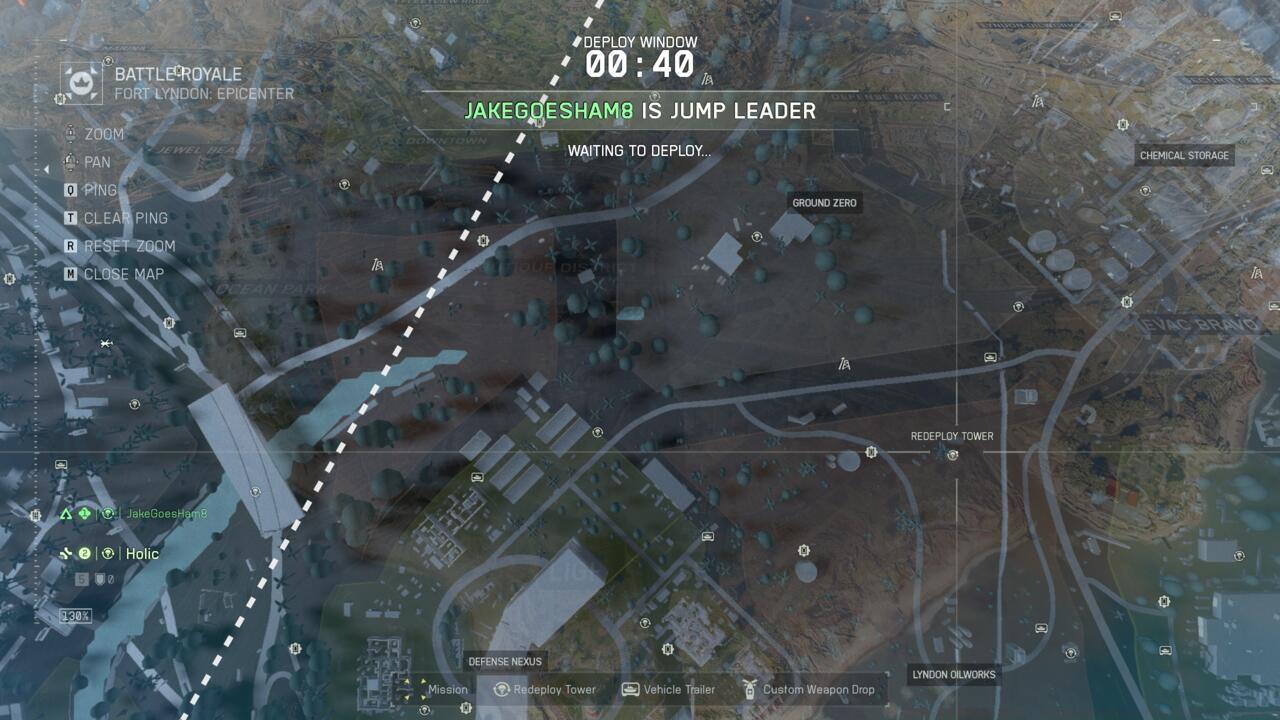
Resurrecting eliminated comrades requires locating and securing a Redeploy Tower, triggering a distinct horn blast that alerts all players within audible range. Maintaining position within the tower’s activation radius until the progress meter completes is mandatory for successful redeployment. Pro tip: coordinate tower usage during firestorm transitions when audio cues are partially masked by environmental chaos.
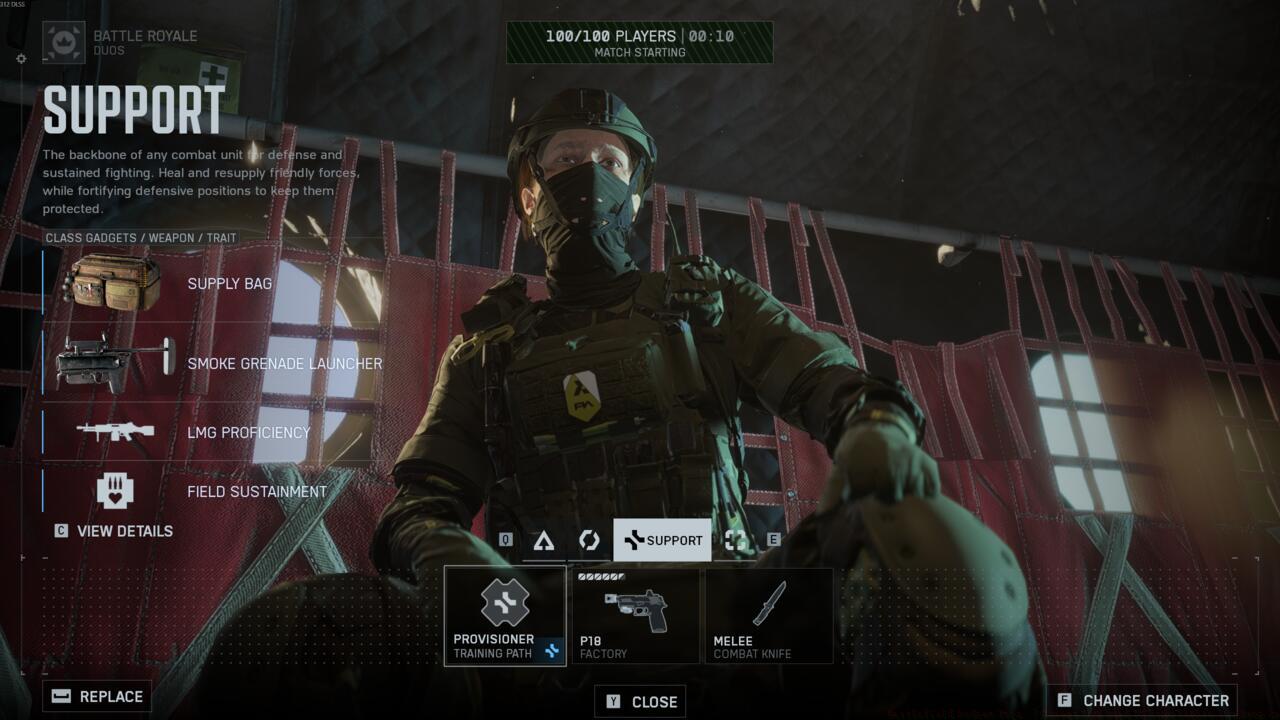
Battlefield 6’s class system transitions seamlessly into Redsec, offering the four specialized roles: Assault, Engineer, Support, and Recon. Optimal squad composition distributes these classes evenly across four-player teams, though random matchmaking often results in redundant selections. Understanding each class’s unique battlefield value is essential for maximizing survival probability.
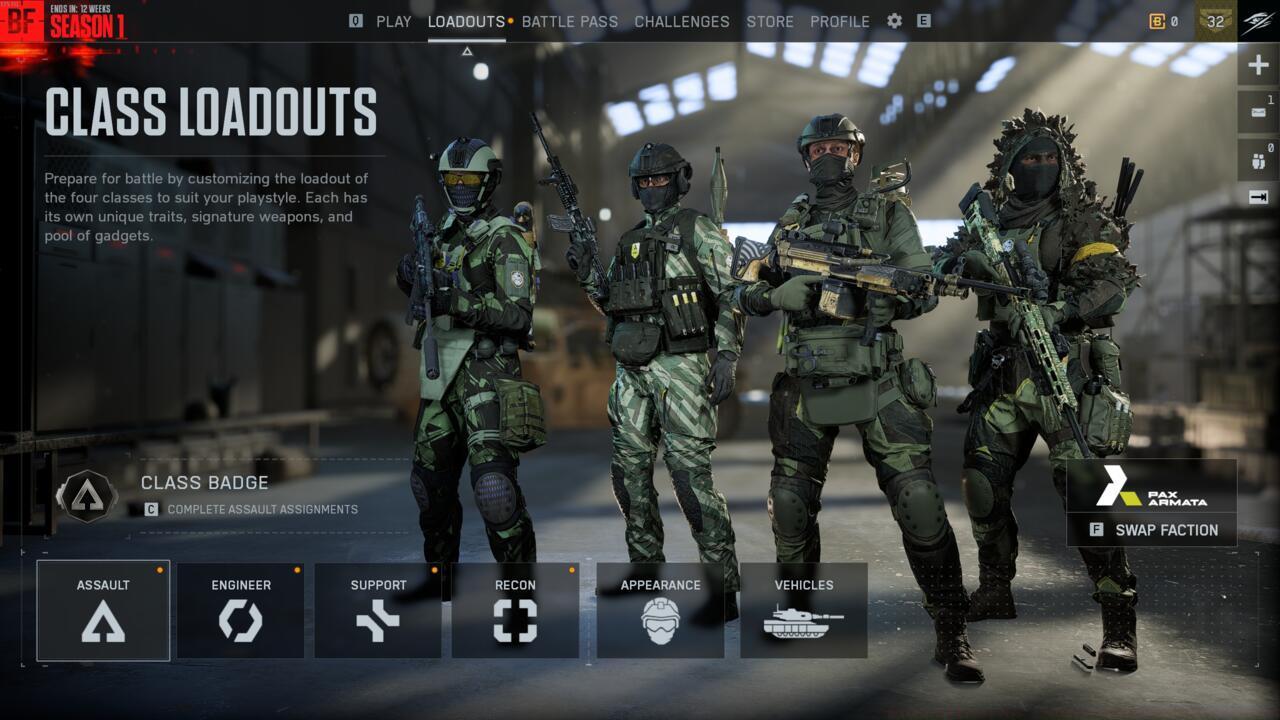
Which classes deliver the highest performance in Redsec’s dynamic environment? While all roles possess situational value, Engineer and Assault consistently demonstrate superior versatility. Engineer specialists counter vehicle-dominated endgames with anti-armor capabilities, while Assault operatives leverage mobility tools like the tactical ladder and adrenaline stimulants for aggressive solo play.
Recon remains indispensable for long-range engagement specialists, though requires sophisticated positioning awareness. Support class often becomes the unsung hero with ammunition sustainability through supply bags and accelerated revival capabilities. Common mistake: neglecting Support in squads creates critical ammunition shortages during extended firefights.
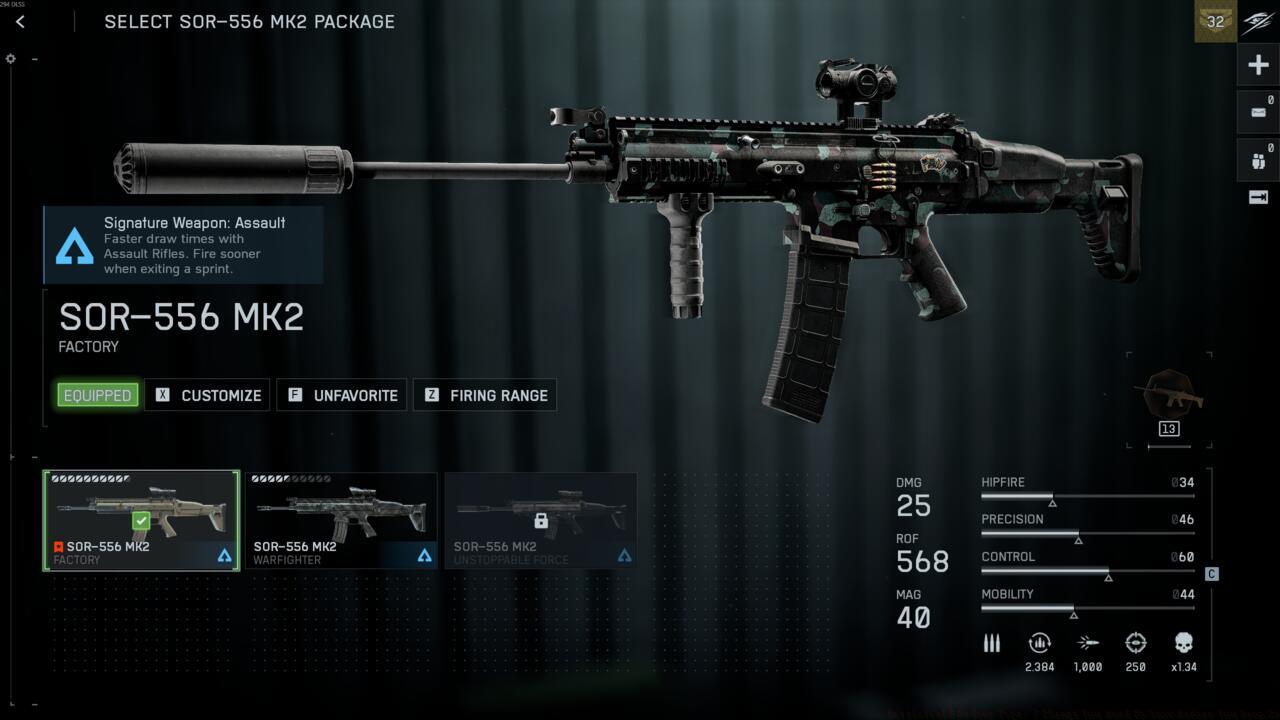
Weapon enhancement stations scattered throughout Fort Lyndon provide crucial attachment upgrades that dramatically improve combat effectiveness. Prioritize finding these stations early-match to gain statistical advantages over opponents. Optimization tip: upgrade weapons before engaging in high-risk looting areas to maximize survival chances.
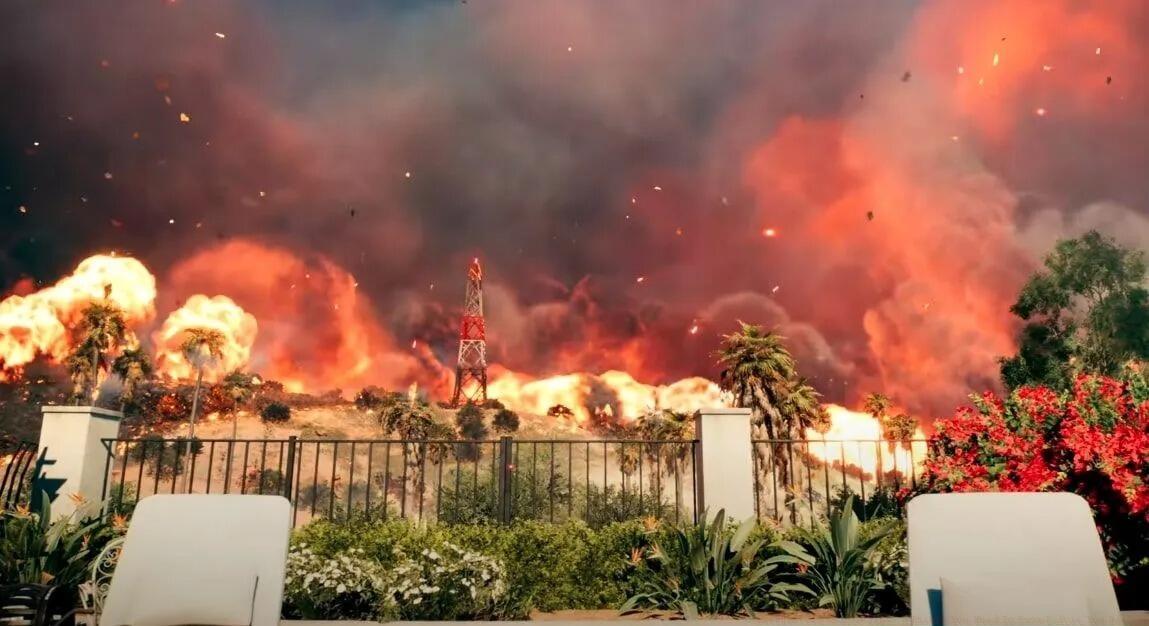
Redsec’s firestorm boundary inflicts substantially higher damage compared to other battle royale titles, aggressively punishing positional negligence. Unlike the gradual health depletion in similar games, the firestorm rapidly eliminates players caught beyond safe zones. Advanced tactic: utilize the storm’s visual cover for flanking maneuvers while carefully monitoring damage thresholds.
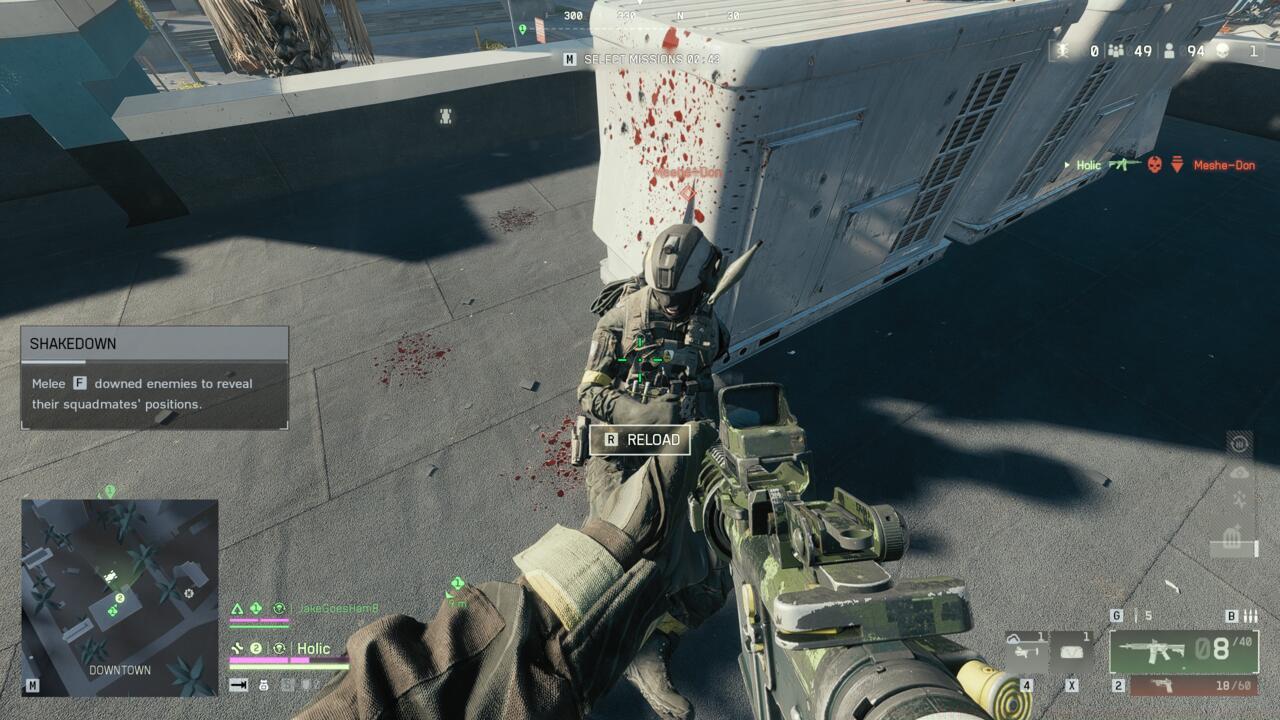
Successful Redsec squads master the shakedown mechanic, enabling instant enemy gear acquisition upon melee execution. This high-risk, high-reward approach can instantly equip your team with fully upgraded weaponry. Strategic consideration: reserve shakedowns for isolated targets to avoid exposing your position during the animation sequence.
Support players should deploy supply bags strategically during prolonged engagements, creating designated resupply zones. Standing directly over these containers provides continuous ammunition regeneration, eliminating reload anxiety during critical firefights. Common oversight: placing supply bags in exposed locations where enemies can capitalize on the positional commitment.
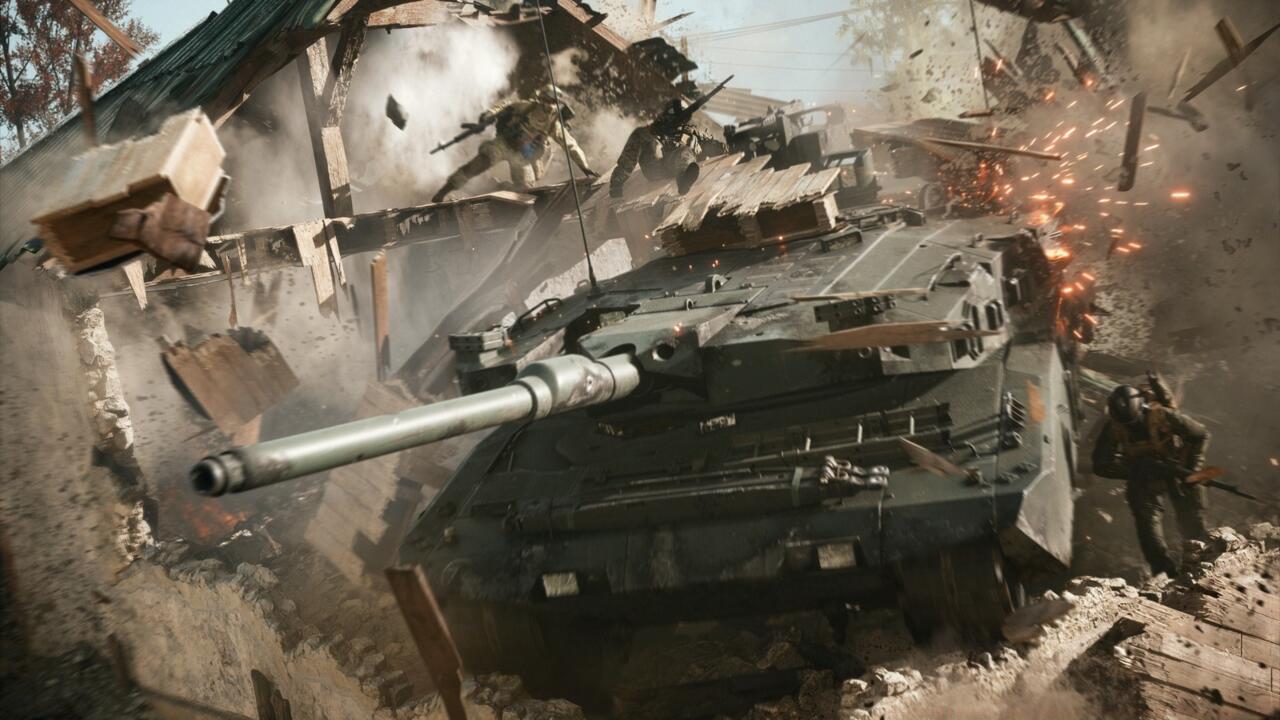
Heavy armor like tanks should be preserved for final circle engagements where their destructive potential creates maximum impact. Early-game vehicle usage often attracts unwanted attention and depletes valuable resources prematurely. Endgame strategy: coordinate tank deployment with firestorm transitions to trap opponents between environmental and player-controlled threats.
Advanced squad communication should prioritize redeployment timing, class ability coordination, and resource sharing. Designate a shot-caller for critical decisions regarding engagement avoidance and positional rotations. Time estimate: developing effective squad communication typically requires 5-10 matches of consistent teamwork.
For comprehensive Battlefield 6 mastery beyond Redsec, explore our complete Battlefield 6 Guide covering all game modes and mechanics. Weapon specialists should consult our BF6 Weapons Unlock Guide for attachment optimization, while class-focused players will benefit from our BF6 Class Selection Guide for advanced role techniques.
Action Checklist
- Coordinate class selection with squad members pre-match
- Prioritize weapon upgrade stations within first 5 minutes
- Strategic redeployment timing during firestorm transitions
- Preserve heavy vehicles for final circle engagements
- Practice shakedown executions on isolated targets
No reproduction without permission:SeeYouSoon Game Club » Battlefield Redsec Tips: 7 Things You Need To Know Before You Drop In Master Battlefield 6's Redsec mode with advanced strategies, class optimization, and tactical deployment systems