Master the Support class in Battlefield 6 with optimized loadouts, advanced strategies, and team support tactics
Understanding the Support Class Role
The Battlefield 6 Support class serves as the backbone of any successful squad, specializing in sustained firepower and team assistance. This role goes beyond simple ammunition distribution to encompass area denial, vehicle suppression, and critical combat support operations. Mastering this class requires understanding both its offensive capabilities and defensive utilities that can turn the tide of intense firefights.
While primarily designed to bolster team performance through suppressive fire and anti-vehicle capabilities, the Support class wields some of the most devastating weaponry available. Their unique ability to carry light machine guns without mobility penalties makes them formidable in both offensive pushes and defensive holds, allowing them to maintain constant pressure on enemy positions.
Essential Support Class Perks and Abilities
The Support class’s unique perks create a versatile combatant capable of weathering intense engagements while providing crucial team assistance. These abilities synergize to create a resilient frontline operator.
- Steady Aim: Significantly improves weapon accuracy when mounted on surfaces, allowing for precise sustained fire during defensive operations. This perk is particularly effective when holding chokepoints or providing overwatch from elevated positions.
- Explosives Resistant: Provides 25% damage reduction from all explosive sources, including grenades, rockets, and vehicle explosions. This survivability boost is essential when contesting objective points that frequently attract explosive spam.
- Revive Recovery: Activating a revive initiates immediate health regeneration and grants one second of damage immunity, creating safe revival windows even in active combat zones. This perk transforms the Support class into a secondary medic when needed.
These abilities combine to create a class that excels in sustained combat scenarios where positioning and resilience determine success.
Optimal Weapon Loadouts and Attachments
Read more: Battlefield 6: Best Recon class loadout guide
The Support class’s exemption from LMG movement penalties makes the L110 LMG paired with the P18 Pistol an exceptionally balanced loadout. This combination provides sustained firepower for medium to long-range engagements while maintaining reasonable close-quarters capability.
Here’s a detailed breakdown of the optimal attachment configurations for maximum combat effectiveness:
L110 LMG Attachments Configuration:
- Muzzle: Long Suppressor – Maintains stealth while reducing vertical recoil
- Underbarrel: Stippled Stubby – Improves aim-down-sights speed and stability
- Magazine: 100 RND Belt Pouch – Maximizes sustained fire capability
- Barrel: 349 mm Fluted Barrel – Enhances bullet velocity and range
- Ammo Type: Full Metal Jacket – Provides improved penetration against cover
- Optic: Mini Flex 1.00x – Versatile sight for various engagement distances
P18 Pistol Secondary Setup:
- Barrel: 3.9″ Pencil Barrel – Reduces weight for faster handling
- Magazine: 17RND Magazine – Balanced capacity and reload speed
- Muzzle: Standard Suppressor – Maintains stealth during secondary use
- Ammunition: Full metal Jacket – Consistent damage profile across weapons
This configuration prioritizes ammunition conservation and positioning over raw damage output, aligning perfectly with the Support class’s role in sustained engagements.
Advanced Gadgets and Equipment Selection
Read more: Battlefield 6 “An Undefined error occurred”: Possible fixes and reasons
Gadgets and Throwables
The Battlefield 6 Support class gets access to some great gadgets in the game. These include:
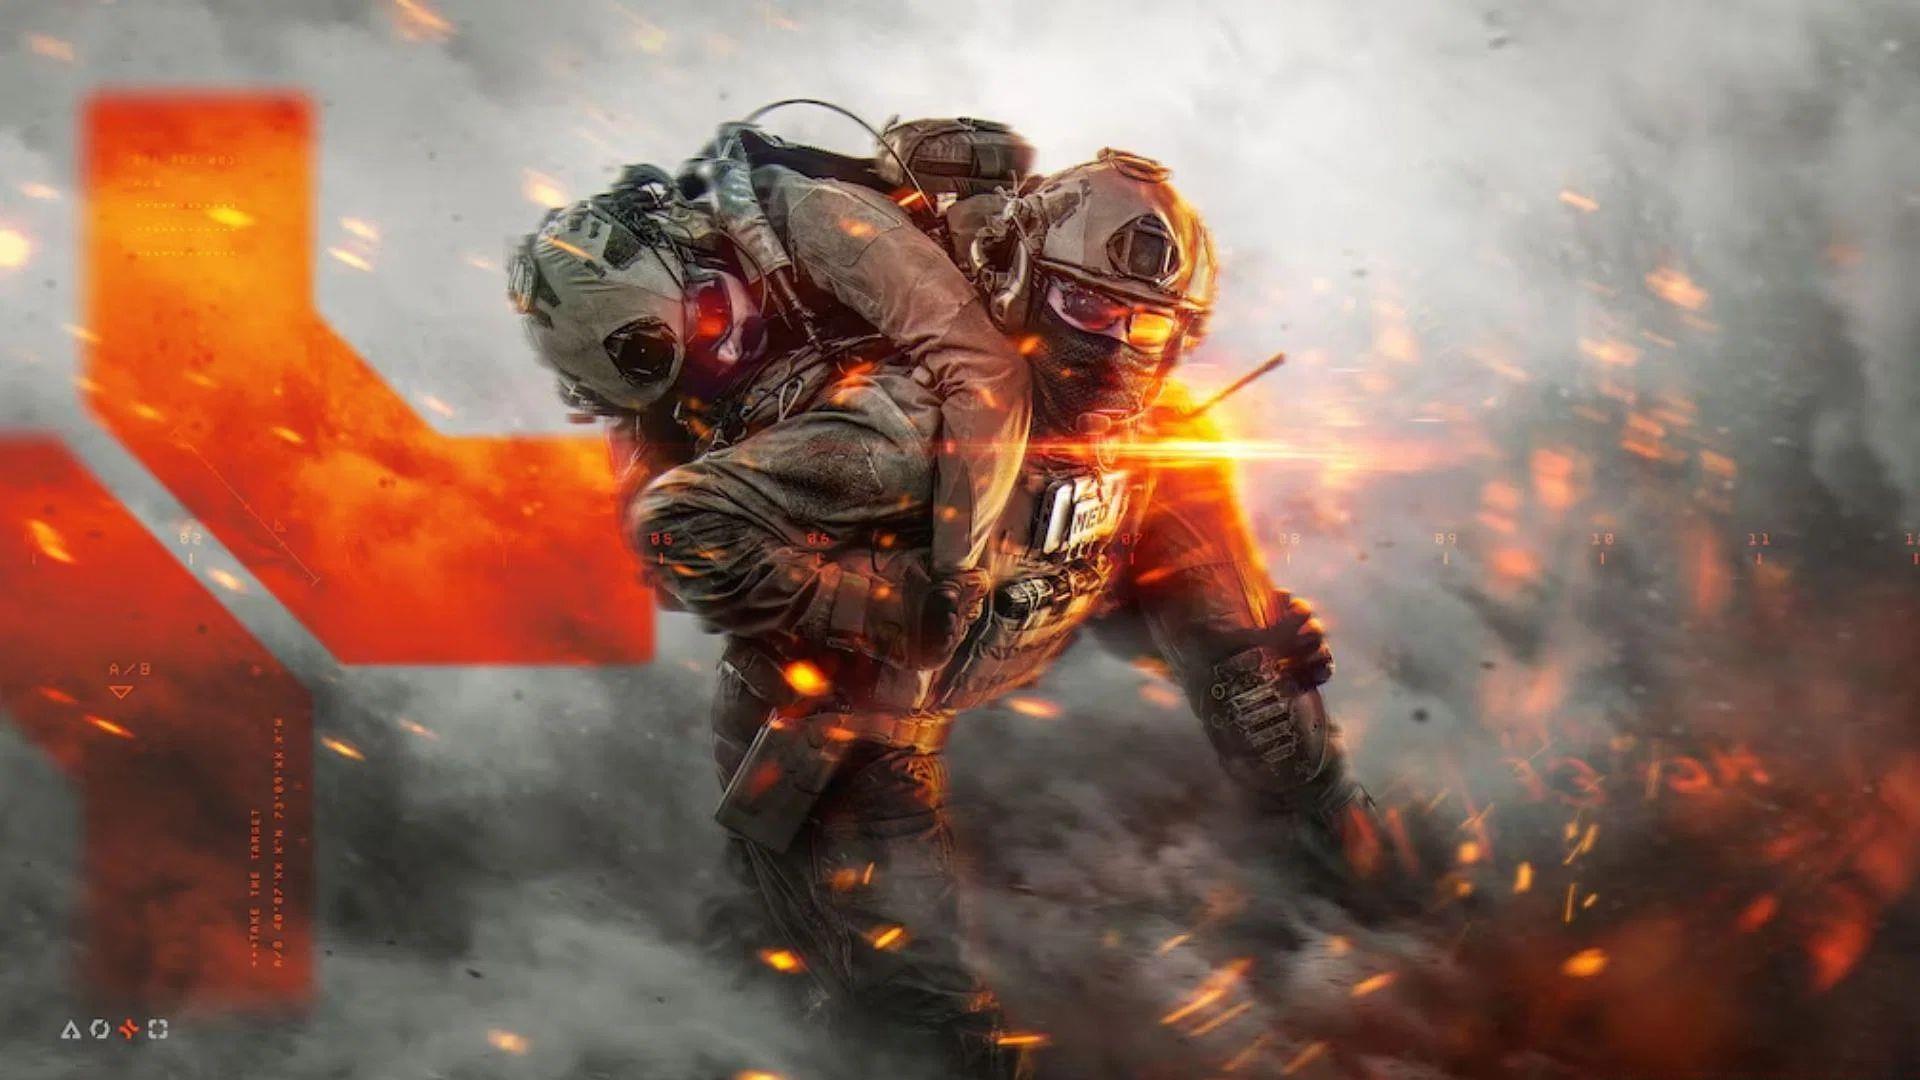
Battlefield 6 Support class
- Supply Bag (Signature)
The Supply Bag serves as your foundational equipment, providing essential ammunition replenishment for your squad. However, advanced players should adapt their secondary gadget choice based on current match conditions and team needs.
When facing grenade-heavy opponents, the MP-APS becomes invaluable for area denial and point defense. This counter-explosive system can neutralize incoming projectiles, creating safe zones for your team to operate within.
For aggressive support play, the Defibrillator enables rapid teammate revival, effectively granting your squad additional tickets and maintaining offensive momentum. This is particularly effective when paired with assault-focused teammates.
Regarding throwables, Smoke Grenades provide unparalleled tactical flexibility for the Support specialist. Deploy smoke to conceal revives, block sniper sightlines, facilitate flanking maneuvers, or obscure objective approaches. Mastering smoke placement can single-handedly determine engagement outcomes.
Pro-Level Support Strategies and Common Mistakes
You might be interested in: All difficulties in Battlefield 6 Campaign, and which one should you choose?
Advanced Support players understand that positioning dictates effectiveness. Always seek elevated or covered positions that provide clear firing lanes while minimizing exposure. Use your LMG’s suppression capabilities to pin enemies while teammates flank or advance.
Avoid these common Support class mistakes:
- Overexposure: Firing continuously from the same position attracts targeted counter-fire and grenades
- Poor Ammo Management: Failing to monitor your belt count leaves you vulnerable during critical moments
- Static Positioning: Remaining in one location too long allows enemies to easily flank your position
- Ignoring Team Needs: Focusing solely on kills rather than supplying teammates and providing suppression
Advanced Tactics:
- Use suppressive fire to manipulate enemy movement into kill zones
- Coordinate with Recon teammates to hold angles on contested objectives
- Time your ammo drops to coincide with squad pushes and defensive setups
- Utilize the explosive resistance to safely clear rooms and contested areas
That’s everything that you need to know about mastering the Battlefield 6 Support class loadout and tactics.
If this guide is to your liking, you can check out some of our other related articles below:
- Always Faithful mission walkthrough in Battlefield 6 Campaign (Mission 1)
- The Rock mission walkthrough in Battlefield 6 Campaign (Mission 2)
- Operation Gladius mission walkthrough in Battlefield 6’s Campaign (Mission 3)
- No Sleep mission walkthrough in Battlefield 6’s Campaign (Mission 5)
- Moving Mountains mission walkthrough in Battlefield 6’s Campaign (Mission 6)
- Nile Guard mission walkthrough in Battlefield 6’s Campaign (Mission 7)
- Operation Ember Strike mission walkthrough in Battlefield 6’s Campaign (Mission 8)
- Always Forward mission walkthrough in Battlefield 6 Campaign (Mission 9)
No reproduction without permission:SeeYouSoon Game Club » Battlefield 6 Support class guide: Best loadout to use Master the Support class in Battlefield 6 with optimized loadouts, advanced strategies, and team support tactics