Complete guide to choosing between Arlecchino’s C1 constellation and signature weapon in Genshin Impact
Understanding Arlecchino’s Rerun and Core Mechanics
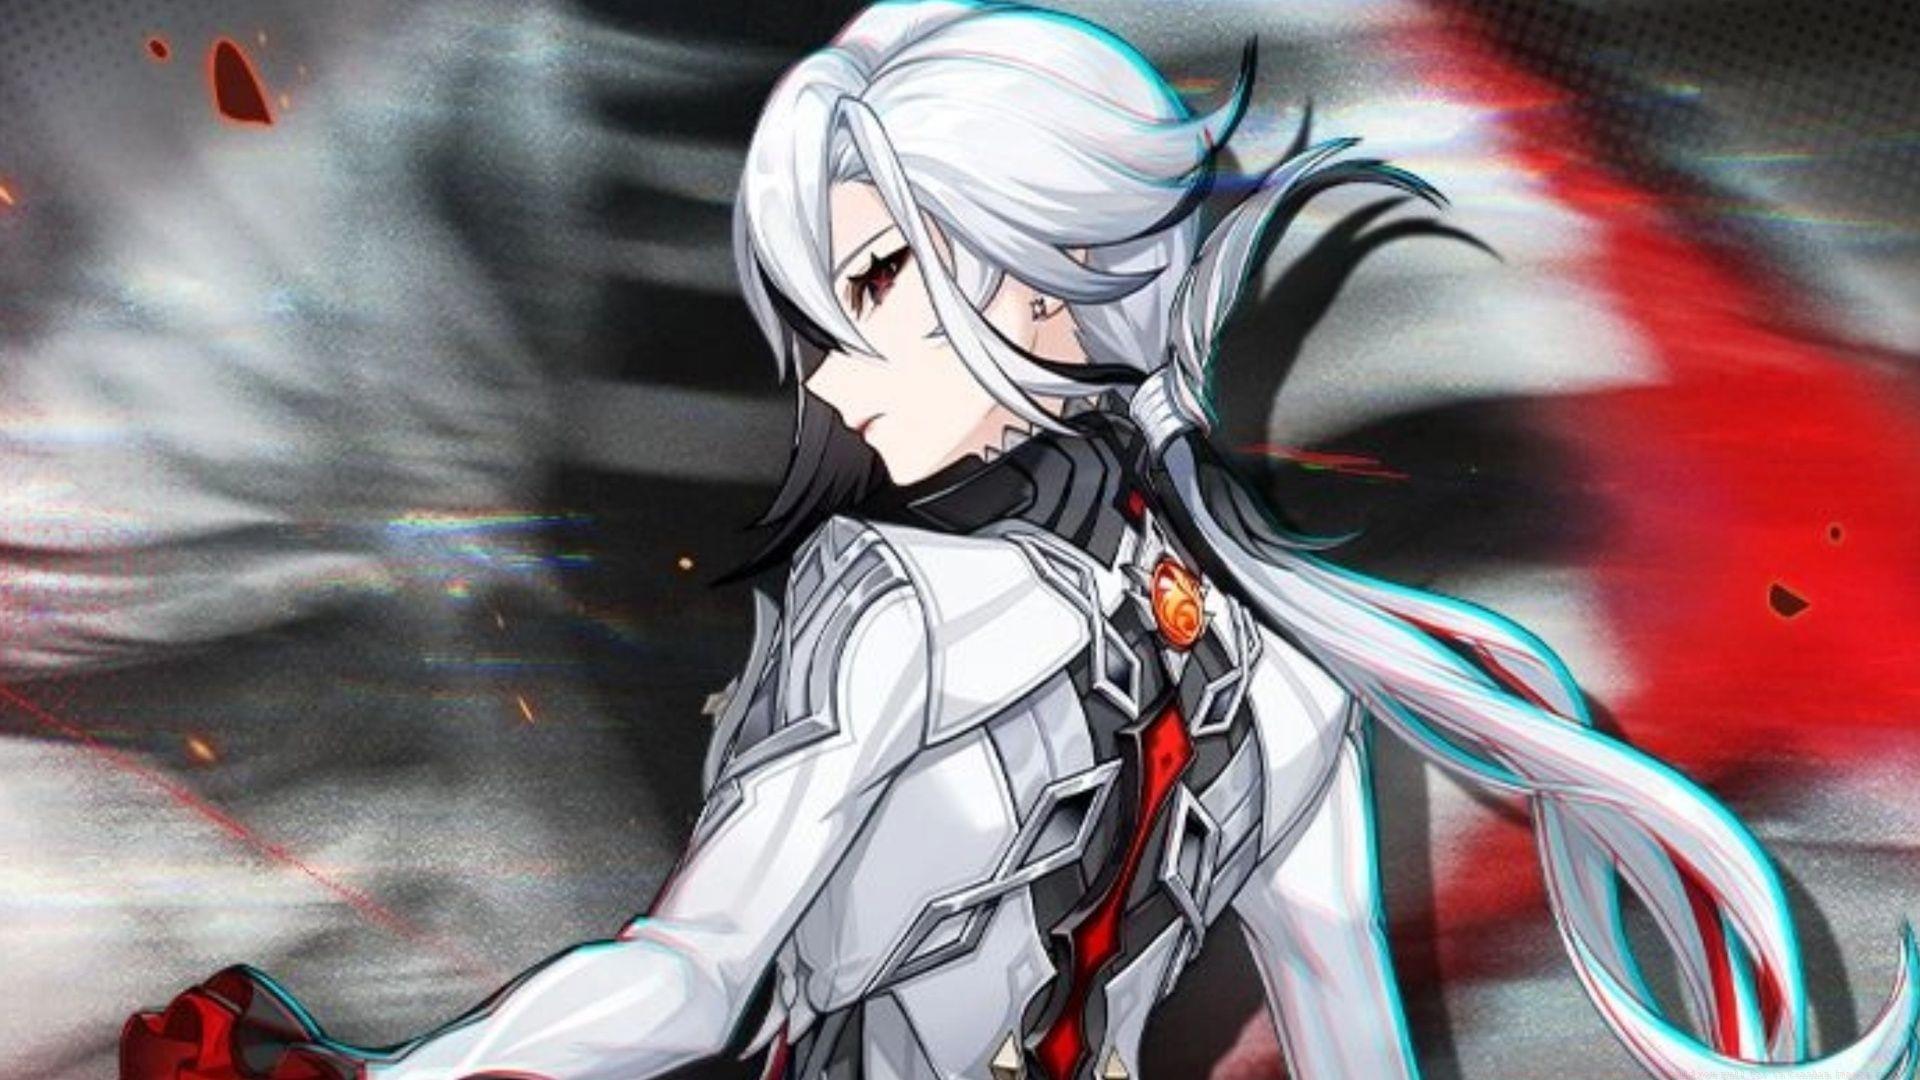
Arlecchino returns during the second phase of Genshin Impact’s Luna II update, presenting players with a crucial decision point for enhancing this powerful Pyro polearm specialist. As one of the game’s premier main DPS characters, her performance can be significantly elevated through either her first constellation or signature weapon. Understanding her unique Bond of Life mechanic is essential – this gameplay element requires managing HP sacrifices to unlock her full damage potential, making enhancement choices particularly impactful.
Many Travelers face the dilemma of choosing between her C1 constellation and Crimson Moon’s Semblance weapon, both offering distinct advantages that cater to different playstyles and team compositions. The Bond of Life system creates interesting synergies with both options, making this decision more nuanced than typical character upgrades.
Arlecchino’s C1 Constellation Analysis
Unlocking Arlecchino’s first constellation fundamentally enhances her combat capabilities when operating under the Masque of the Red Death state. This upgrade provides a substantial 100% damage multiplier to her Normal Attacks while actively consuming Bond of Life, dramatically increasing her sustained damage output during her primary damage windows.
The interruption resistance component cannot be overstated – it allows Arlecchino to maintain her attack sequences without being staggered by enemy attacks, reducing dependency on shield support characters. This quality-of-life improvement makes her significantly more versatile in various team configurations, particularly in Spiral Abyss where interruption can mean the difference between success and failure.
Arlecchino’s C1 stands among the most valuable early constellations in the game, transforming her from a strong DPS into an exceptionally reliable damage dealer. The combination of raw damage amplification and survivability makes this constellation particularly appealing for players who value consistent performance across different combat scenarios.
Also read: Best Genshin Impact Arlecchino build guide
Crimson Moon’s Semblance Weapon Breakdown
Arlecchino’s signature polearm, Crimson Moon’s Semblance, delivers impressive statistical advantages at refinement rank I with level 90 parameters:
Crimson Moon’s Semblance boasts exceptional Base ATK statistics complemented by valuable CRIT Rate substats, reducing artifact farming requirements. The weapon’s passive synergizes perfectly with Arlecchino’s kit, providing both Bond of Life generation and substantial damage bonuses that scale with her core mechanic.
The weapon’s design intentionally complements her gameplay loop – the Charged Attack Bond of Life generation helps maintain optimal damage bonus uptime while the CRIT Rate substat ensures consistent critical hit performance. However, the weapon’s effectiveness must be weighed against the risks of the weapon banner system.
Also read: All character locations in Genshin Impact Ruins Exploration Fieldwise Center event
Comparative Analysis and Pull Recommendations
For players prioritizing maximum damage potential, selecting Arlecchino’s C1 constellation emerges as the superior choice. The direct damage multiplier combined with interruption resistance provides more consistent performance across various combat situations. However, Crimson Moon’s Semblance remains appealing for players who value aesthetic cohesion and the statistical advantages of a signature weapon.
The weapon banner presents significant risk considerations – Crimson Moon’s Semblance shares the featured slot with Zhongli’s Vortex Vanquisher, widely regarded as one of the least desirable limited 5-star polearms. This banner composition substantially increases the potential cost of obtaining her signature weapon, making it a risky investment for free-to-play and low-spending players.
Team composition factors heavily into this decision – if you already possess strong CRIT Rate polearms like Staff of Homa or Primordial Jade Winged-Spear, the value of her signature weapon diminishes. Conversely, if your account lacks high-quality polearms, the weapon becomes more attractive despite the banner risks.
Consider your playstyle preferences: C1 enhances her existing kit with quality-of-life improvements, while the weapon provides statistical advantages that require proper artifact support to maximize.
Advanced Strategies and Common Mistakes
Advanced players should consider several optimization strategies when making their pulling decision. For C1 enthusiasts, mastering animation canceling during her Normal Attack sequences becomes crucial to maximize the damage bonus uptime. The interruption resistance allows for more aggressive positioning, enabling better crowd control and elemental reaction setups.
A common mistake players make is underestimating the value of interruption resistance in high-level content. While shields provide similar protection, C1’s inherent resistance frees up team slots for additional support characters, potentially increasing overall team damage output more than a weapon upgrade would.
For weapon pullers, understanding the Bond of Life management becomes paramount. The 14-second cooldown on the weapon’s passive requires careful timing of Charged Attacks to maintain optimal damage bonus uptime. Poor Bond of Life management can significantly reduce the weapon’s effectiveness.
Long-term value considerations: C1 remains permanently unlocked and isn’t subject to power creep from future weapon releases, while weapon value can fluctuate with new polearm introductions. However, signature weapons often have transfer value to other characters, providing additional flexibility for your account.
Follow Sportskeeda for more Genshin Impact updates and guides.
No reproduction without permission:SeeYouSoon Game Club » Arlecchino C1 vs R1: Which one should you pull for in Genshin Impact Luna II? Complete guide to choosing between Arlecchino's C1 constellation and signature weapon in Genshin Impact