Master the top 5 meta weapons for Apex Legends Season 26 Split 2 with advanced tactics and loadout strategies
Introduction to Season 26 Split 2 Weapon Meta
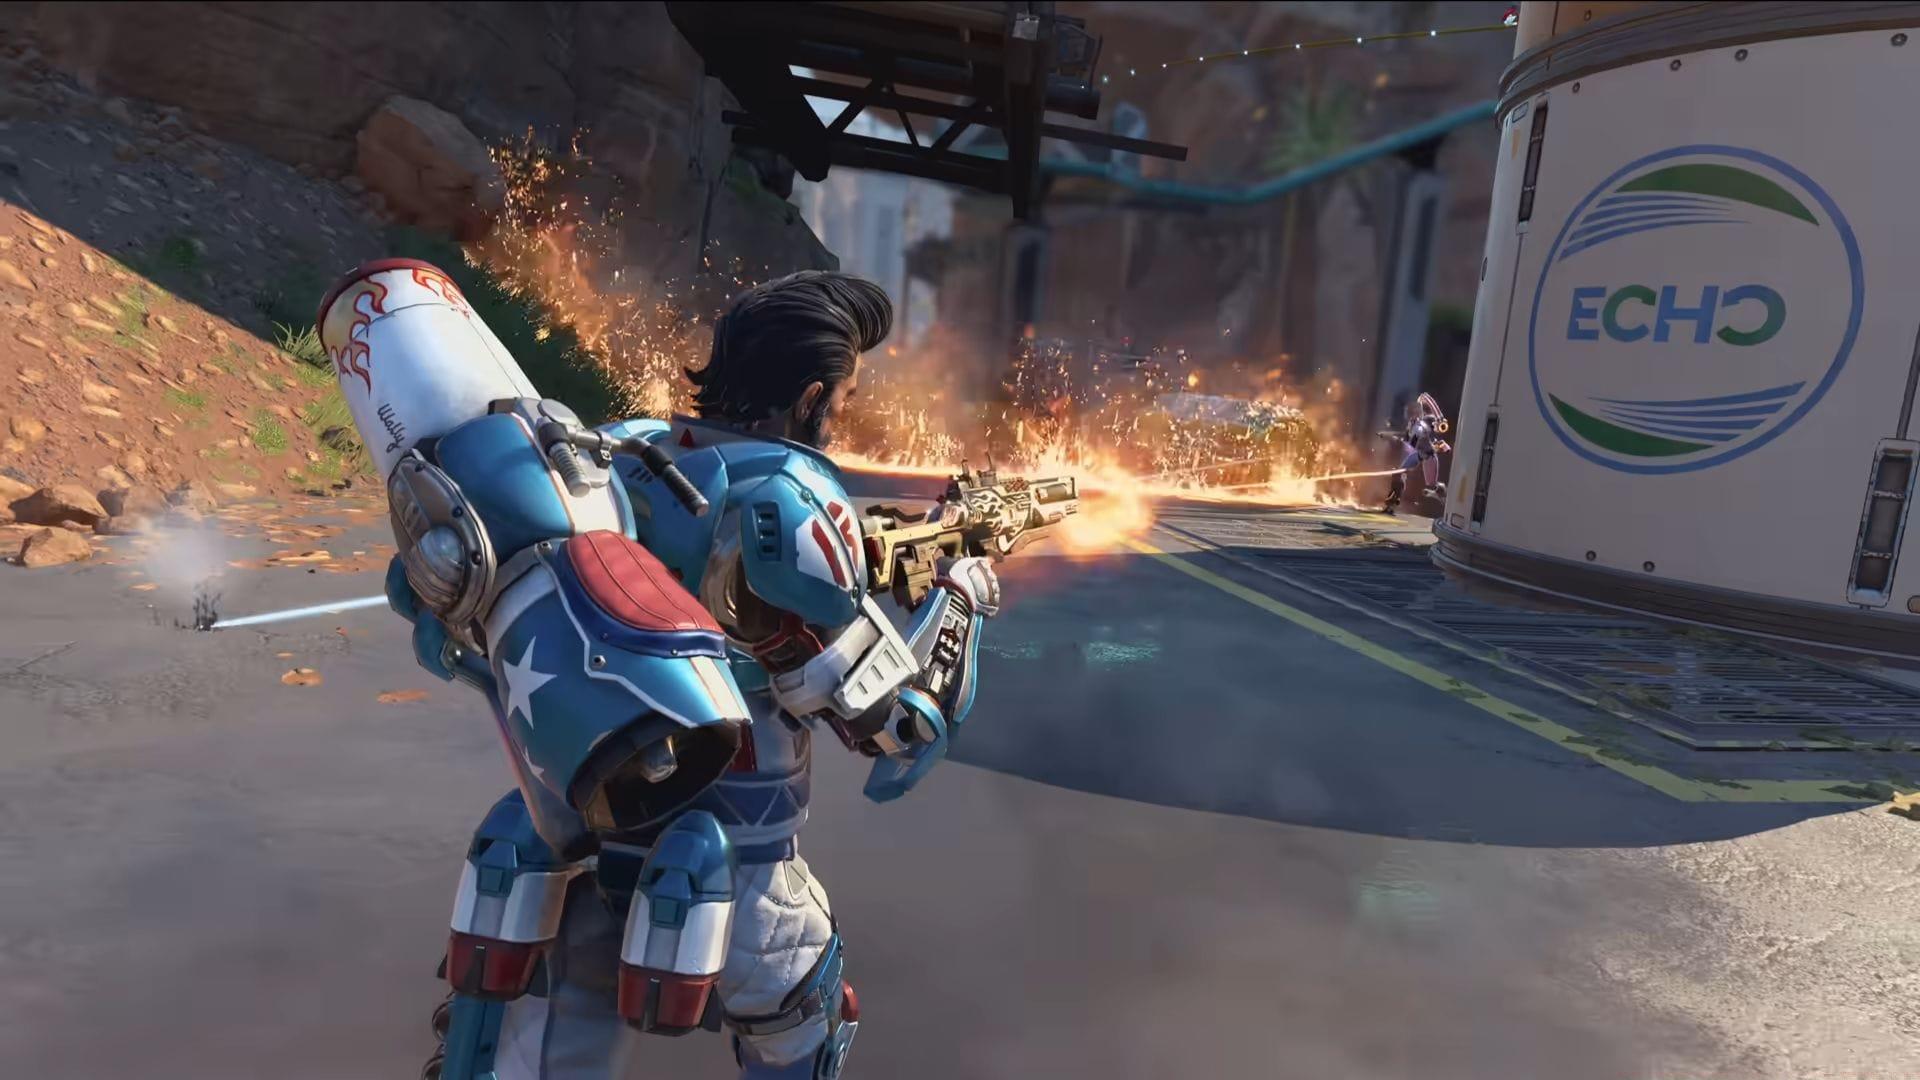
Apex Legends Season 26 Split 2 introduces strategic weapon adjustments that reshape the competitive landscape. While the majority of the arsenal remains consistent, several firearms received targeted nerfs and buffs to refresh gameplay dynamics and prevent stagnant meta formations. In EA’s battle royale experience, weapon selection complements legend abilities as the primary engagement tool. Consequently, certain guns demonstrate enhanced effectiveness and secure positions in optimal loadout configurations.
The latest update emphasizes skill-based weapon usage with mechanical changes that reward precision and strategic thinking. Understanding these adjustments provides competitive advantages in ranked matches and tournament play.
Bocek Compound Bow: Precision Powerhouse
Following the removal of helmets from gameplay mechanics, the Bocek Compound Bow achieves maximum potential when landing critical headshots on opponents. This weapon excels as a long-range engagement tool and pairs effectively with close-range options like SMGs or Shotguns for comprehensive coverage.
Advanced Technique: Master the partial-draw mechanic to conserve arrows while maintaining pressure. The Bocek’s silent firing profile makes it ideal for third-party situations where audio cues determine engagement outcomes.
Common Mistake: Avoid fully drawing every shot in close-quarters combat. Quick partial draws can finish weakened enemies faster than weapon swapping in certain scenarios.
Havoc Rifle: Energy Beast Reborn
The Havoc previously dominated multiple seasons with nearly uncontested meta presence. The current update reintroduces the Turbocharger Hop-Up as an integrated feature on this energy-based weapon, unlockable through consistent damage dealing. Once activated, leverage its high-damage projectiles combined with minimal bullet trajectory drop during mid-range confrontations.
While the Havoc functions in close-quarters scenarios, its hipfire dispersion pattern presents controllability challenges during intense firefights.
Turbocharger Strategy: Focus on dealing 200 damage to activate the Hop-Up quickly. Use supply bin weapons initially, then transition to your Havoc once the Turbocharger unlocks.
Recoil Control: Practice the specific pull-down pattern during sustained fire. The Havoc’s initial shots have minimal recoil, but sustained fire requires progressive downward compensation.
30-30 Repeater: Versatile Marksman
The 30-30 Repeater performs exceptionally in medium to extended-range engagements. This lever-action rifle offers both rapid consecutive firing and charged shot capability during aim-down-sights. Recent adjustments increased the damage requirement for unlocking the Skullpiercer Hop-Up, though strategic damage farming from distance can secure this enhancement before final zone contractions.
This firearm proves inadequate for close-range combat, benefiting from pairing with automatic weapons such as Assault Rifles, SMGs, or LMGs. Effectiveness diminishes during concluding rounds, necessitating transition to close-range specialized weaponry.
Positioning Guide: Utilize high ground and cover to maximize the 30-30’s effectiveness. Its peek-shoot rhythm punishes enemies who expose themselves for even brief moments.
Late-Game Adaptation: Monitor circle locations and proactively swap to a close-range weapon when anticipating final zone positioning in urban areas or confined spaces.
Spitfire LMG: Suppression Specialist
The Spitfire caters to players favoring sustained engagement durations. This Light Machine Gun’s expanded magazine capacity and reduced recoil enable continuous enemy suppression from secure distances. Excellent for eliminating squads in open terrain or controlling choke points across battle royale maps, though its rate of fire trails behind other armaments.
Ideal for mid-range combat scenarios with competent performance in certain close-quarters situations. However, incorporating a Shotgun, particularly the Peacekeeper, within your loadout addresses opponents aggressively advancing for close-range confrontations.
Suppression Tactics: Use the Spitfire to force enemies into unfavorable positions where teammates can capitalize. The psychological pressure of continuous fire often triggers poor decision-making.
Magazine Management: Despite the large capacity, avoid wasting ammunition on speculative shots. Time reloads during natural combat pauses rather than during critical engagement moments.
Sentinel Sniper: Long-Range Dominance
The Sentinel represents a formidable Sniper Rifle capable of debilitating adversaries from extended ranges. This weapon features electrical charging mechanics that amplify damage output across distances, catching opponents unprepared. Optimal for initiating engagements as properly placed shots can eliminate enemies with minimal connections. However, scope experimentation determines which magnification level aligns with individual playstyles.
The Sentinel cannot handle close-range encounters effectively. Additionally, optic replacement becomes necessary during final zones, transitioning to reduced magnification for situational appropriateness. Complementing with an SMG or Shotgun creates balanced loadout configuration.
Charging Strategy: Use shield cells to charge the Sentinel before peeking enemies. The temporary damage boost often turns three-shot kills into two-shot eliminations.
Scope Transition Protocol: Carry a 2x-4x variable or 3x scope for flexibility. Swap to a 1x-2x variable or holo sight when entering the final three zones for better close-medium range performance.
Advanced Loadout Strategies and Meta Insights
Optimal Weapon Pairings: Combine long-range specialists (Bocek, Sentinel) with close-range dominators (SMGs, Shotguns). Mid-range weapons (Havoc, 30-30) pair well with versatile options that cover multiple engagement distances.
Common Player Mistakes:
– Using snipers without escape plans when pushed
– Neglecting to pre-charge the Sentinel before engagements
– Attempting close-range fights with marksman weapons
– Wasting Havoc ammunition before Turbocharger activation
Pro-Level Insights:
– The Bocek’s arrow travel time allows leading moving targets effectively
– Havoc’s energy ammo scarcity makes ammo conservation critical
– 30-30 Repeater charged shots break doors instantly
– Spitfire’s strafe speed penalty requires positioning awareness
– Sentinel charged shots penetrate Gibraltar’s arm shield
Stay updated with Sportskeeda for additional guides, meta analyses, and competitive news.
No reproduction without permission:SeeYouSoon Game Club » Apex Legends Season 26 Split 2: 5 best weapons to use Master the top 5 meta weapons for Apex Legends Season 26 Split 2 with advanced tactics and loadout strategies