TL;DR
- Maintain absolute silence and avoid Mobile Respawn Beacons to prevent detection
- Prioritize Ultimate Accelerants for legends with tactical escape abilities
- Stop looting once equipped with essential shotgun/sniper attachments
- Embrace strategic camping and thorough area scouting before movement
- Coordinate closely with teammates and leverage throwables for area control
The challenging shotgun-sniper limited-time experience has made its fourth appearance in Apex Legends, presenting unique survival obstacles that demand specialized approaches.
Apex Legends’ anime-inspired Gaiden celebration launched on July 19, bringing not only 40 fresh cosmetic items drawing from popular animated series but also marking the comeback of a fan-favorite temporary mode: Armed and Dangerous.
Armed and Dangerous debuted as the inaugural LTM in Apex Legends during 2019, and has recently arrived in the mobile adaptation. This exclusive shotguns-and-snipers format tests competitors to demonstrate their proficiency without access to preferred automatic and burst-fire firearms. Whether you’re experiencing Armed and Dangerous for the first time or require strategy reinforcement, continue reading for comprehensive mode insights and survival techniques to reach champion status.
Armed and Dangerous operates on straightforward principles—virtually all firearms get eliminated from available loot except for the Charge Rifle, Kraber, Longbow, Sentinel, EVA-8, Peacekeeper, Mastiff, and Mozambique. (The Triple Take remains inaccessible, having transitioned to marksman classification in 2021.) Explosives stay within the item pool, alongside hop-up modifications compatible with shotguns and snipers, such as Shatter Caps and Kinetic feeder enhancements. Beyond grenades and character capabilities, you lack additional resources, requiring significant adjustments to your match methodology. Below are crucial recommendations and pitfalls you should remember during gameplay sessions.
Armed and Dangerous engagements typically feature prolonged quiet intervals (sometimes interrupted by distant sniper exchanges), succeeded by intense confrontations concluding rapidly. Given the unpredictable dynamics of this LTM—combined with how swiftly you can get eliminated—a covert strategy frequently proves optimal, particularly when opposing squads are in proximity. Remain vigilant for isolated adversaries who might be concealed awaiting chances to revive their teammates.
Regarding revival mechanics, strategically bypass any Mobile Respawn Beacons you encounter. While potentially beneficial, their extended activation process and extremely loud auditory signals instantly notify all nearby squads about your position. Unless multiple enemy units are engaged in noisy, chaotic firefights, you’ll likely achieve better outcomes by proceeding to conventional Respawn Beacons for more discreet, faster revivals. The audio footprint extends approximately 200 meters, making stealth repositioning nearly impossible once activated.
Unless you primarily use Lifeline or Wattson, you might not regularly pursue Ultimate Accelerants, yet they provide substantial advantages in Armed and Dangerous. This mode transitions from methodical pacing to intense action within moments. If your chosen legend possesses an ultimate ability with notably slow recharge, prioritize activating it promptly and maintain additional Ultimate Accelerants nearby for situations requiring multiple rapid ult deployments. Characters capable of generating quick escape paths for their teams gain exceptional benefits from this approach, so participants selecting Ash, Pathfinder, or Wraith should carry surplus Ultimate Accelerants. Valkyrie players benefit significantly since her Skyward Dive offers the fastest squad repositioning tool available, crucial for escaping unfavorable sniper sightlines.
The instinct to rush toward unexplored locations is understandable, but remember that Armed and Dangerous features dramatically restricted loot compared to normal battle royale matches. Before entering fresh points of interest, evaluate your existing gear configuration. Most shotguns require only an optic and bolt attachment, while extended sniper magazines appear abundantly. Unless pursuing particular modifications or specific firearms, cease collecting items immediately upon acquiring necessary equipment. Advanced players recommend establishing “loot thresholds”—specific attachment combinations that signal when to stop searching and start positioning.
Consider allowing enemy squads to finish engagements, then scavenge their death containers before pursuing the remaining team—since all participants utilize identical weapon categories, your probability of discovering desired items in any deathbox increases dramatically. Loba provides guaranteed access to preferred gear rapidly, though this may prove counterproductive ultimately, as terrain loot remains plentiful, and retrieving objects through her Black Market creates visible pathways directing opponents directly to your location. Her ultimate reveals position within 150 meters to observant enemies, making timing crucial for successful utilization.
Visual awareness becomes paramount in a format where every opponent you face almost certainly carries a sniper rifle. While continuous rotation between landmarks often ensures survival in standard Apex matches, Armed and Dangerous supports alternative methodologies. Monitor surroundings (both visually and audibly) for hostile forces when transitioning between locations, and completely survey zones before approaching. Defensive positioning near zone edges with elevated sightlines typically outperforms aggressive pushing in this mode. The Peacekeeper with Precision Choke and Sentinel with upgraded shield capacity create devastating defensive combinations that can control entire areas.
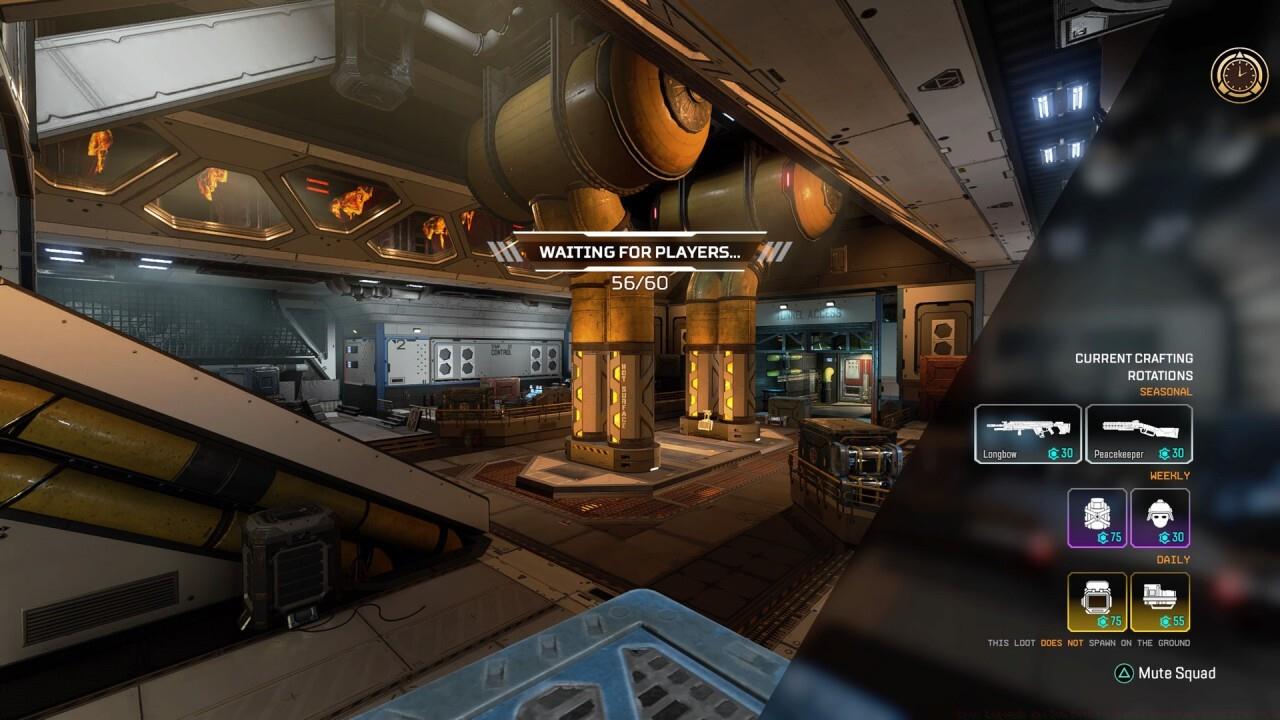
The contents of the Replicator are displayed on the loading screen before each match.
Strategic legend selection significantly impacts your Armed and Dangerous performance. Gibraltar’s Dome of Protection provides crucial cover for revives and shield repairs, while Caustic’s Nox Gas Traps can secure buildings against pushing teams. Avoid choosing legends whose abilities provide minimal value in long-range engagements or close-quarters defense.
Explosive devices maintain exceptional utility within this restricted arsenal environment. Thermite grenades create area denial barriers perfect for blocking chokepoints, while Arc Stars offer both damage and movement impairment against sniping opponents. Frag grenades can flush campers from entrenched positions when direct engagement seems too risky.
Squad coordination becomes absolutely essential when every engagement could end instantly. Establish clear communication protocols for spotting enemies, coordinating pushes, and executing tactical retreats. The Mozambique shotgun, often underestimated, becomes surprisingly effective when paired with Hammerpoint Rounds, delivering rapid finishing potential against unshielded targets.
Action Checklist
- Scan Replicator contents during loading screen to plan crafting strategy
- Collect 2+ Ultimate Accelerants when playing mobility legends
- Establish loot completion threshold (shotgun bolt + sight, sniper extended mag)
- Practice 100-150 meter sniper engagements in Firing Range
- Coordinate with squad to maintain 360-degree awareness during rotations
- Master Peacekeeper/Sentinel weapon swap timing for close-to-mid range combat
No reproduction without permission:SeeYouSoon Game Club » Apex Legends Gaiden Event – Armed And Dangerous LTM Guide Master Apex Legends' Armed and Dangerous mode with essential stealth strategies and weapon optimization techniques