TL;DR
- Master loot tier distribution: High Tier zones offer Level 3+ gear but attract heavy competition
- Hot Drop locations provide exclusive Level 4 equipment with special abilities and fully-kitted weapons
- Supply ships deliver premium loot but require precise timing and positioning to secure safely
- Early drops maximize combat opportunities while late deployments enable strategic positioning
- Jumpmaster decisions directly impact early-game survival and late-match success potential
GameSpot may receive revenue from affiliate and advertising partnerships for sharing this content and from purchases through links.
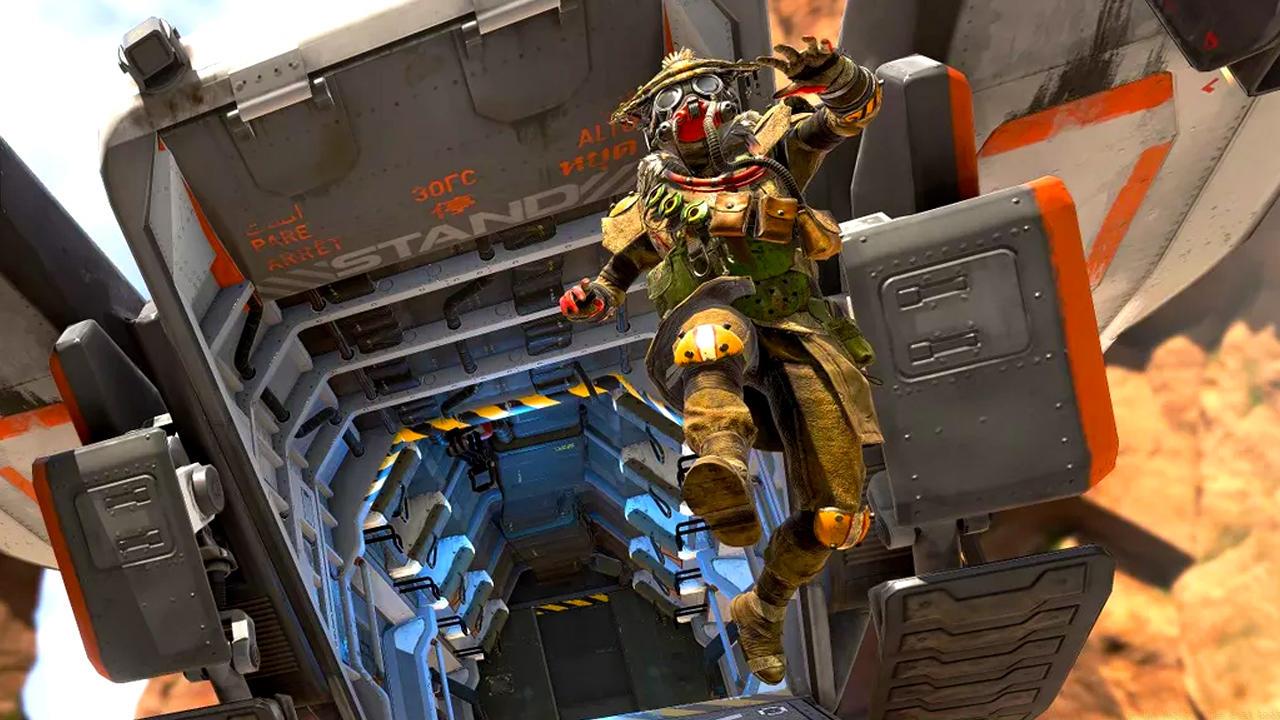
Your role as jumpmaster carries significant responsibility for squad success. Strategic drop selection determines initial engagement frequency, loot quality acquisition, and overall match momentum. Before deployment, assess your team’s composition: aggressive players benefit from immediate combat zones, while tactical squads should prioritize positioning over early fights.
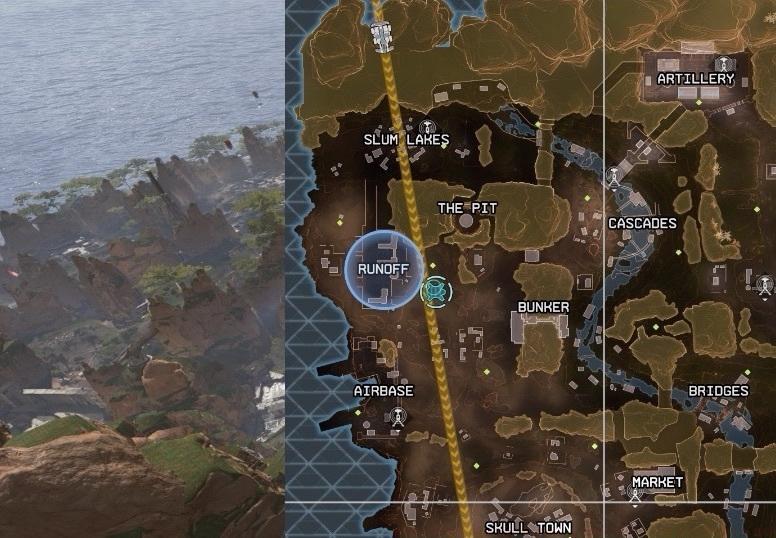
Understanding King’s Canyon’s geography provides critical advantages. The map contains distinct loot distribution patterns that experienced players leverage for consistent performance. Familiarity with building layouts, choke points, and rotation paths transforms random landings into calculated maneuvers.
Jumpmaster stress often stems from uncertainty. This guide eliminates guesswork by providing data-driven drop strategies based on thousands of match analyses. Whether pursuing aggressive elimination hunting or strategic late-game positioning, you’ll make informed decisions that align with your squad’s capabilities.
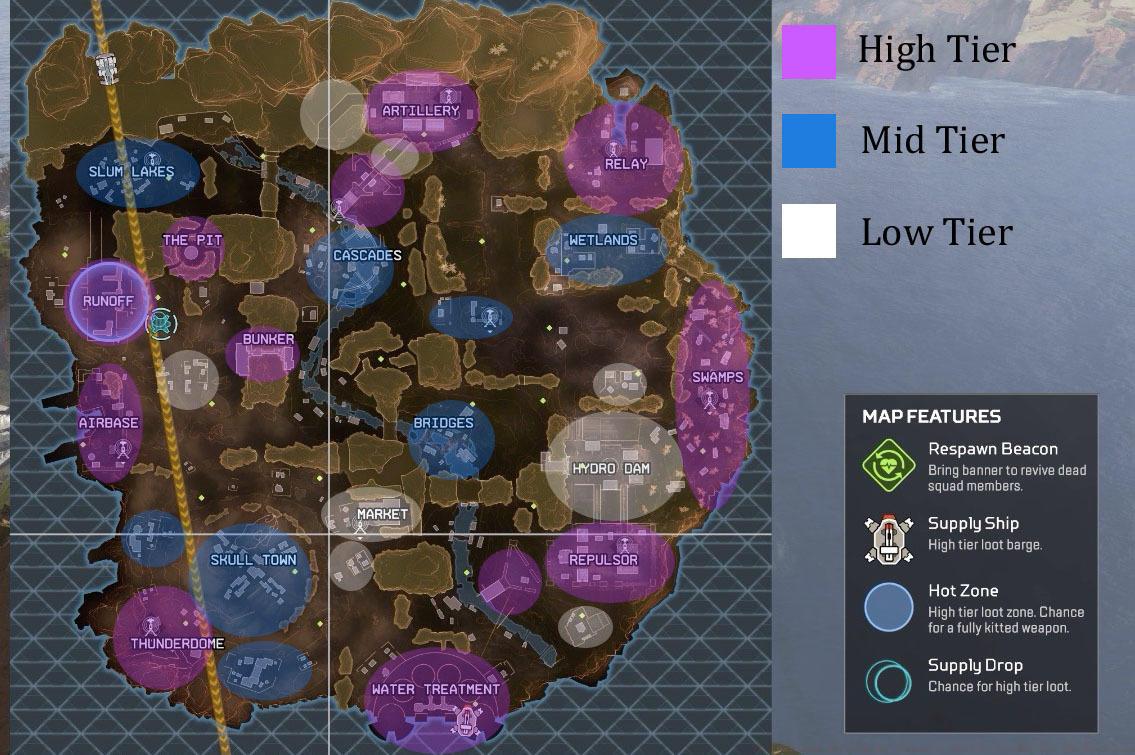
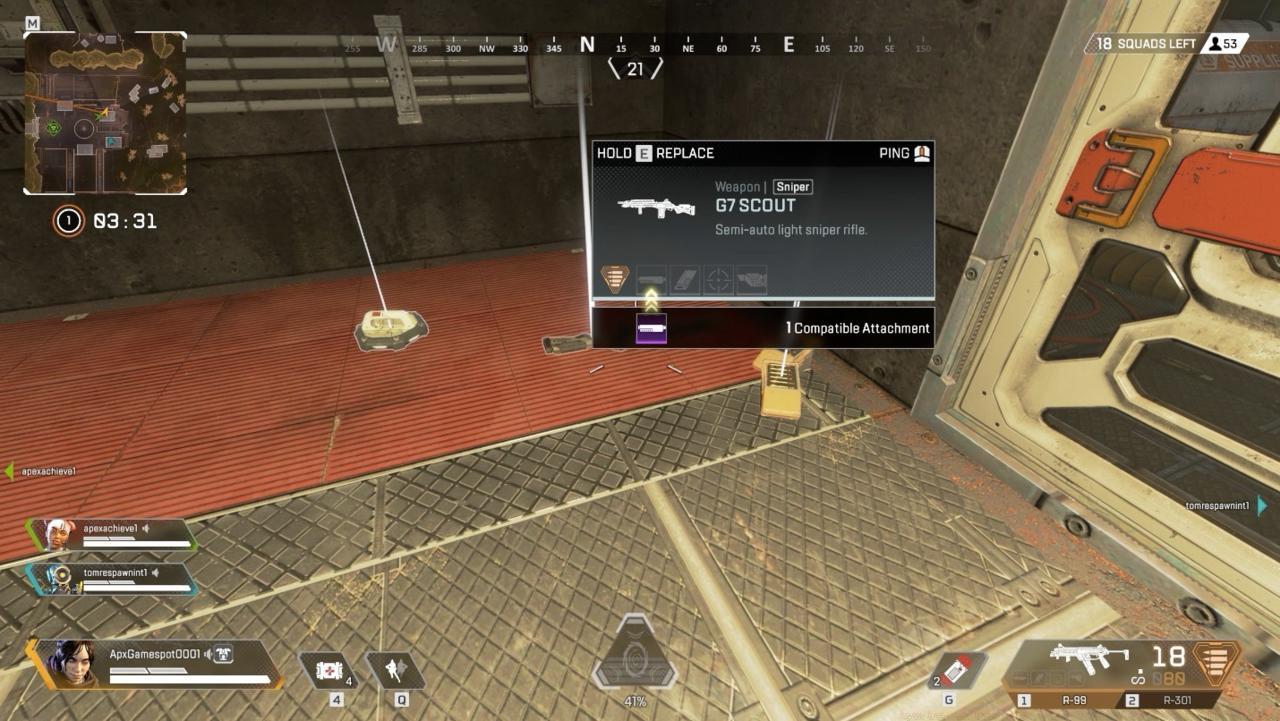
Loot tiers follow predictable patterns across King’s Canyon. High Tier locations consistently spawn Level 3 equipment including specialized optics, Phoenix Kits, and magazine extensions. These zones typically occupy peripheral map regions, requiring extended glide distances that test navigation skills.
Mid Tier areas provide reliable Level 2 gear with reduced competition. These central locations enable quicker ground acquisition but offer diminished high-value item probability. Understanding this trade-off helps balance risk against potential reward.
Common jumpmaster error: assuming tier designations guarantee specific loot. Reality involves probability-based spawning where High Tier zones simply increase chances for superior equipment. Always have contingency plans when loot RNG fails your squad.
Advanced tactic: experienced teams often bypass marked High Tier zones for adjacent unlooted areas. This approach minimizes initial combat while enabling quick rotation to contested zones after securing basic equipment.
Each match designates one Hot Drop location marked by distinctive blue illumination. These zones contain exclusive Level 4 equipment with unique capabilities: armor that accelerates healing or enables self-revival, plus fully-equipped weapons with premium attachments.
Supply ships present mobile high-value targets with predictable flight patterns. These vessels follow predetermined routes to final destinations marked on your tactical map. Boarding options include direct mid-flight insertion or waiting for stationary arrival.
Critical consideration: Hot Drop zones and supply ships attract concentrated squad attention. Successful looting requires either exceptional combat proficiency or clever timing to avoid initial confrontations.
Mid-match supply ships introduce dynamic gameplay opportunities. Use redeployment balloons for aerial interception or position along flight paths for ambush tactics. Limited loot quantity means early boarders gain significant advantages.
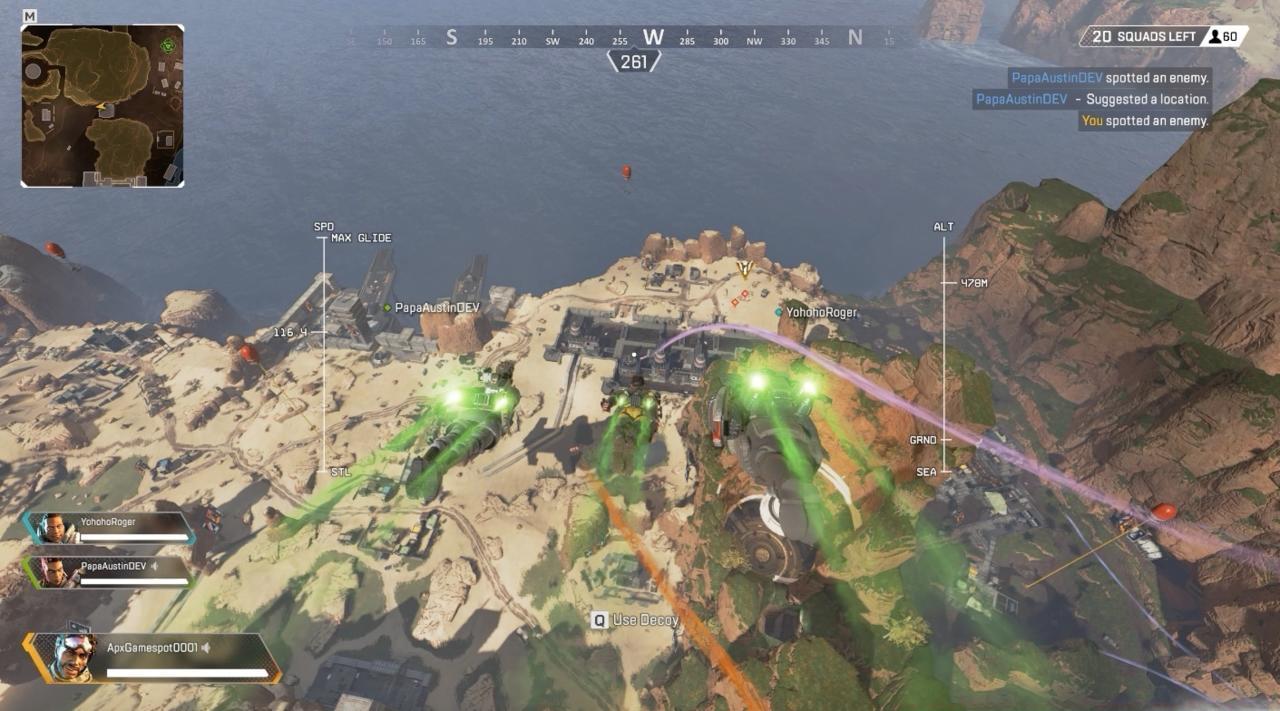
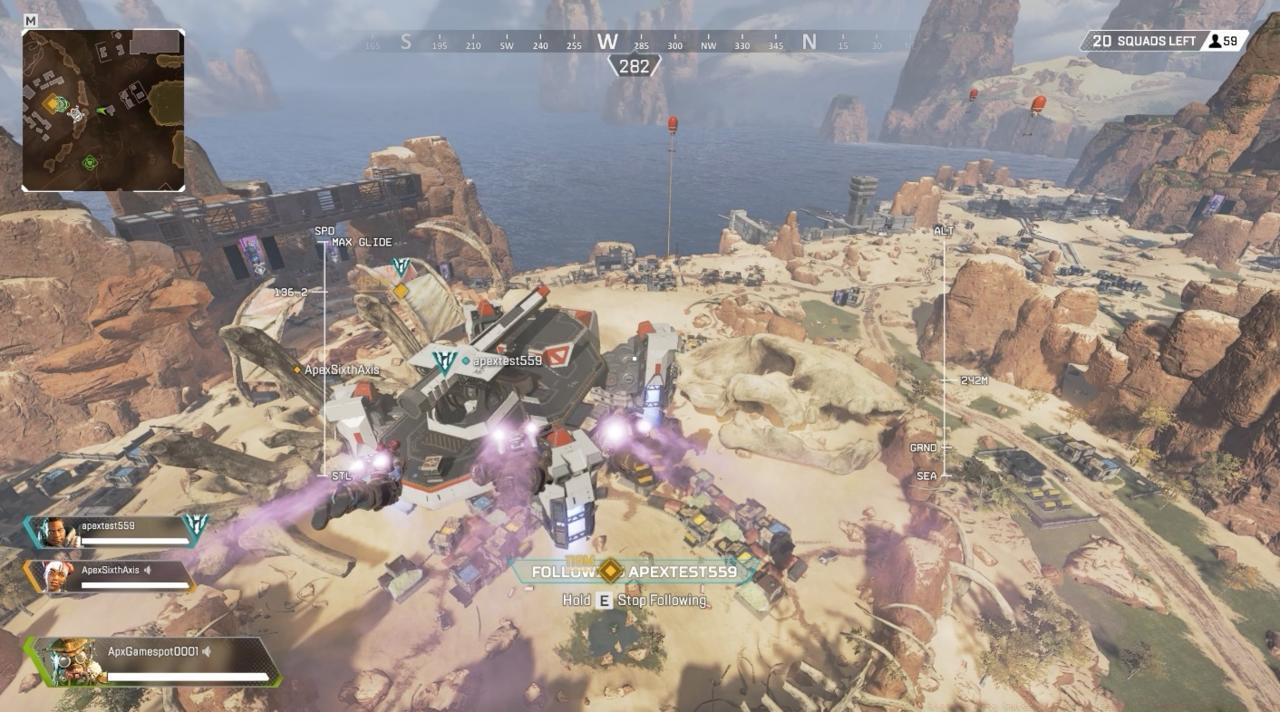
Deployment timing dramatically influences early-game experience. Immediate drops from the transport ship maximize combat encounters, ideal for skill development and aggressive playstyles. Early engagement success hinges on rapid weapon acquisition and spatial awareness.
Late deployments enable strategic positioning with reduced initial threats. This approach benefits teams focusing on late-game dominance through careful rotation and strategic engagement selection.
Pro tip: monitor squad separation during descent. Effective teams maintain close proximity without overlapping loot paths. Establish clear communication protocols for enemy sightings and resource sharing immediately upon landing.
Flight path optimization separates average jumpmasters from exceptional ones. Analyze the transport ship’s trajectory against desired landing zones to determine optimal exit timing. Consider glide speed, altitude management, and obstacle clearance when calculating trajectories.
Action Checklist
- Analyze team composition and preferred engagement style before match start
- Identify High Tier zones and Hot Drop locations during flight path preview
- Determine exit timing based on aggression level: immediate for combat, delayed for positioning
- Coordinate squad separation during descent to optimize loot distribution
- Establish immediate post-landing communication for enemy positions and resource needs
No reproduction without permission:SeeYouSoon Game Club » Apex Legends Drop Guide: Where To Land On The Map For The Best Loot Master strategic drop zones, loot tiers, and combat timing to dominate Apex Legends matches