TL;DR
- Each Legend fills specific combat roles: assault, recon, defense, or support with unique ability synergies
- Strategic ability timing and positioning are more critical than raw damage output for most characters
- Team composition should balance offensive pressure, defensive capabilities, and utility functions
- Advanced players master ability combinations between Legends for maximum team effectiveness
- Common mistakes include poor ultimate timing, mispositioning abilities, and failing to adapt to counters
Apex Legends revolutionizes the battle royale genre by emphasizing strategic team composition over individual gunplay mastery. This free-to-play title challenges squads of two or three players to outmaneuver and outthink their opponents using character-specific abilities that create dynamic combat scenarios. The game’s foundation rests on selecting complementary Legends whose skills synergize to overcome enemy teams through tactical coordination.
Every Legend occupies a specialized combat role that enhances either personal performance or team capabilities. Understanding how to maximize each character’s potential requires knowledge of their ability interactions, optimal positioning, and timing considerations. Below you’ll discover comprehensive breakdowns of each Legend’s capabilities, along with advanced strategies and common pitfalls to avoid. Use the table of contents for quick navigation to specific character guides, and check back as new seasons introduce additional Legends to the roster.
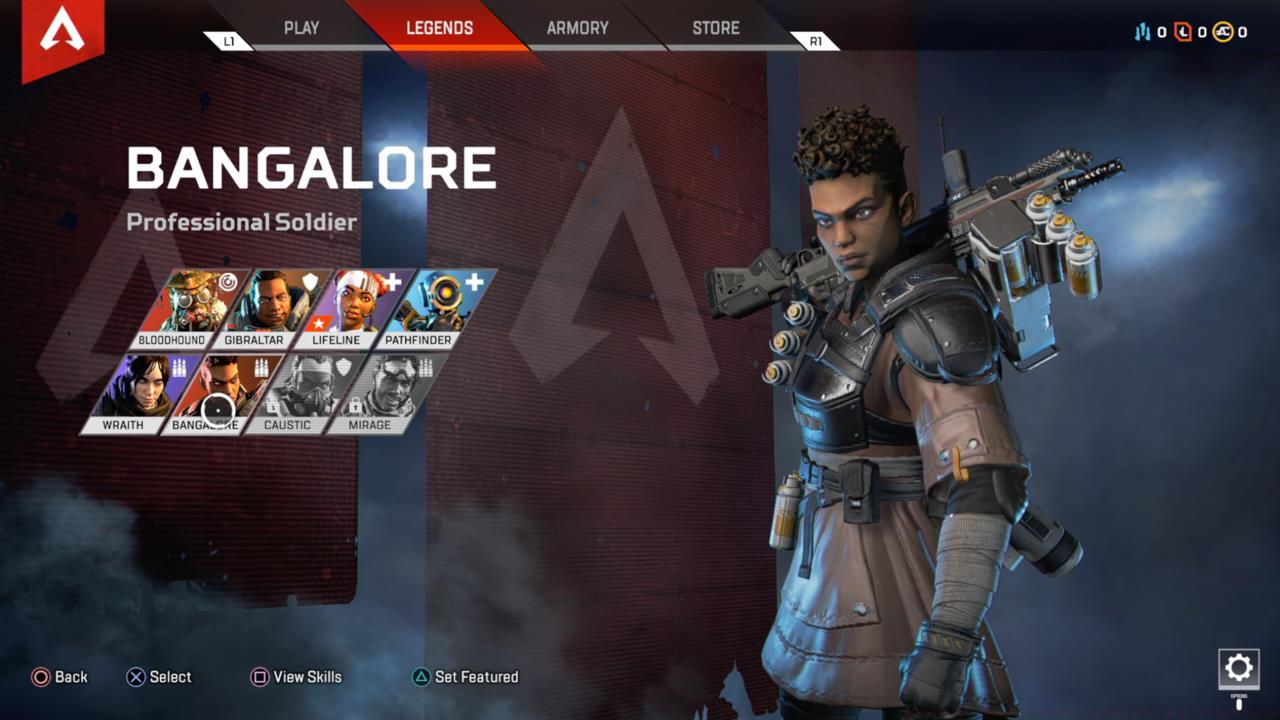
Bangalore embodies the versatile assault specialist with tactical tools for both engagement and disengagement. Her Passive ability ‘Double Time’ provides a significant speed boost when taking fire, creating opportunities to reposition during heated firefights. The tactical application of her smoke canisters requires strategic thinking—they can conceal revives, obscure enemy sightlines, or mask strategic rotations. Many players underestimate the defensive utility of well-placed smoke in blocking sniper sightlines or creating cover in open areas.
Her Ultimate ability ‘Rolling Thunder’ delivers a devastating artillery barrage that forces enemy repositioning. The key mistake beginners make is deploying it too close to their own position, often resulting in team disorientation or self-inflicted damage. Advanced players use the strike to isolate enemies, control zone entries during final circles, or secure breathing space for healing. The 8-second detonation delay requires anticipation of enemy movement patterns for maximum effectiveness.
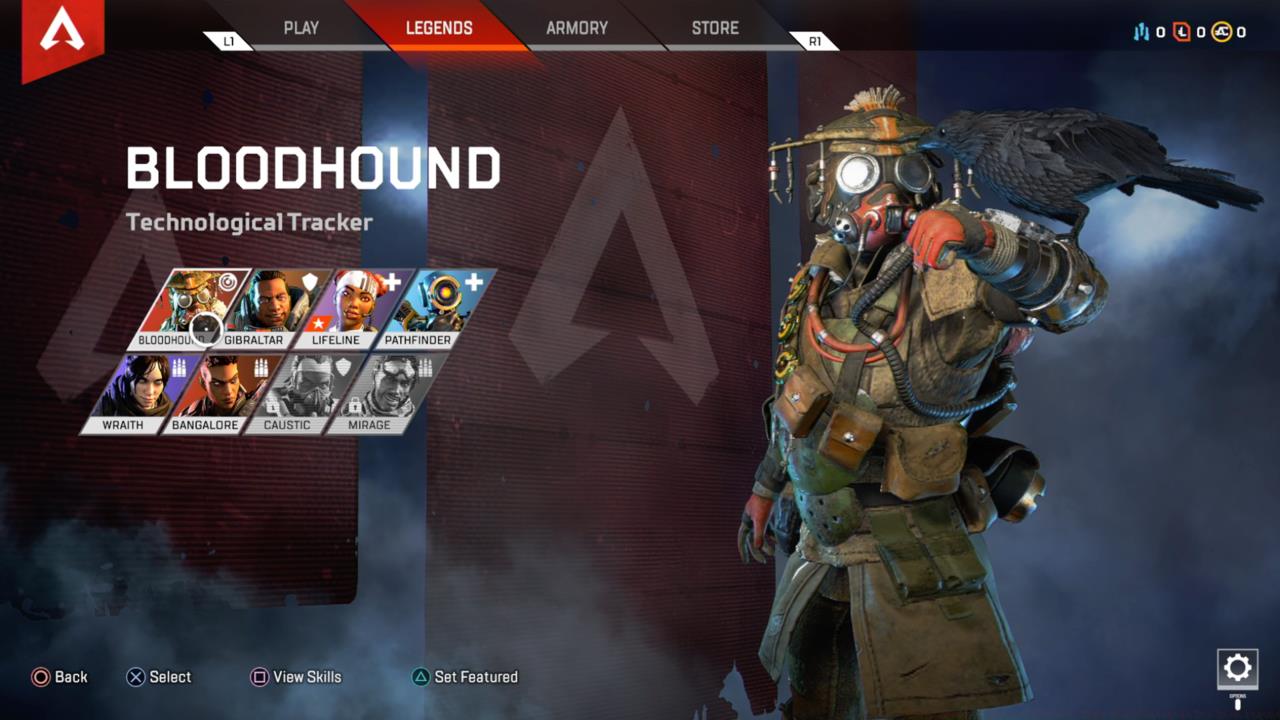
Bloodhound dominates the reconnaissance role with unparalleled enemy intelligence gathering capabilities. Their Passive ability ‘Tracker’ reveals enemy activity through environmental clues that less experienced players often overlook. The tactical scan ‘Eye of the Allfather’ provides crucial real-time positioning data, but its audible cue alerts nearby enemies to your presence. Strategic scanning from concealed positions minimizes this drawback while maximizing information gain.
During their Ultimate ‘Beast of the Hunt’, Bloodhound transforms into an aggressive hunter with enhanced movement speed and highlighted targets. The common error is activating it too early before engagements, wasting the limited duration. Expert timing involves triggering the transformation as you push enemy positions or during chaotic third-party scenarios. The movement bonus also facilitates rapid flanking maneuvers and unexpected angle creation.
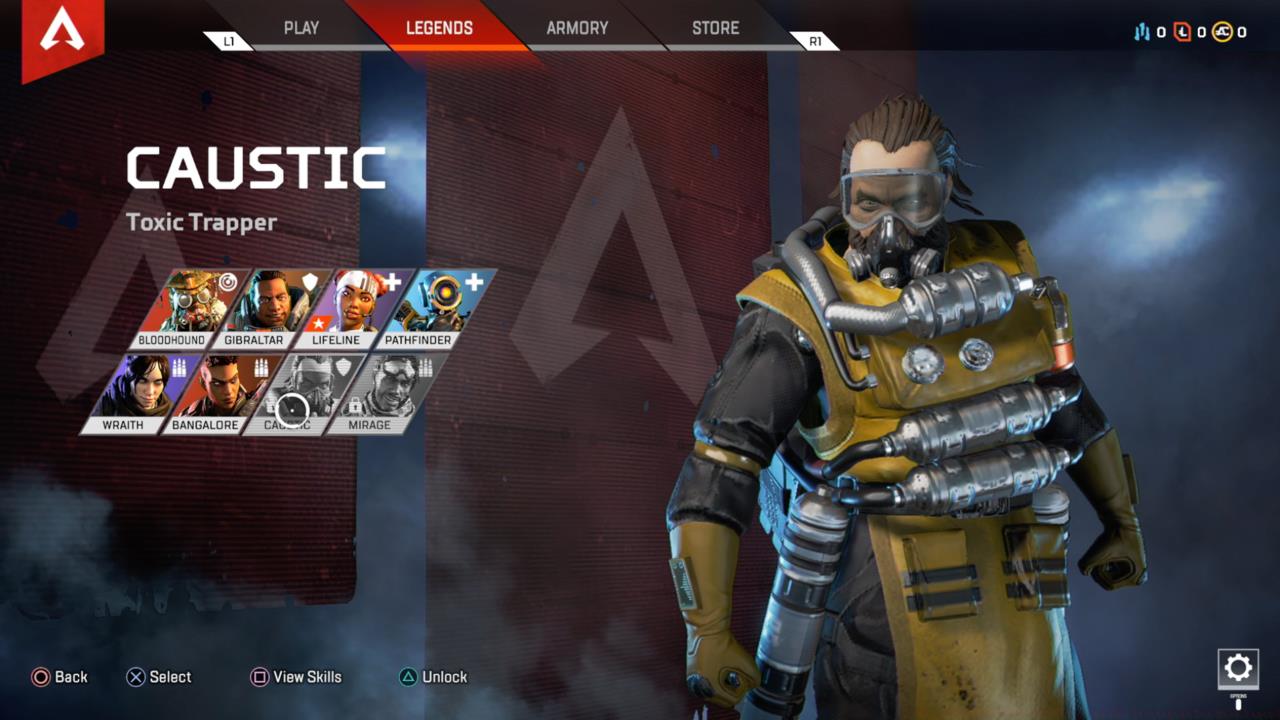
Caustic excels at area denial and defensive control through his toxic gas arsenal. His Tactical ‘Nox Gas Trap’ creates persistent area denial zones that punish aggressive pushes when placed in chokepoints or around objectives. The Passive ‘Nox Vision’ granting sight through gas creates asymmetric combat advantages that many players fail to leverage effectively. Proper trap placement involves anticipating rotation routes rather than simply blocking doors.
His Ultimate ‘Nox Gas Grenade’ blankets extensive areas in corrosive gas, perfect for building clearing or zone control. The frequent mistake is deploying traps too clustered, allowing enemies to trigger multiple simultaneously with minimal exposure. Advanced strategies involve layering traps at different heights and creating gas networks that control multiple engagement angles simultaneously.
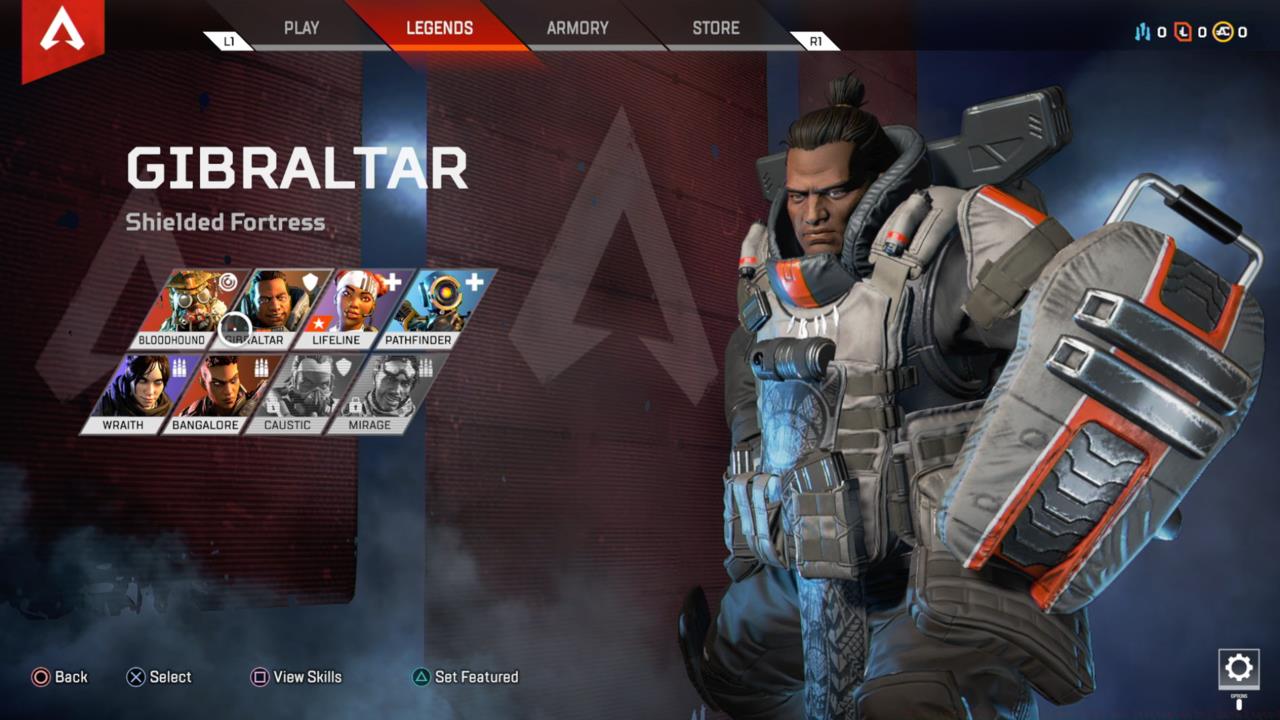
Gibraltar functions as the premier defensive anchor with comprehensive protection tools for sustained engagements. His Passive ‘Gun Shield’ provides additional health during aimed fire, but increases his hitbox visibility—a tradeoff requiring positional awareness. The Tactical ‘Dome of Protection’ creates an impenetrable bubble that facilitates revives, healing, or temporary repositioning safety.
His Ultimate ‘Defensive Bombardment’ establishes a mortar strike perimeter that controls space effectively. Common errors include deploying the dome shield in open areas where it becomes a beacon for third parties, or using the bombardment too defensively rather than as an area denial tool. Expert utilization involves timing the dome during enemy reloads or ability cooldowns, while the mortar strike excels at breaking entrenched positions or covering retreats.
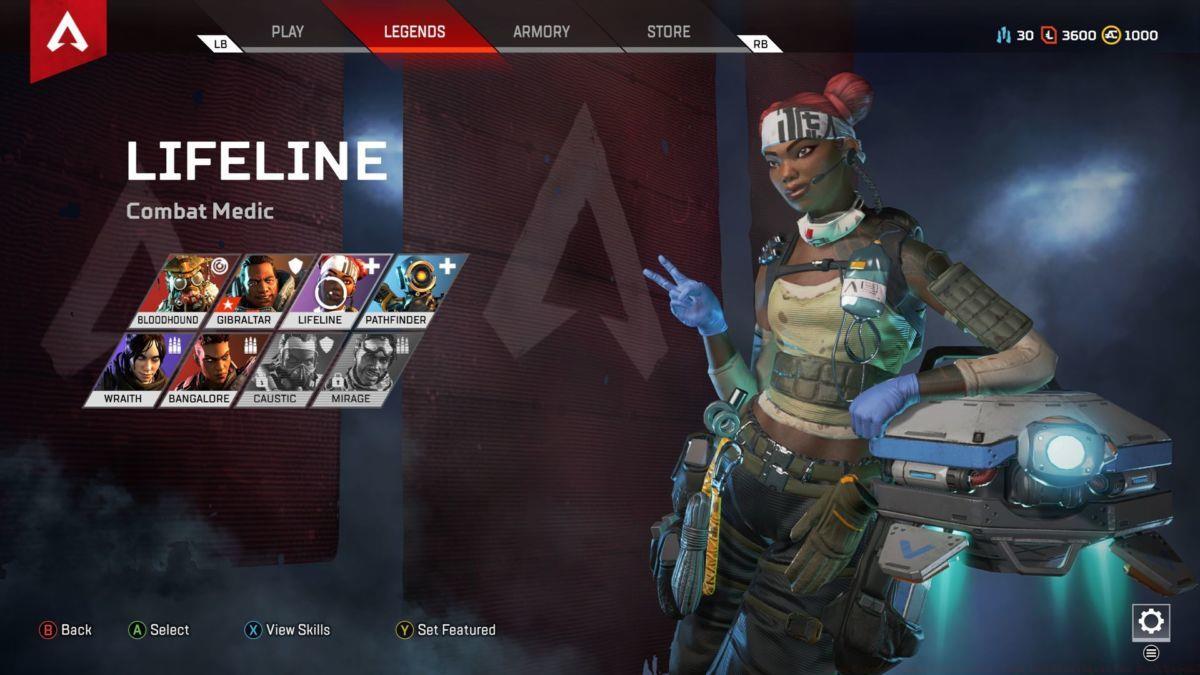
Lifeline redefines the support role through her unparalleled healing and resurrection capabilities. Her Passive ‘Combat Revive’ enables simultaneous fighting and teammate recovery, creating tempo advantages that aggressive teams exploit. Her Tactical ‘D.O.C. Heal Drone’ provides sustained health regeneration, but its stationary nature requires careful placement consideration.
The Ultimate ‘Care Package’ delivers high-tier defensive gear and attachments, though its lengthy cooldown and visible drop beacon demand strategic consideration. The frequent mistake is calling care packages in compromising positions where enemies can easily ambush the team during retrieval. Advanced techniques involve using the drone during shield breaks for continuous pressure and positioning care packages as temporary cover in final circles.
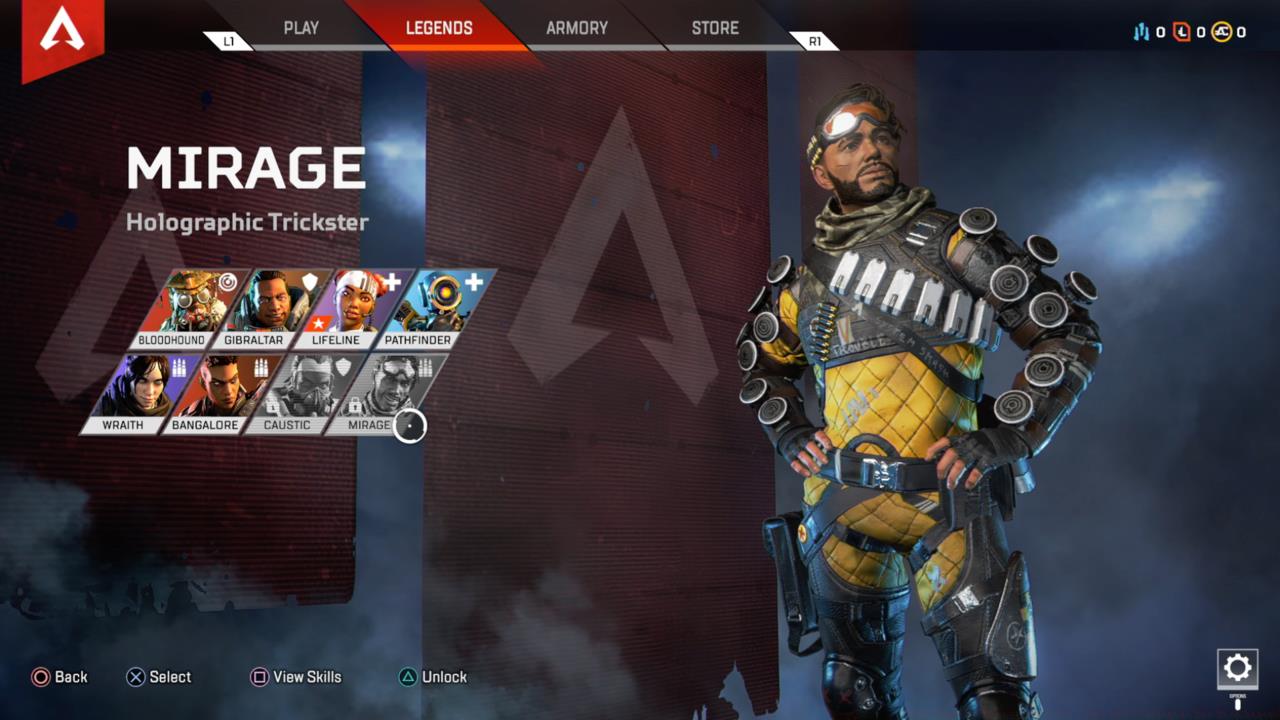
Mirage specializes in psychological warfare and misdirection through holographic trickery. His Tactical ‘Psyche Out’ deploys decoys that replicate his movements, perfect for scouting dangerous areas or baiting enemy positions. The Passive ‘Now You See Me’ provides brief invisibility during knockdowns, creating occasional escape opportunities that catch opponents off-guard.
His Ultimate ‘Life of the Party’ creates a squad of decoys that mirror his actions during activation. Common errors include predictable decoy patterns and using abilities when enemies have clear visual confirmation. Advanced deception involves sending decoys along common rotation paths or using them to block doorways during retreats. Many players underestimate the intelligence-gathering potential of controlled decoys that reveal enemy positions through gunfire.
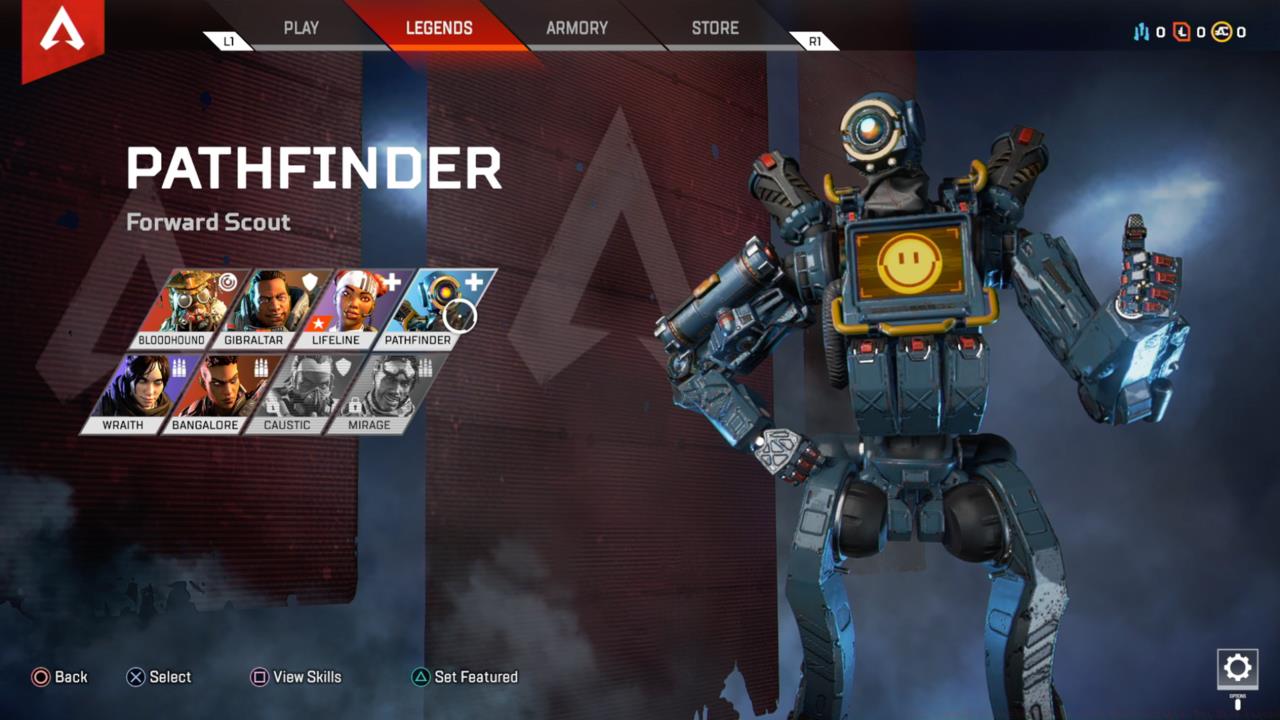
Pathfinder excels at mobility and positional advantage through his grappling and zipline technologies. His Passive ‘Insider Knowledge’ reveals upcoming ring locations, providing crucial rotation planning time that separates average from exceptional teams. The Tactical ‘Grapple’ enables rapid repositioning to unexpected angles, though its skill ceiling requires substantial practice to master effectively.
His Ultimate ‘Zipline Gun’ creates permanent mobility options for entire squads. The common mistake involves creating ziplines that benefit enemies equally or grappling into compromised positions without escape plans. Expert play involves using grapples for rapid disengagement and creating zipline networks that control high-ground advantages. For players looking to master movement mechanics across different game titles, our Class Guide offers additional strategic insights into positional play.
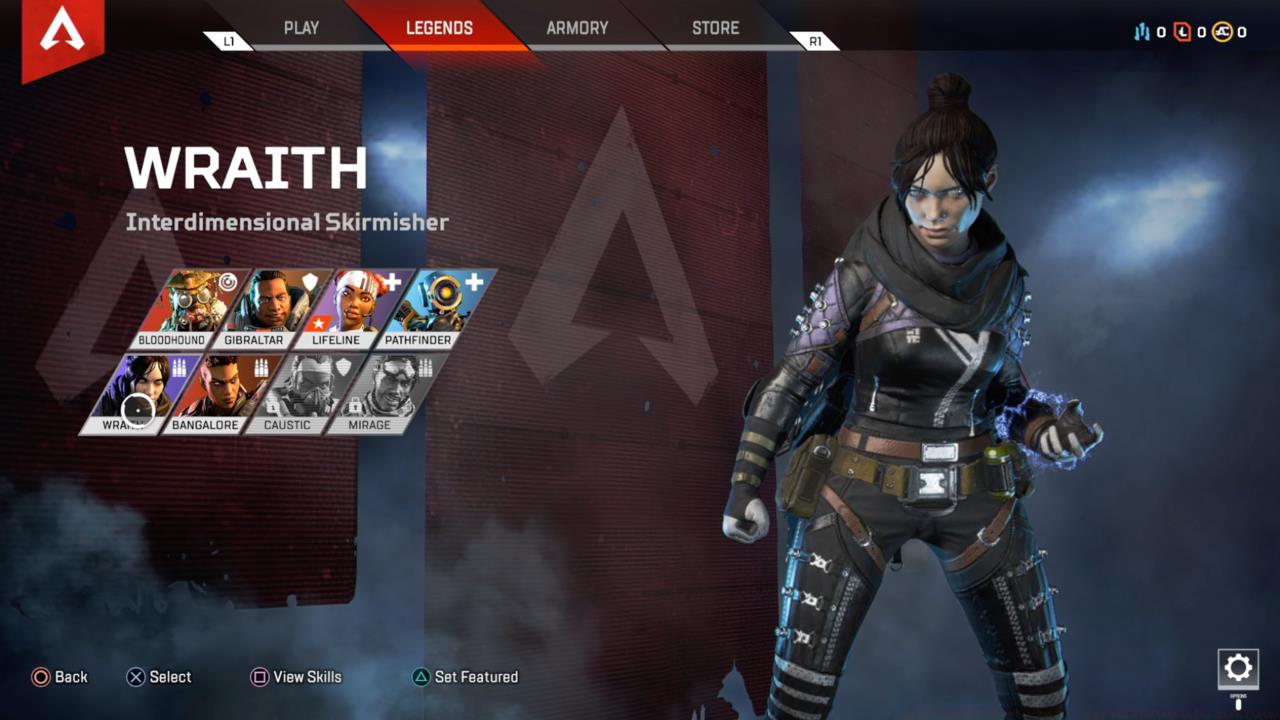
Wraith dominates the skirmisher role with exceptional engagement control and survival tools. Her Passive ‘Voices from the Void’ provides audio warnings when enemies aim at her, creating split-second reaction advantages that save lives. The Tactical ‘Into the Void’ provides brief invulnerability and invisibility, perfect for escaping unfavorable engagements or repositioning aggressively.
Her Ultimate ‘Dimensional Rift’ creates two-way portals that enable entire squad repositioning. The frequent error involves creating portals that are too short to provide meaningful value or using them without clear strategic purpose. Advanced tactics involve portal baiting for ambushes and using phase shift to dodge ability damage or reposition during reloads. Understanding these advanced movement techniques can also enhance your performance in other tactical shooters, as detailed in our Complete Guide to modern military combat.
Building effective squad compositions requires understanding ability synergies between Legends. Aggressive teams often combine Wraith’s portal with Bangalore’s smoke for safe pushes, while defensive compositions might pair Caustic with Gibraltar for layered protection. The current meta favors balanced teams containing at least one assault, one recon, and one support character for versatility across different combat scenarios.
Common team synergy mistakes include overlapping defensive abilities or lacking sufficient mobility options for late-game rotations. Advanced players master ability combinations like Bloodhound’s ultimate with Bangalore’s smoke for aggressive pushes, or Pathfinder’s ziplines with Gibraltar’s dome for safe positioning. Understanding weapon and ability interactions is crucial, which is why we recommend checking our Weapons Unlock guide for complementary tactical insights.
Action Checklist
- Practice each Legend’s ability timing in firing range for 15-20 minutes each
- Experiment with at least three different team compositions to understand synergy dynamics
- Master ability combos: Bangalore smoke + Bloodhound ultimate, Gibraltar dome + Lifeline revive
- Analyze your gameplay recordings to identify ability usage errors and positioning mistakes
- Develop counter-strategies for popular Legend combinations you frequently encounter
No reproduction without permission:SeeYouSoon Game Club » Apex Legends Character Guides: Tips And Strategies For Each Legend Master Apex Legends characters with expert strategies, common pitfalls, and advanced gameplay optimization techniques