TL;DR
- Purchase ladder set-up kit recipe from Nook’s Cranny for 2,000 bells
- Craft using 9 wood, 4 hardwood, and 4 softwood per kit
- Place ladders strategically for efficient island navigation
- No hard limit on ladder quantity but practical spacing considerations apply
- Remove and reposition ladders easily using Y button interaction
Animal Crossing: New Horizons now enables players to install permanent ladder structures that complement existing ramps and staircases, providing enhanced mobility across your island terrain.
The ladder stands as one of the most essential early-game tools in Animal Crossing: New Horizons, facilitating vertical movement across cliff faces when incline construction remains limited. Even with extensive ramp and staircase networks established throughout your island, certain terrain configurations may still necessitate occasional ladder usage. Through the comprehensive 2.0 update, players gained the ability to establish fixed ladder installations, streamlining navigation efficiency while eliminating the requirement to equip or transport portable ladders. This guide details acquisition methods and operational mechanics.
Initiate the process by visiting Nook’s Cranny and navigating to the cabinet positioned on the right side. Within the Miscellaneous category toward the bottom section, adjacent to both new and pre-existing DIY recipes, you’ll discover the ladder set-up kit blueprint. Priced at 2,000 bells—higher than most recipes—this represents minimal investment for substantial convenience benefits; purchase and utilize it to master the new crafting formula.
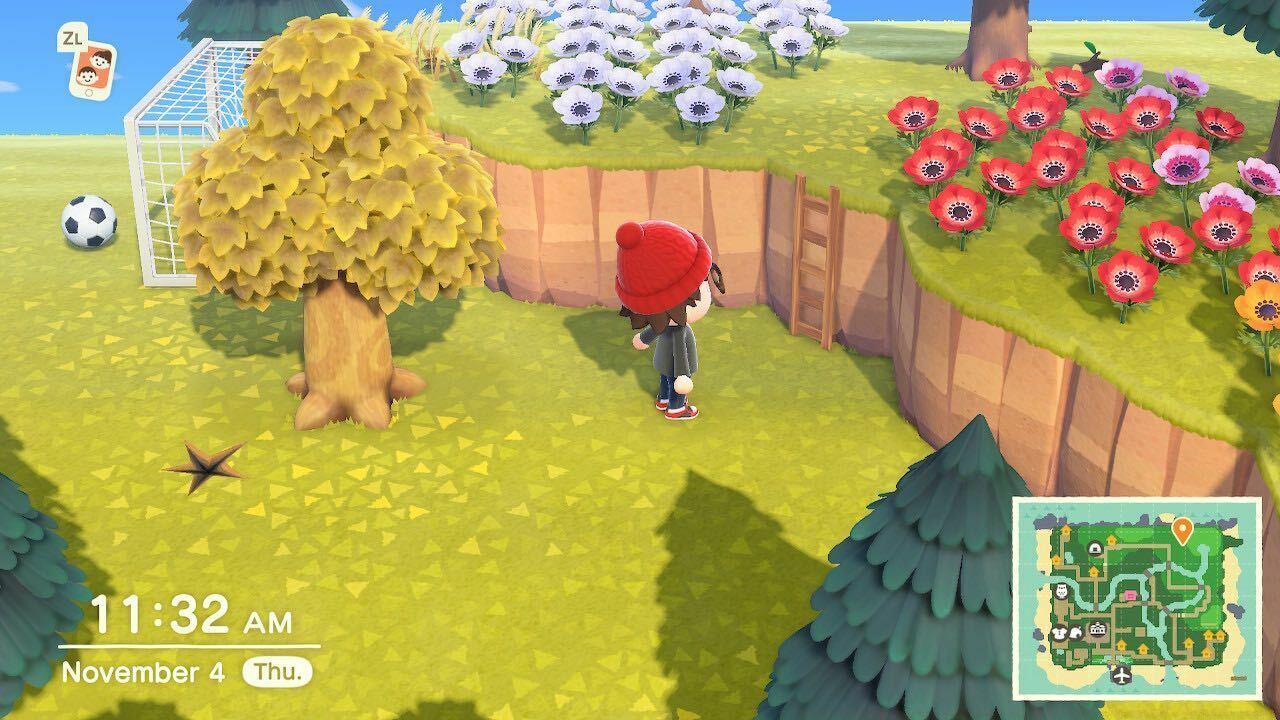
A ladder placed against a cliffside in New Horizons
After integrating the recipe into your NookPhone’s DIY app, proceed to any crafting station as you would for standard item creation, enabling construction of wooden ladder set-up kits. Required components include:
Additionally, if you lack a standard ladder in your inventory, crafting one demands these materials:
Calculating total resource needs reveals that each set-up kit construction consumes nine wood units, four hardwood pieces, and four softwood portions.
With a ladder set-up kit in your inventory, approach any cliff surface (from upper or lower levels), access your inventory screen, and deploy the kit. This action immediately positions the ladder against the cliff wall, permitting ascent or descent without the typical inconvenience of manually equipping a ladder. Activation requires pressing the A button—automatic engagement won’t occur through simple proximity or collision.
Ladder removal and repositioning remains available at any time by approaching an installed ladder and pressing the Y button, alleviating placement anxiety during initial installation. Adequate clearance space is mandatory for ladder placement; attempting to squeeze ladders between cliff faces and immediately adjacent flowers, for example, will prove unsuccessful.
Advanced placement strategy involves identifying high-traffic areas where permanent ladders provide maximum time savings. Consider positioning ladders near frequently visited locations like resource gathering spots, villager homes, or scenic viewpoints. Unlike inclines that consume significant space and bells, ladders offer discreet access points that blend seamlessly with natural landscapes.
Common placement errors include installing ladders in areas with insufficient clearance, positioning them in rarely-used locations, or creating redundant access points near existing ramps. Optimal placement typically involves spacing ladders approximately 10-15 tiles apart in complex multi-level terrain.
While Animal Crossing: New Horizons imposes no explicit numerical restriction on permanent ladder quantities, practical limitations emerge from island layout constraints and aesthetic considerations. Most efficiently designed islands typically incorporate between 5-8 strategically positioned ladders, depending on terrain complexity and player navigation patterns.
Ladder set-up kits maintain standardized appearance across installations, lacking customization options for colors, materials, or designs within the base game. However, creative players can enhance ladder areas through strategic terrain editing, pathway designs, and decorative element placement around access points.
For players seeking comprehensive island development guidance, our Complete Guide offers extensive layout optimization strategies that complement ladder placement decisions.
Advanced optimization involves creating “ladder corridors”—dedicated vertical transit routes that connect multiple elevation levels efficiently. This approach minimizes horizontal travel time between elevation changes and creates intuitive navigation pathways. Consider pairing ladder placement with your Class Guide strategies for specialized character roles that may benefit from specific access points.
Time investment for establishing a complete ladder network typically ranges from 30-45 minutes, including material gathering, crafting, and strategic positioning phases. Efficient players can reduce this timeframe through pre-planning and resource stockpiling.
Seasoned players recommend maintaining a stockpile of 10-15 ladder kits for spontaneous terrain modifications or event preparations. This proactive approach ensures you can quickly adapt your island layout for seasonal changes or special occasions without interruption to your navigation systems.
Animal Crossing: New Horizons News And Guides
Action Checklist
- Purchase ladder set-up kit recipe from Nook’s Cranny cabinet
- Gather required materials: 9 wood, 4 hardwood, 4 softwood per kit
- Craft ladder set-up kits at any workbench
- Identify strategic placement locations based on traffic patterns
- Install ladders with proper clearance and test navigation flow
- Optimize weapon loadouts for ladder-accessible areas using our Weapons Unlock guide
No reproduction without permission:SeeYouSoon Game Club » Animal Crossing: New Horizons Ladder Set-Up Kit: How To Use The New Permanent Ladders Master permanent ladder placement in Animal Crossing: New Horizons with advanced setup strategies and optimization tips