TL;DR
- Reckoning contains three collectibles: Marok Codex Entry, The Old One Toy, and Ahzark Toy
- The secret key requires backtracking through the elevator area after main progression
- Tree portal destruction triggers the second collectible’s appearance
- Underground access for the final collectible requires specific positioning
- Efficient route planning saves 5-7 minutes versus haphazard collection
GameSpot may receive revenue from affiliate and advertising partnerships for sharing this content and from purchases through links.
As the culminating chapter in Doom: The Dark Ages, Reckoning presents the ultimate challenge for completionists seeking every hidden treasure. This final stage contains precisely three collectible items that demand thorough exploration and strategic navigation through its demon-infested corridors.
Within Doom: The Dark Ages’ collection system, you’ll discover three distinct categories: character toys that memorialize key figures, codex entries expanding the game’s rich lore, and exclusive weapon skins that customize your arsenal. These valuable items remain concealed in cleverly disguised areas throughout most campaign missions.
For comprehensive coverage of all hidden content across the entire game, consult our centralized Doom: The Dark Ages Collectibles Guides Hub, which provides direct access to specialized walkthroughs for each individual level.
Immediately upon commencing the Reckoning mission, your descent begins with a controlled drop from an elevated platform. Rather than proceeding directly forward along the obvious path, execute an immediate rightward pivot to investigate the obscured alcove concealed around the corner.

Pro Tip: Seasoned players recommend scanning peripheral vision during scripted descent sequences, as many early-game collectibles utilize the player’s forward momentum against them by placing items in easily missed lateral positions.
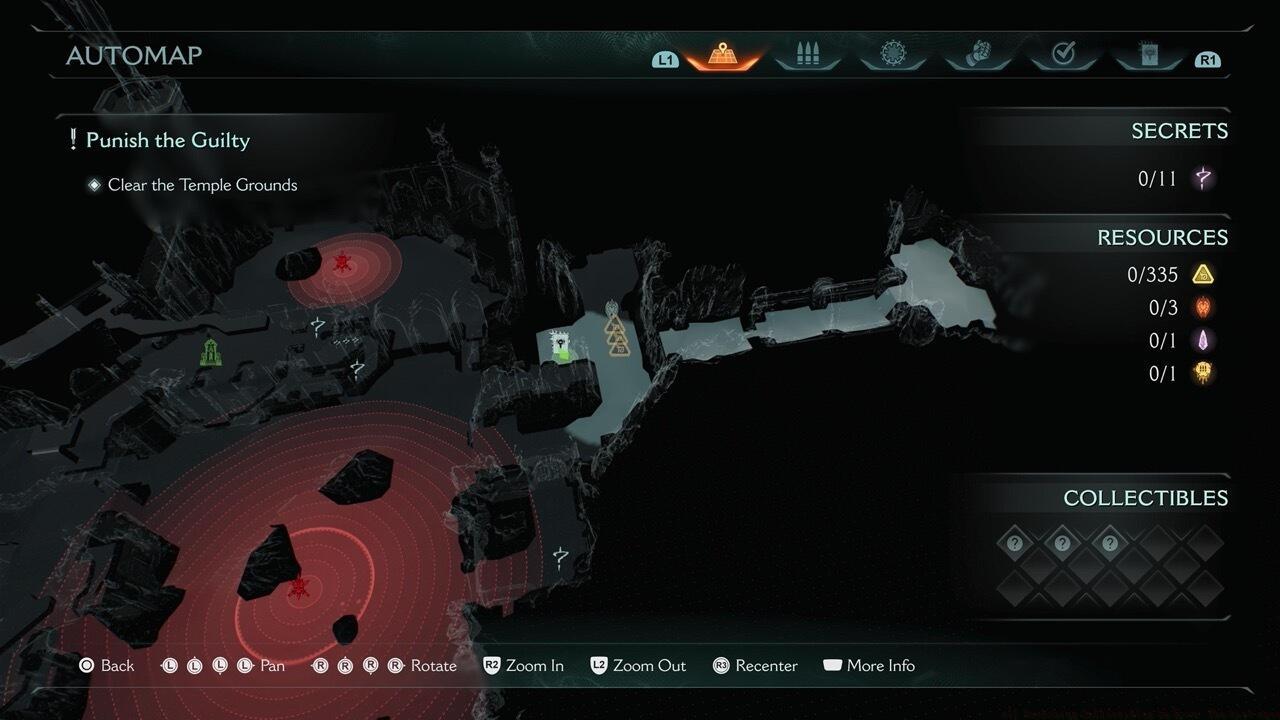
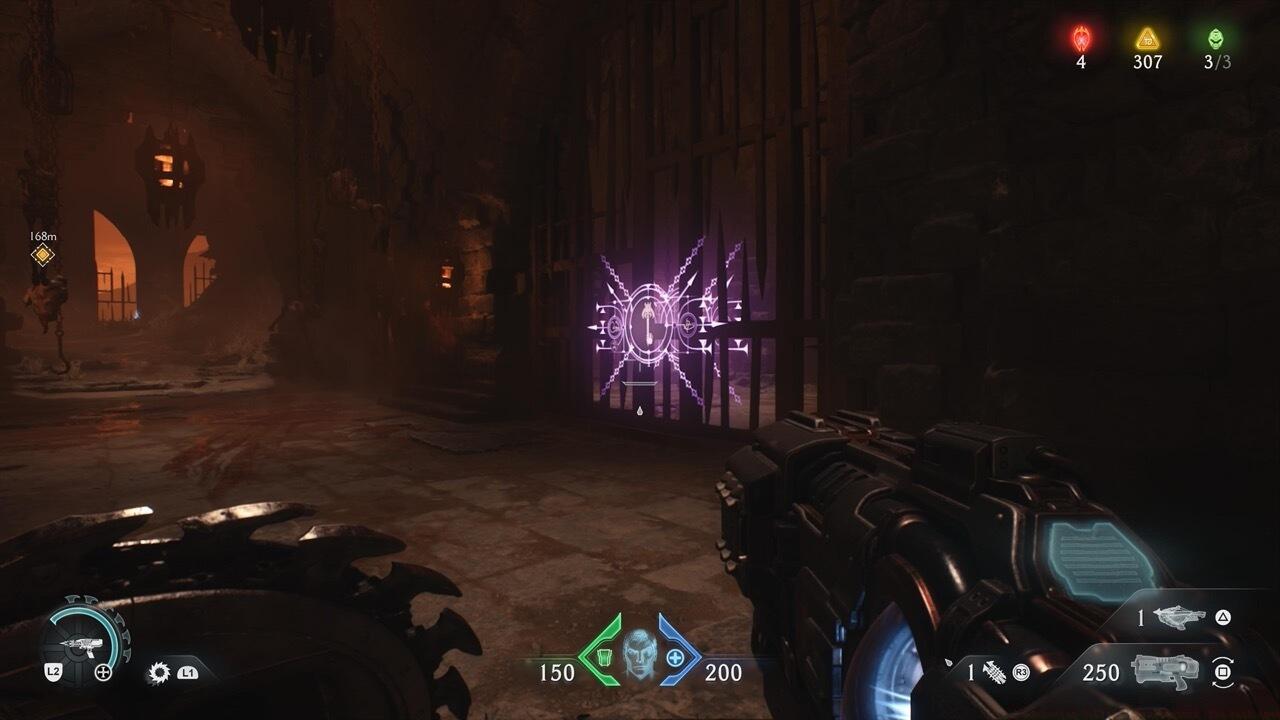
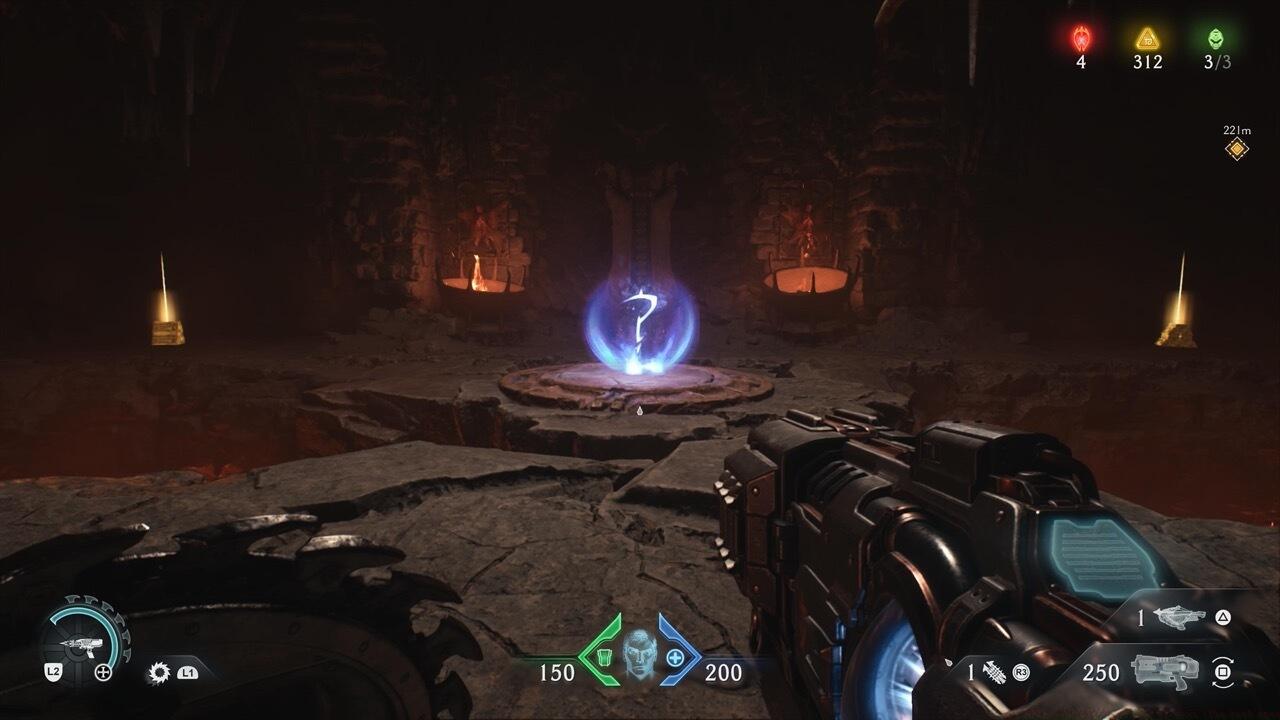
After successfully neutralizing all hostile entities in the initial courtyard combat zone, direct your attention toward the secured enclosure positioned to the right. Here you’ll encounter a mysterious key-locked mechanism that provides access to the third and final collectible—though we’ll deliberately postpone this retrieval until acquiring the necessary key item later in the level.
Progress beyond this locked interface into a more confined space featuring an ominous tree portal. The destruction of this supernatural vegetation gateway triggers a combat encounter that must be conclusively resolved before the rear barrier retracts, unveiling the second collectible.

Common Mistake: Many players expend excessive ammunition on the tree portal itself, unaware that environmental destruction typically requires only minimal damage input before triggering the intended sequence.
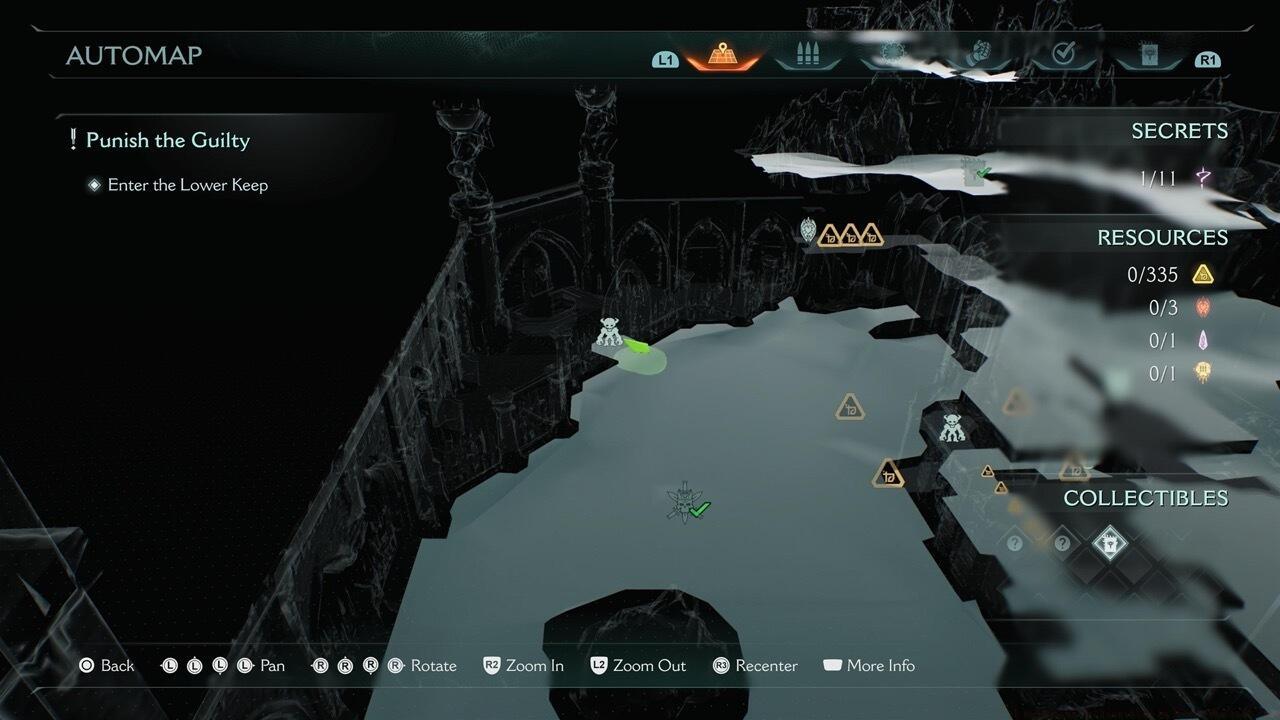
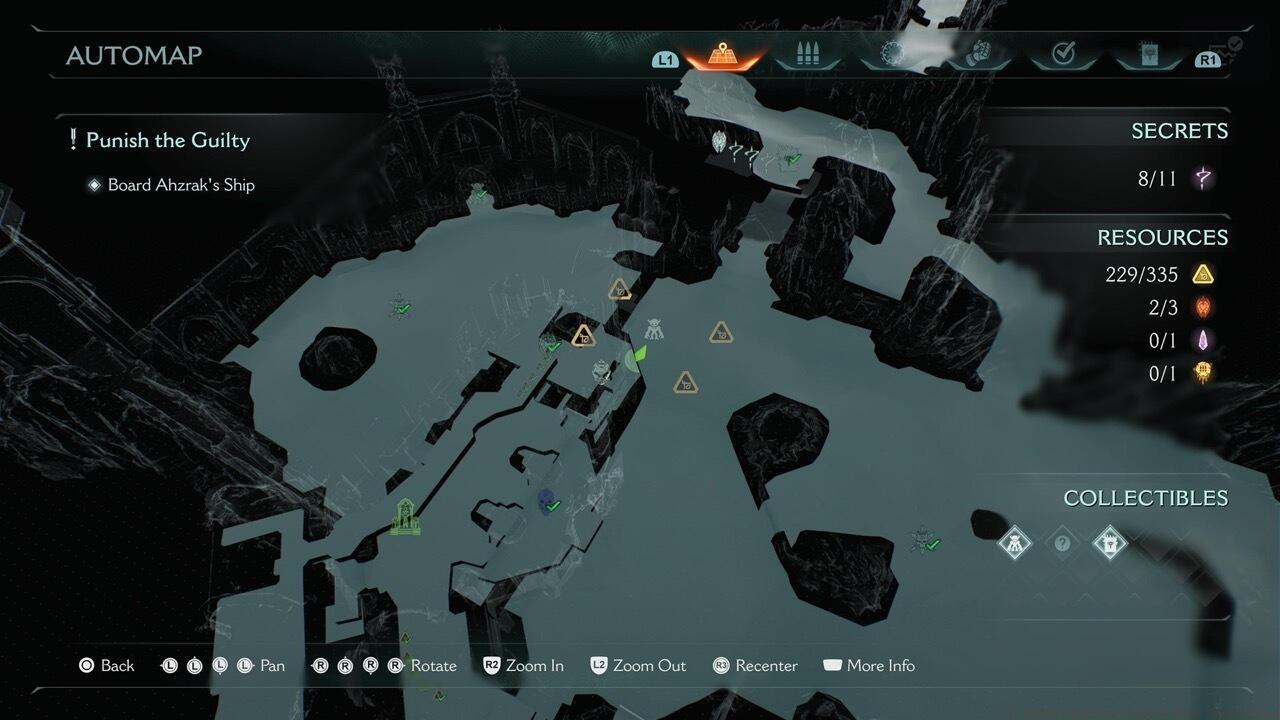
Acquiring the essential secret key demands persistent adherence to the primary mission objective through the lower key access point and subsequent elevator ascent. Upon reaching the elevated platform, you’ll immediately identify an upgrade shrine directly ahead—this serves as your landmark for the crucial backtracking maneuver.
Execute a complete 180-degree rotation from the upgrade interface to discover both the coveted secret key and a conveniently positioned return portal that transports you directly back to the initial courtyard area, facilitating efficient backtracking.
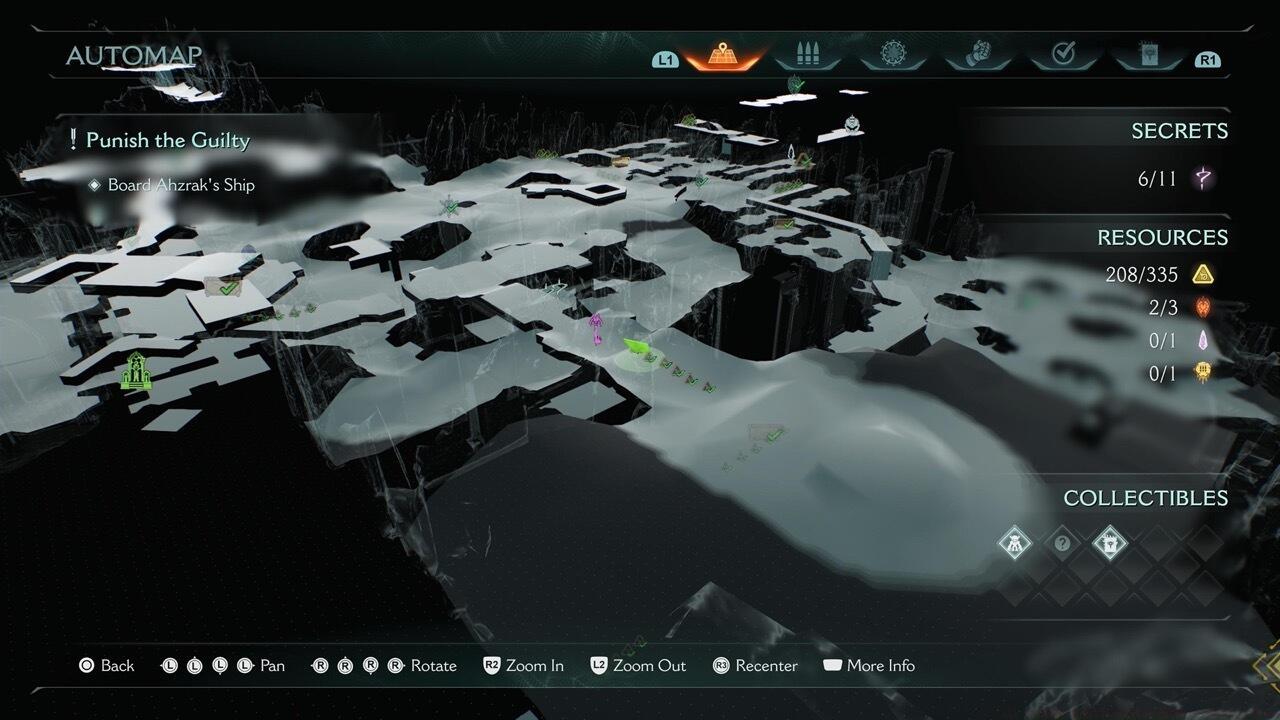
Return to the peripheral zone adjacent to the first courtyard and traverse through it to locate the subterranean entrance on the opposite side. Descend below ground level to secure the final collectible and complete your Reckoning collection set.
Advanced Technique: Speedrunners have discovered that the secret key retrieval can be optimized by combining it with mandatory objective progression, effectively eliminating dedicated backtracking time and reducing collection completion by approximately 2-3 minutes.
For players pursuing 100% completion across the entire Doom: The Dark Ages experience, understanding Complete Guide methodologies significantly enhances efficiency. The strategic sequencing of collectible retrieval in Reckoning demonstrates how later levels increasingly integrate collection objectives with core gameplay mechanics.
Route Optimization: The most time-effective approach involves clearing the first courtyard, immediately collecting the Marok Codex Entry, proceeding to secure The Old One Toy after the tree portal encounter, then combining key acquisition with main progression before final backtracking for the Ahzark Toy. This method typically requires 12-15 minutes versus 18-22 minutes for disorganized collection attempts.
Weapon Preparation: Before attempting Reckoning’s collectibles, ensure your arsenal is fully upgraded by consulting our Weapons Unlock guide to maximize combat efficiency during the necessary enemy engagements.
Character Selection: Your Class Guide preferences may influence collection difficulty, with mobility-focused builds providing distinct advantages for accessing the underground final collectible area.
Pitfall Avoidance: The most frequent collection errors include proceeding too far past the key location without backtracking, missing the subtle underground entrance positioning, and inadequate combat preparation before tree portal encounters.
Action Checklist
- Collect Marok Codex Entry immediately after starting by turning right from drop point
- Clear first courtyard combat zone and locate enclosed right-side area
- Destroy tree portal and complete encounter to unlock The Old One Toy
- Progress through lower key and elevator to upgrade shrine, then backtrack for secret key
- Return to first courtyard side area and descend through underground access point
No reproduction without permission:SeeYouSoon Game Club » All Reckoning Collectibles In Doom: The Dark Ages Complete guide to finding all three collectibles in Doom: The Dark Ages' final level Reckoning