Master Dying Light: The Beast safe locations and codes with expert strategies for maximum loot efficiency
Introduction to Safe Hunting
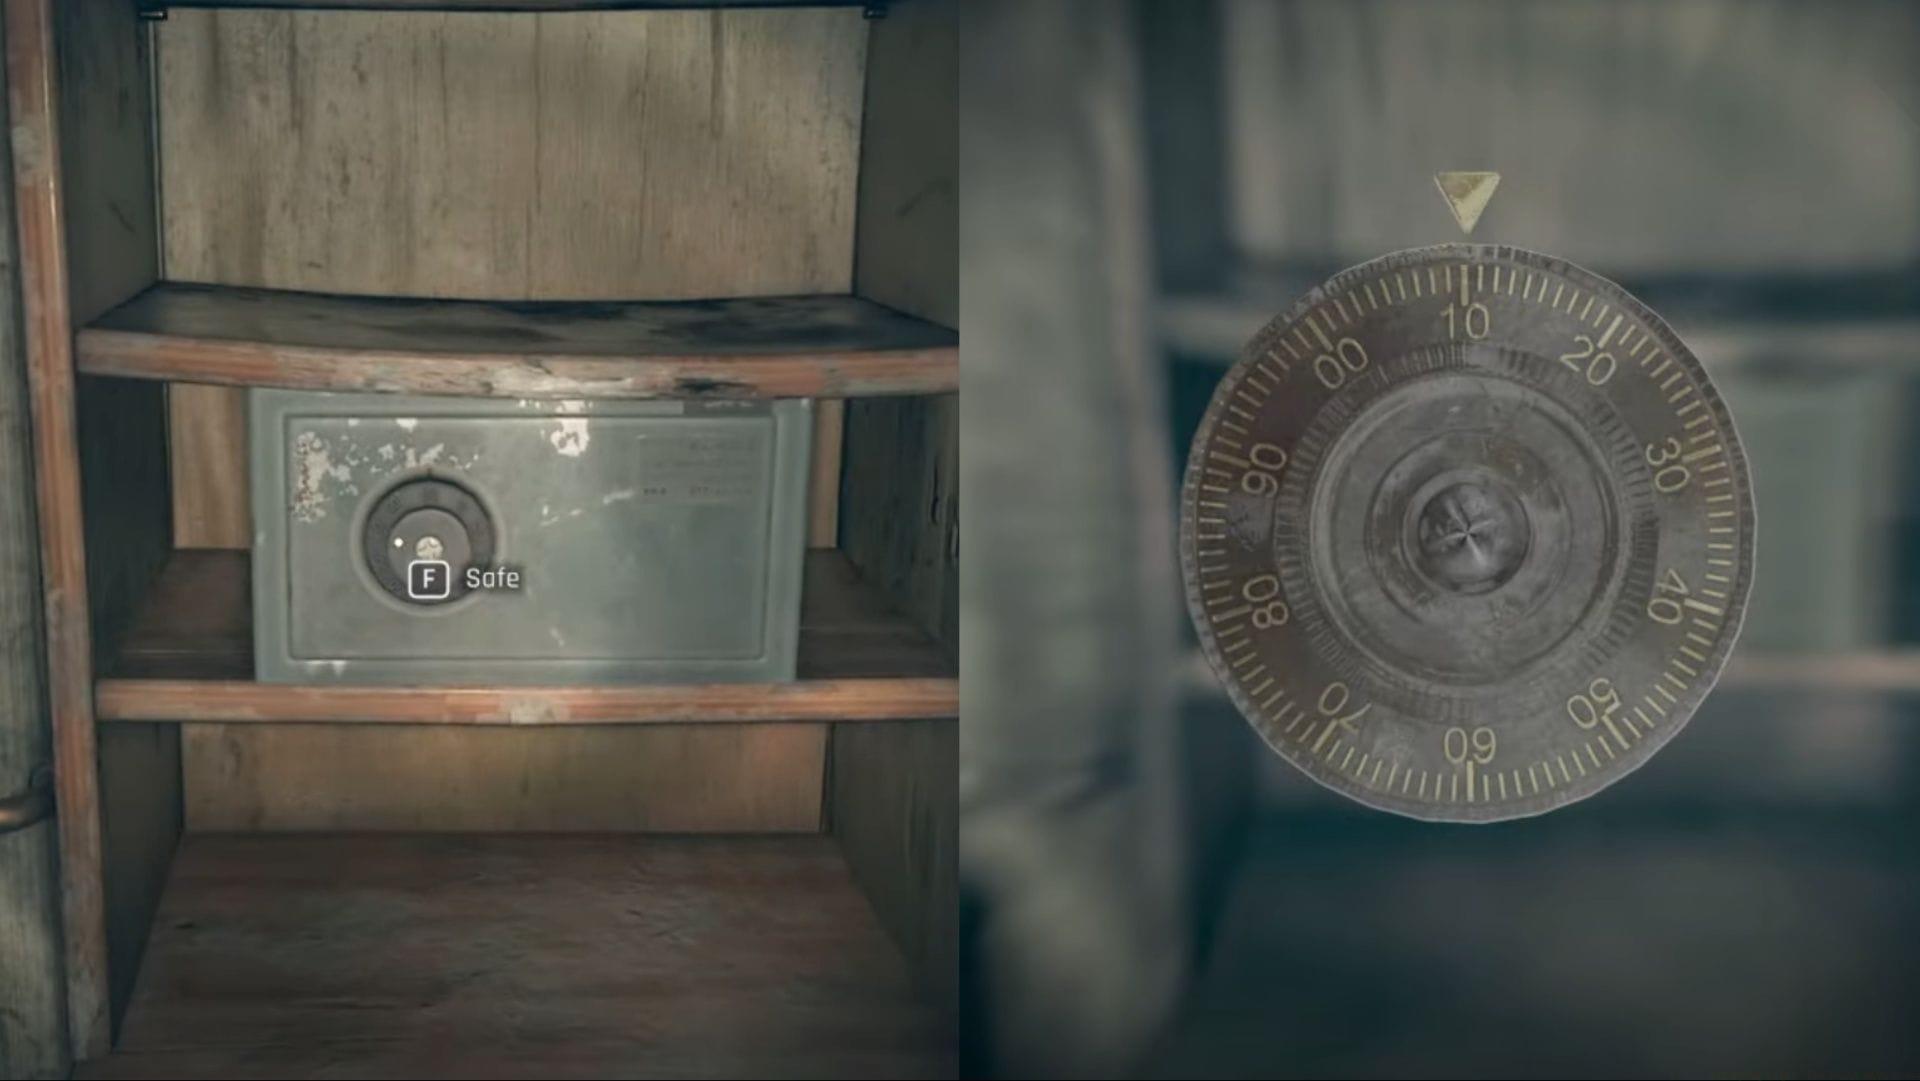
In Dying Light: The Beast, hidden lockers containing premium loot require specific safe codes that present both exploration challenges and rewarding discoveries. These security containers typically have their access numbers concealed in nearby environmental clues, though locating them demands thorough investigation. The safes themselves are deliberately concealed throughout the expansive Castor Woods map, making systematic searching essential for completionists.
Before embarking on your safe-hunting expedition, ensure you’ve acquired at least level 2 lockpicking skills and carry multiple lockpicks. The Castor Woods district spans multiple interconnected zones, so planning your route geographically rather than randomly exploring will save significant time. Many players waste hours retracing steps because they didn’t map their progression logically.
Old Town Region Safes
The Old Town Train Station locker requires accessing the upper level of the railway building. Begin by removing the wooden barrier obstructing the doorway, then use your lockpicking ability to gain entry. Once inside, immediately check the right-hand wall where the secure container is positioned.
Reward: Regenerator Booster (Legendary consumable) and Military Medkit (Legendary consumable)
Pro Tip: Complete this safe early as the Regenerator Booster provides significant combat advantages during night missions. The military medical kit also offers superior healing compared to standard first aid.
Navigate to the Old Town’s central Town Hall structure. Scale the exterior walls to reach the first floor, then enter through available windows. The secure container rests on shelving along the eastern wall section.
Reward: Jewelry (Rare valuable), Old World Money (Common accessory), and Revolver ammo (Epic ammunition)
Directly adjacent to the Town Hall’s right side stands a residential building (consult reference imagery). Enter this structure and ascend to the upper level where the living area contains the security box.
Reward: Jewelry (Rare valuable) and Rogue Leather Mask (Epic headware)
In map sector B4, locate the hotel complex and ascend to the top floor. The room containing a skeletal remains on the bed houses the secure container.
Reward: Jewelry (Rare valuable) and Military Medkit (Legendary consumable)
Strategic Insight: The Rogue Leather Mask provides excellent early-game protection with its epic rating, while the accumulated jewelry can be sold for substantial currency at traders.
Golden Pine & Vale Safes
Journey to The Vale district and infiltrate Emil’s Brick School through ventilation shafts. Navigate toward the lobby area where the ground floor contains a classroom with binary numerals on a whiteboard. Inside this educational space, examine the left-side bookshelf to discover the concealed security container.
Reward: Jewelry (Rare valuable) and Smartphone (Legendary valuables)
Head to Golden Pine territory, specifically map coordinate B5, where a distinctive residence stands. Enter the highest positioned house and retrieve an electrical fuse from deceased remains. Proceed outside to the basement entry, install the power component, then unlock the right-side door. Within this space, inspect the wall ventilation unit on the right to locate the secure box.
Reward: Sunray (Legendary revolver)
Advanced Tactics: The Sunray revolver represents one of the finest early-game firearms with its legendary status. However, its ammunition is scarce, so reserve it for critical encounters rather than standard combat.
Travel to map sector C5 where another hotel establishment operates in Old Town. Ascend to the rooftop, penetrate the initial floor, and proceed to the combined kitchen-living quarter space where the security container awaits.
Reward: Puff (Common tip mod craftplan)
Equipment Note: While Puff is only a common modification blueprint, it can be enhanced through crafting progression. Don’t dismiss lower-rarity craftplans as they often form the foundation for superior equipment.
Side Quest Safes
Throughout the Hydro-Puzzle optional mission, this secure container becomes mission-critical since it contains an essential key. On the building’s initial level, the safe resides in the chamber adjacent to where you locate the Incident Report document.
Reward: Chief Engineer’s key and Wristwatch (Rare valuable)
As the Hydro-Puzzle mission advances, you’ll reach underground sewer systems. Inside the chamber containing the Debt Repaid document, you’ll find the security box positioned.
Reward: Old World Vodka (Rare valuable) and Old World Whiskey (Epic valuable)
Quest Strategy: Complete both Hydro-Puzzle safes in sequence since the second safe’s alcoholic beverages provide excellent trading value with certain merchants who offer premium prices for vintage items.
Within map sector C7, proceed to Nate Market where you’ll discover a malfunctioning vending machine accepting locker codes for activation.
Reward: Military Medkit (Legendary consumable) and UV Bar (Legendary throwable)
During the extensive Last Wish side narrative, you’ll encounter three separate security containers. Two appear together in a single location, while the third is situated in the Farmlands region.
Mission Planning: The Last Wish quest chain requires significant travel time. Group it with other Farmlands objectives to minimize unnecessary backtracking across the massive game world.
Industrial & Fischerholm Safes
Within the Industrial Zone neighboring the manufacturing plant (B3 sector), locate a sewage system entrance. Descend into the tunnel, advance forward, climb upward, and access a chemical processing room housing the security container.
Reward: Morphine (Legendary valuable) and C-0M Pistol (Common pistol)
Proceed to map sector B3’s upper section. Identify the substantial structure and scale it completely. Shatter the wooden barricades to penetrate via windows and discover the safe inside.
Reward: SMG Ammo (Epic ammunition) and Military Medkit (Legendary consumable)
In Fischerholm territory, observe the prominent building with smaller constructions nearby. Enter the edifice immediately to the large building’s right to find the security box.
Reward: Military Medkit (Legendary consumable) and Antibiotics (Rare valuable)
Combat Preparation: The SMG ammunition from the Industrial Park safe pairs perfectly with weapons found elsewhere. Plan your weapon and ammunition collection strategically rather than randomly.
Journey to The Vale region and navigate to the indicated residence (consult visual reference). Enter the dwelling, proceed to the washroom, and crawl through ventilation into the culinary area to obtain a key. Utilize this key to unlock the living space where the secure container is located.
Reward: Jewelry (Rare valuable) and Smartphone (Legendary valuable)
Navigation Tip: The ventilation crawl in the Vale house can be disorienting. Mark your map before entering to maintain spatial awareness throughout the multi-stage access process.
Advanced Safe Hunting Strategies
Mastering safe collection requires more than just knowing locations. Implement these professional techniques to maximize efficiency and minimize frustration during your loot acquisition journey.
Route Optimization: Group safes by geographical region rather than chasing them randomly. The Castor Woods map divides naturally into quadrants – complete all objectives in one area before moving to the next. This prevents wasteful backtracking across the massive game world.
Equipment Preparation: Always carry at least 5-10 lockpicks before starting a safe run. Nothing wastes more time than reaching a safe only to discover you lack the necessary tools. Upgrade your lockpicking skill to level 3 to reduce breakage chances significantly.
Timing Strategies: Some safes contain night-specific rewards or are easier to access during certain daylight conditions. Plan your safe hunting around the game’s day/night cycle, focusing on interior locations during volatile hours and exterior ones during safer daylight periods.
Common Pitfalls to Avoid: Many players miss the binary clue in Emil’s Brick School by not thoroughly examining classrooms. Others waste time trying to access safes without first obtaining necessary quest items or keys. Always ensure you’ve met prerequisites before attempting complex safe accesses.
Loot Management: Prioritize safes containing weapons that match your playstyle. If you prefer firearms, focus on revolver and SMG ammunition safes. Melee specialists should target safes with modification blueprints and enhancement materials.
No reproduction without permission:SeeYouSoon Game Club » All Dying Light: The Beast safe codes Master Dying Light: The Beast safe locations and codes with expert strategies for maximum loot efficiency