TL;DR
- Nine diverse Battlefield 6 maps spanning urban, desert, mountain and coastal environments with distinct tactical requirements
- Each map supports multiple game modes including Conquest, Breakthrough, and close-quarters variants with mode-specific strategies
- Master vertical combat in urban maps and long-range engagement in open terrain while avoiding common positioning mistakes
- Strategic vehicle deployment and squad coordination significantly impact success rates across all map types and modes
- Regular live service updates may alter map layouts and objectives, requiring ongoing tactical adaptation
From the towering skyscrapers of Empire State to the ancient streets of Siege of Cairo, understanding your combat environment provides the ultimate tactical advantage in Battlefield 6. Each battlefield presents unique challenges that demand specialized approaches and squad coordination.
The Battlefield 6 maps showcase remarkable geographical diversity, transporting players from American urban centers to British Mediterranean territories, with nostalgic callbacks to classic Battlefield 3 environments before returning to reimagined New York City combat zones. This variety ensures no single strategy dominates across all engagements.
Currently, nine meticulously designed multiplayer arenas await deployment in BF6. These battlefields accommodate various combat scales, from massive 128-player Conquest operations to intense close-quarters encounters in Squad Deathmatch and King of the Hill. Regardless of your preferred engagement style, mastering objective locations and predicting enemy movement patterns dramatically improves survival rates and mission success.
Our comprehensive interactive maps for Battlefield 6‘s multiplayer mode provide crucial intelligence about objective placements, strategic positions, and mode-specific tactical considerations. While studying these layouts, consider complementing your knowledge with our expert recommendations for optimal weapon loadouts in Battlefield 6.
This strategic guide remains actively maintained, with updates planned throughout Battlefield 6‘s live-service lifecycle as Pax Armata introduces new modes, adjusts objectives, and refines map balance based on community feedback and gameplay data.
The following game modes can be played on Empire State: Breakthrough, Conquest, Domination, King of the Hill, Squad Deathmatch, Team Deathmatch
Empire State represents urban warfare at its most vertical, with skyscraper engagements requiring multi-level awareness. The map’s dense architecture creates numerous flanking routes while limiting sightlines, making close-quarters weapons particularly effective. Common mistake: neglecting rooftop control often leads to teams being pinned from above.
Strategic insight: In Breakthrough mode, attackers should prioritize establishing elevated positions to support advancing teammates, while defenders must control interior stairwells and elevator shafts. For Conquest, the central skyscraper objective often decides match outcomes, requiring coordinated squad assaults rather than individual efforts.
The following game modes can be played on Iberian Offensive: Conquest, Domination, Escalation, King of the Hill, Rush, Squad Deathmatch, Team Deathmatch
This British Mediterranean territory combines coastal combat with inland urban engagements, creating dynamic battlefronts that shift between open beaches and narrow village streets. The map’s varied terrain supports multiple playstyles, though vehicle operators particularly excel in the expansive coastal sectors.
Advanced tactic: During Escalation mode, clever teams use the coastline for unexpected flanking maneuvers while main forces engage through primary routes. In Rush, defenders should establish fallback positions in the village interior rather than attempting to hold the vulnerable beachfront objectives against determined assaults.
The following game modes can be played on Liberation Peak: Breakthrough, Conquest, Domination, Escalation, King of the Hill, Rush, Squad Deathmatch, Team Deathmatch
Mountain warfare reaches new heights on Liberation Peak, where elevation advantages often determine engagement outcomes. The map’s steep inclines and limited cover create natural chokepoints that reward strategic positioning over reckless advancement. Recon specialists particularly thrive here when supported by assault teams controlling key high-ground positions.
Positioning tip: In King of the Hill mode, controlling the peak’s eastern ridge provides overwatch on multiple objective approaches while offering covered retreat routes. During Conquest matches, teams that quickly secure the high-altitude objectives typically dominate the match’s tempo and force opponents into disadvantageous uphill assaults.
The following game modes can be played on Manhattan Bridge: Breakthrough, Conquest, Domination, Escalation, King of the Hill, Rush, Squad Deathmatch, Team Deathmatch
This iconic New York landmark transforms into a brutal chokepoint-focused battlefield where bridge control frequently decides match outcomes. The limited approach options create intense firefights, while the surrounding waterways offer alternative (though exposed) flanking routes for daring squads.
Coordination essential: Breakthrough attackers must coordinate simultaneous bridge assaults with waterborne operations to divide defender attention. In Squad Deathmatch, experienced teams avoid the bridge entirely, instead controlling the adjacent industrial areas that provide better cover and multiple engagement angles.
The following game modes can be played on Mirak Valley: Breakthrough, Conquest, Domination, Escalation, Squad Deathmatch, Team Deathmatch
Mirak Valley’s open terrain creates vehicle-dominated engagements where armored units reign supreme. The sparse cover forces infantry to utilize natural depressions and destroyed structures for survival, while long-range specialists find ample opportunities for impactful engagements across the vast landscape.
Survival strategy: Infantry squads should move between cover using smoke screens and maintain anti-vehicle capabilities. In Conquest mode, controlling the central village complex provides both cover and strategic positioning, though experienced teams often bypass this obvious objective to capture less contested points on the map’s periphery.
The dense futuristic metropolis of New Sobek City emphasizes close-quarters combat within its labyrinthine streets and multi-level structures. The verticality resembles Empire State but with tighter engagement distances and more interior spaces, making shotguns and SMGs particularly effective.
Clearing technique: Methodically clear buildings floor-by-floor using grenades and tactical equipment to flush out defenders. In Domination mode, controlling the central market district provides rapid access to multiple objectives, though this high-traffic area requires constant vigilance against flanking maneuvers.
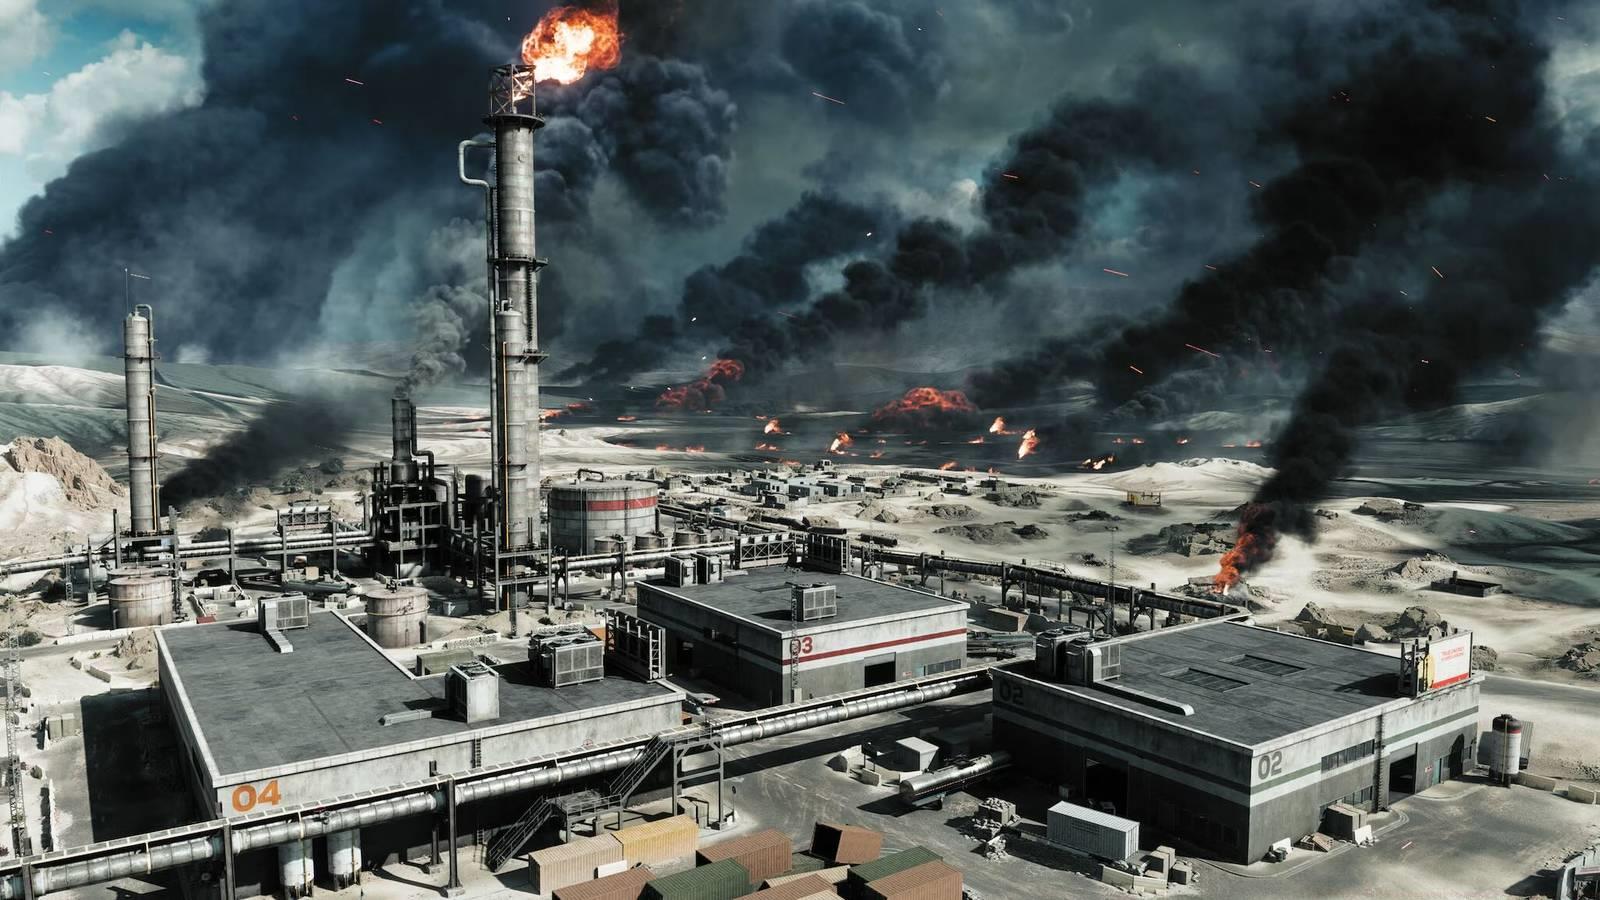
This Battlefield 3 classic returns reimagined with enhanced destruction and expanded boundaries. The desert environment favors long-range engagements and vehicle warfare, with the central refinery complex providing the map’s primary infantry combat zone.
Thermal advantage: The extensive open areas make thermal optics particularly valuable for identifying targets at distance. In Breakthrough mode, attackers should prioritize disabling enemy armor before attempting objective captures, while defenders must maintain mobile reserves to reinforce threatened sectors quickly.
The charming European streets of Saints Quarter create intricate combat pathways where situational awareness triumphs over raw firepower. The closely-packed buildings and interconnected courtyards facilitate rapid flanking maneuvers while limiting long sightlines.
Ambush prevention: Constantly check upper windows and alleyways when moving through this urban maze. In Team Deathmatch, controlling the central church courtyard provides tactical superiority, though experienced players often use the surrounding rooftops for unexpected attack angles on entrenched opponents.
Ancient meets modern in this Middle Eastern urban environment where narrow market streets open into expansive courtyards and historic structures. The map’s blend of close-quarters interiors and medium-range exterior engagements requires versatile loadouts and adaptable tactics.
Minaret mastery: The numerous elevated positions provide excellent overwatch but make snipers vulnerable to coordinated assaults. In Conquest mode, the scattered objective placement encourages fluid battle lines rather than static defenses, rewarding teams that maintain offensive initiative and rapid response capabilities.
Mastering Battlefield 6‘s diverse combat environments requires understanding each map’s unique characteristics and adapting strategies accordingly. The ongoing live-service nature of BF6 means that Assignments and map dynamics may evolve, necessitating continuous tactical adaptation.
For comprehensive gameplay enhancement, consult our Complete Guide covering all aspects of NATO operations in Pax Armata. Weapon specialists should reference our Weapons Unlock guide for optimal loadout configurations, while team players will benefit from our Class Guide for maximizing squad synergy across these diverse battlefields.
Action Checklist
- Study each map’s objective locations and primary chokepoints before deploying
- Adapt loadouts to map characteristics: CQC weapons for urban maps, long-range for open terrain
- Practice vehicle operation on Mirak Valley and Operation Firestorm to dominate open areas
- Coordinate with squad to control elevation advantages on vertical maps like Empire State
- Regularly review patch notes for map changes and balance adjustments in live service updates
No reproduction without permission:SeeYouSoon Game Club » All Battlefield 6 interactive maps for BF6 multiplayer Master Battlefield 6's 9 multiplayer maps with strategic insights, mode breakdowns, and expert positioning tactics