Master combat tactics against Doom The Dark Ages’ toughest demons with strategic tips and survival techniques
Introduction to Hell’s Hierarchy
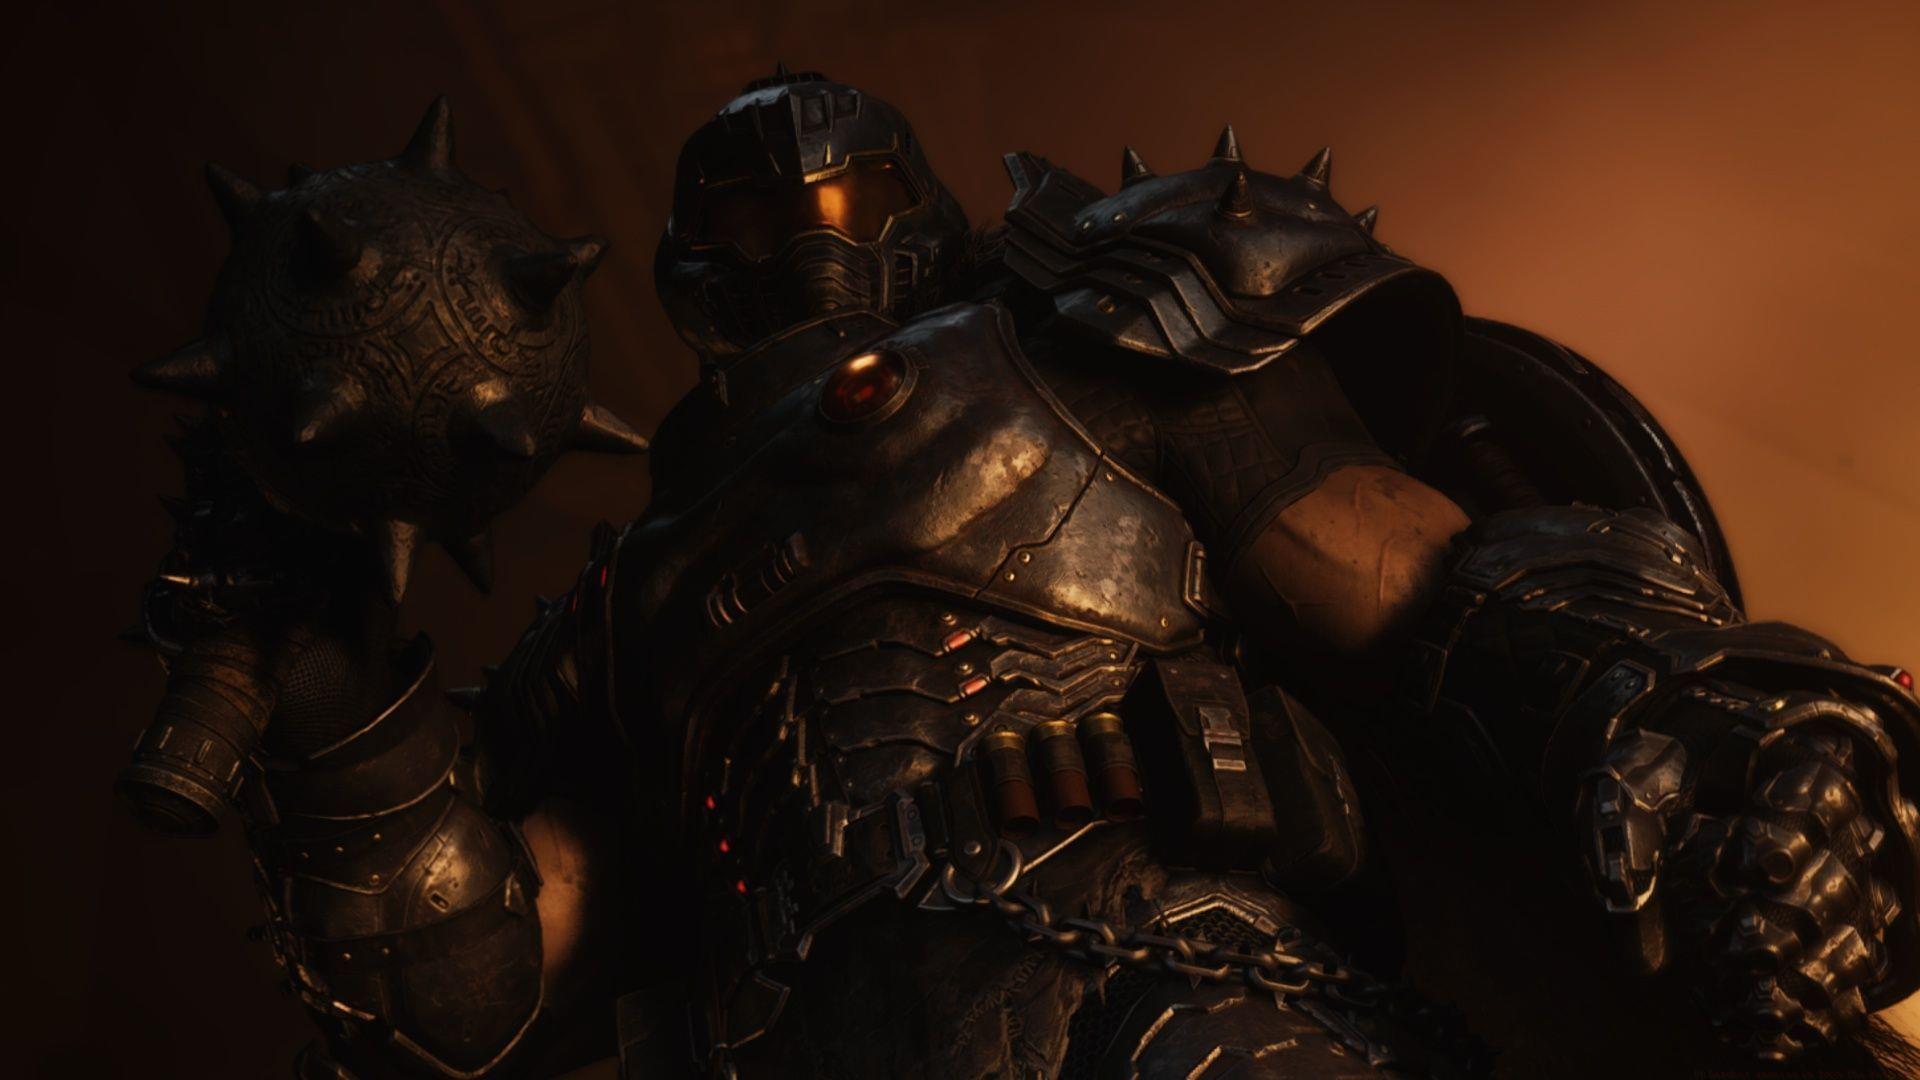
Venturing into the infernal battlefields of Doom The Dark Ages demands more than brute force – it requires tactical intelligence and systematic demon elimination. As the third installment in the modern DOOM series, this game introduces a refined hierarchy of hellspawn that will test your combat prowess across all difficulty levels. Understanding the distinct characteristics of Super Heavy and Heavy class demons provides the foundation for survival.
The game’s combat ecosystem operates on clear tactical principles: shield-breakers before damage-dealers, aerial threats before ground forces, and priority targeting based on immediate threat assessment. This strategic approach transforms chaotic encounters into manageable tactical puzzles where your survival depends on quick decision-making and precise execution.
Super Heavy Class Demons
Cosmic Baron: The Aggressive Dive-Bomber
Cosmic Baron represents the pinnacle of aggressive demon design, combining ferocious dive attacks with relentless pursuit behavior. This super-heavy class entity merges Cosmic Realm energies with hellish brutality, creating unpredictable assault patterns that can overwhelm unprepared players. The key to surviving their onslaught lies in maintaining distance while baiting their charge attacks, then countering with perfectly timed parries that create brief vulnerability windows.
Pro Tip: Bait the Cosmic Baron into charging toward environmental hazards or tight corridors where their mobility becomes restricted. Use the Super Shotgun’s meat hook to create sudden distance when cornered.
Agaddon Hunter: The Shield Specialist
Agaddon Hunter forces close-quarters engagement through its impenetrable energy shield that nullifies all ranged attacks. This tactical design choice pushes players into melee range where the demon excels, creating high-risk combat scenarios. The shield’s directional nature means flanking maneuvers can expose vulnerable angles, while environmental elevation changes provide temporary shooting opportunities.
Common Mistake: Many players waste precious ammunition attempting to break the shield from distance. Instead, use quick dash movements to circle-strafe and attack from the sides or rear.
Cyberdemon: The Returning Menace
Cyberdemon returns with enhanced weaponry including a rapid-fire machine gun and devastating energy sword for close encounters. This super-heavy class veteran requires coordinated damage application – you must balance sustained firepower with defensive parrying to build up stun meters for execution opportunities. The demon’s size makes it susceptible to terrain obstacles that can block its line of sight.
Optimization: Focus fire on one leg to temporarily stagger the Cyberdemon, creating openings for heavy weapon attacks on its vulnerable upper body.
Komodo: The Agile Assassin
Komodo’s hybrid attack pattern combines swift melee strikes with unpredictable projectile volleys, making parry timing exceptionally challenging. Their agility allows them to quickly reposition during horde encounters, often flanking while you’re engaged with other demons. The key counter lies in using area-denial weapons like the Plasma Rifle’s microwave mod to limit their movement options.
Advanced Technique: Listen for audio cues indicating Komodo’s attack wind-up – the distinct charging sounds provide crucial parry timing indicators.
Vagary: The Dual-Form Threat
Vagary appears in both standard horde and boss variants, each requiring distinct combat approaches. The standard version wears destructible armor that must be systematically dismantled, while the boss iteration demands perfect parries against its Hell Surge attacks. The slowing spit projectiles create area denial zones that severely limit your mobility options.
Strategy: For horde Vagary, prioritize armor destruction on the weapon-bearing limbs first. For the boss variant, memorize the three-stage attack pattern that precedes its parryable strikes.
Heavy Class Demons
Acolytes: The Teleporting Shield-Masters
Acolytes employ psychological warfare through unpredictable teleportation and long-range harassment. Their signature purple energy shield requires elimination of their hidden twin counterpart elsewhere in the arena before becoming vulnerable. This design forces constant environmental awareness and target prioritization decisions mid-combat.
Tactical Approach: Immediately scan for the shield-generating twin when Acolytes appear. Use the Combat Shotgun’s sticky bombs to area-deny their preferred teleportation locations.
Invisible Demons: The Stealth Assassins
These nearly transparent heavy-class threats become increasingly dangerous at higher difficulty levels where their armor-shredding capabilities can quickly end your run. The subtle dark-translucent outline provides the only visual indicator, requiring sharp observational skills during chaotic encounters. They typically approach from peripheral angles while you’re engaged with more obvious threats.
Detection Method: Crank up brightness settings slightly to improve outline visibility. Watch for distortion effects in the environment that reveal their position.
Revenants: The Aerial Skull-Slingers
Revenants maintain their franchise reputation as annoying flying demons with unparriable skull projectiles. While their Hell Surge attacks can be interrupted with perfect parries, their mobility makes consistent counter-play challenging. Their aerial positioning often provides covering fire for ground-based demons advancing toward your position.
Elimination Priority: Use the Rocket Launcher’s remote detonation to bypass their erratic flight patterns. Always eliminate Revenants before engaging ground forces.
Battle Knights: The Aggressive Bruisers
Battle Knights mirror Cosmic Baron’s aggression but with a exploitable weakness – their armor heating mechanic. Sustained ballistic damage causes their protective plating to glow red-hot, at which point shield impacts cause catastrophic failure. This creates a satisfying damage escalation loop that rewards accurate sustained fire.
Optimal Strategy: Use the Heavy Cannon’s precision bolt to rapidly heat armor from distance, then close in for the shield-finish when the glow intensifies.
Cacodemon: The Strategic Barrier-Deployer
The returning Cacodemon introduces tactical complexity through deployable shield walls that protect entire demon squads. These bulletproof barriers force ammunition conservation decisions and positioning adjustments. The shields possess limited durability but can completely change encounter dynamics if positioned strategically by the AI.
Ammo Conservation: Use plasma weapons to rapidly degrade shield integrity or grenades to destroy shields and damage protected demons simultaneously.
Advanced Combat Strategies
Mastering Doom The Dark Ages requires moving beyond individual demon knowledge to integrated combat systems thinking. Your survival depends on understanding encounter composition and executing priority-based elimination protocols. Always assess demon combinations at encounter start and develop an elimination sequence that minimizes cumulative threat.
Movement Mastery: Constant motion is your primary defense. Practice circle-strafing while maintaining target acquisition, and use the meat hook not just for damage but for rapid repositioning. Environmental elements like pillars and platforms provide temporary respite for strategy reassessment.
Resource Economy: Ammunition management becomes critical during extended encounters. Designate specific weapons for shield-breaking, crowd control, and single-target damage. The chainsaw should be used strategically for ammunition replenishment rather than purely as an offensive tool.
Execution Cycling: Develop rhythms of damage application leading to stun states followed by glory kills. This cycle not only eliminates threats efficiently but provides health and ammunition replenishment, creating sustainable combat loops during extended engagements.
No reproduction without permission:SeeYouSoon Game Club » 10 hardest enemies in Doom The Dark Ages Master combat tactics against Doom The Dark Ages' toughest demons with strategic tips and survival techniques